Last Updated on October 12, 2021
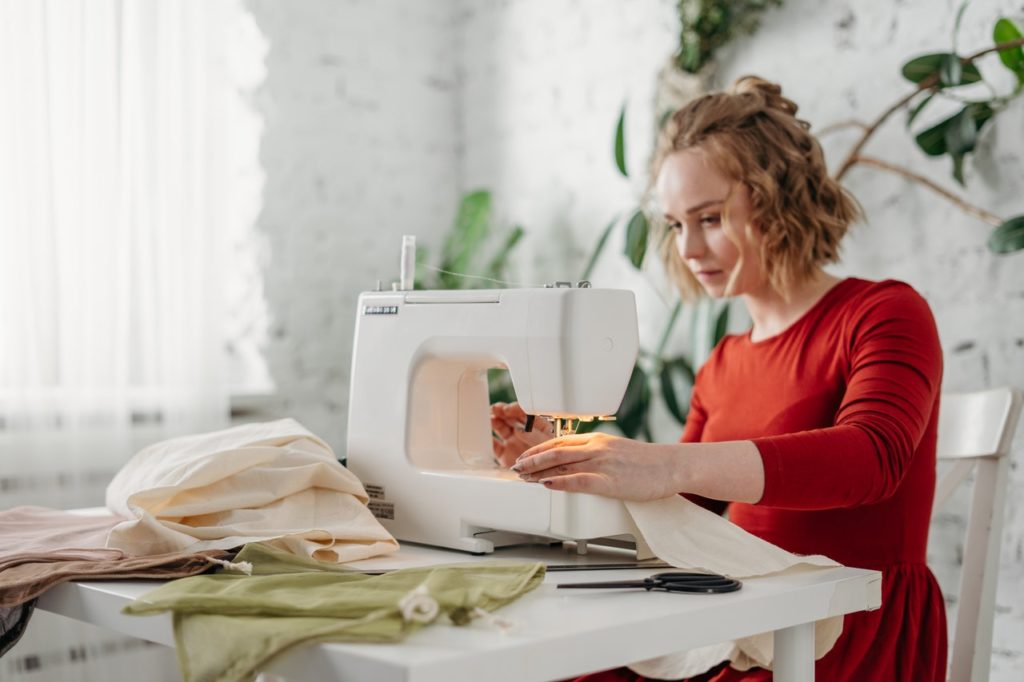
Like most people, there is nothing more frustrating than having your sewing machine malfunction when you are trying to sew. It’s even worse if the problem is not something undeniable like bobbin winding or threading your sewing machine.
A common cause of frustration with sewing machines is a lock-up where the motor and gears will no longer turn. To narrow down your problem, we’ve put together what causes a sewing machine lock-up and some helpful troubleshooting tips.
Keep in mind that finding your specific problem could take some trial and error, but it’s better to make one adjustment at a time than to try everything all at once!
The Most Frequent Causes of Sewing Machine Problems
1. Presser Foot Not Raised
This may look like an apparent cause of a jam, but it happens all too often when we rush through the setup process at the beginning of our stitching session. Make sure that you correctly raise and lower your presser foot before starting each new project or task.
In addition, it will save time in the long run and prevent those pesky threads from getting tangled underneath your machine!
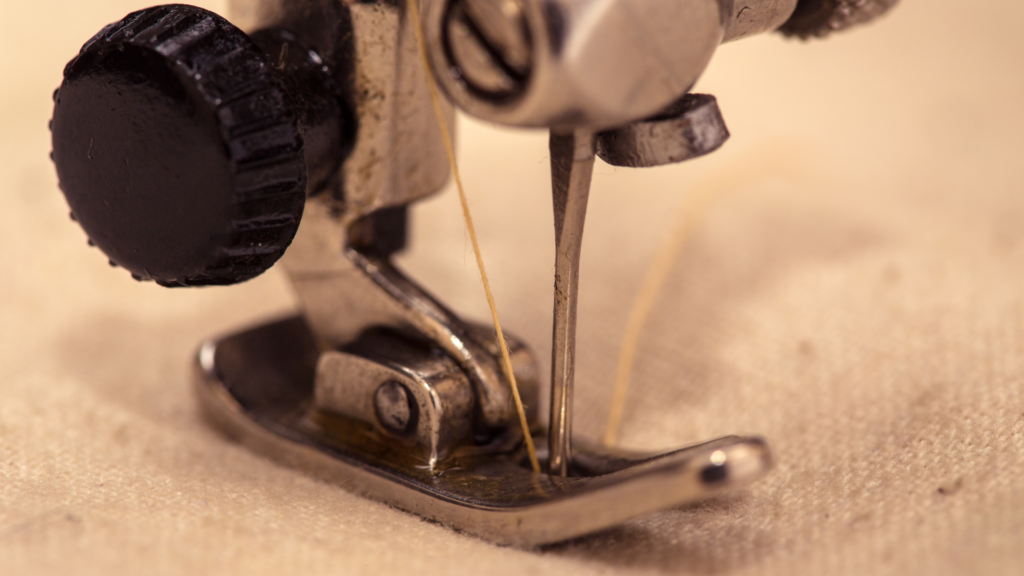
2. Improperly Tensioned Threads
What happens when your thread gets caught under the presser foot? The machine tries to pull it through, which tightens and tangles the thread, thus jamming the machine.
Prevent this by making sure that each thread is properly tensioned before stitching begins; loosen or tighten your top and bobbin threads until you get a “happy medium” of smooth stitching.
Correctly adjusting your sewing machine tension will prevent the threads from tangling underneath your sewing machine.
3. Bobbin Thread Tangling Around Spool Pin
Another common cause of sewing machine jams: thread getting stuck around/underneath your spool pin. Be sure that your bobbin case is correctly installed before inserting a new bobbin into your machine.
Also, make sure that your spool pin is clean and free from any residue or bits of bobbin thread before inserting a new bobbin into your machine.
4. Bobbin Thread Tangling Around Presser Foot
Thread getting stuck around your presser foot or underneath it can also cause a sewing machine jam.
Make sure you’ve threaded both the top and bobbin threads properly before attaching the presser foot to the shank. This is often an afterthought once everything else is done–and can be easy to forget!
5. Stitch Is Skipping
If you’re experiencing skipped stitches, the chances are that the thread has gotten tangled beneath your presser foot. When you look at your machine, you’ll see that the top thread is either wrapped around underneath or above the presser foot’s shank.
6. Stitch Is not Forming Properly
If a stitch is not forming correctly, the top thread will either bunch up on your project’s underside or slip out from underneath your presser foot. This is usually due to either poor bobbin functioning or improper handling of both the top and bobbin threads during threading.
7. Stitch Seizes Up At A Specific Point On Your Project
This problem isn’t limited to sewing machines, but it can happen on a sewing machine as well as a serger. This usually, although not always, occurs on the underside of your project.
The top thread can seize up because there is too much friction between the two threads. It is either due to one or both of them being oily or because they are getting tangled together.
8. There’s A Knot In Your Thread
This happens most often when you’re using a bobbin with a built-in needle threader, and you’ve accidentally caught some of the loose ends of the top thread in the hook as it catches your bobbin thread.
This can also happen if you pull on your top thread to pull it down through the needle hole without cutting it first and then sew with that one long strand of top and bottom thread.
9. You’re Sewing With A Broken Needle
Even though it might still appear shiny, a worn or bent out of shape needle just won’t work right.
This may also be the case if your top and bottom threads aren’t meshing together correctly. In other words, there’s a thread jam in the hook. Try using another needle to see if this solves the problem.
10. Your Bobbin Is Clogged Or Not Properly Installed
Your sewing machine might lock up if your bobbin is damaged or possibly, you loaded your bobbin wrong (reversed), or it’s not seated all the way.
The solution is to remove the bobbin, make sure the thread goes through the hole in it from left to right and replace it, making sure you give it a good tug once it’s back in place. Now sew with your machine again.
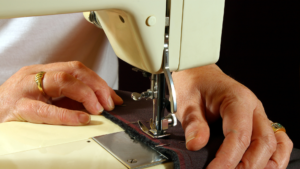
How To Prevent Your Sewing Machine From Locking Up
Sewing machine problems are common, but you can prevent them by keeping your machine clean. Periodically, run a piece of ordinary wax paper through the feed dogs to remove lint and dust.
You should also open up your bobbin area and vacuum out any lint that may have accumulated there too. To help you out, below are a few tips to prevent your machine from locking up.
1. Change Your Needle Regularly To Keep It Sharp
Using a dull needle will cause your machine to jam while a new sewing machine needle won’t remedy getting a lock-up. If you notice your stitching is skipping stitches or the bottom is not catching correctly, then it’s time for a replacement needle.
More importantly, needle sizes can be confusing because of the various types available. But, it doesn’t have to be.
Always refer to your machine’s manual to see which needle should be used (you may need to use a different size depending on the fabric).
2. Clean The Tension Disks Regularly
Tension disks full of lint and thread will keep your tension from working appropriately, causing poor stitch quality and machines locking up and skipping stitches. Excessive thread on the top of your fabric can lead to an even bigger mess!
Proper cleaning and upkeep of your machine will prevent this from occurring, but it’s always a good idea to make sure the tension disks are clean!
3. Clean The Bobbin Case And Race
Sometimes, lint and fuzz can build up in the bobbin area, causing your machine to lock up during tension adjustments.
Always check the race (the plastic piece that guides your needle), any openings on top of your sewing machine where thread or fuzz might accumulate, and clean out all lint, bits of thread, and many more!
4. Properly Adjust Your Tensions
Improper stitch length/tension settings are one of the most common reasons for stitching problems.
If you notice skipped stitches or poor quality stitching while adjusting thread tensions, make sure to take the time to learn how to change them before replacing parts properly.
Most machines have two primary tension disks- upper and lower- which affect both upper and understitching.
You can access most tension disks with a small screwdriver, and always remember that the proper adjustment is the one in which you get even upper and lower stitch length on both sides of your work with the presser foot engaged!
5. Use Two Spools
Ensure you use two spools when topstitching to avoid too much bulk in one area. It is not only more attractive, but it makes the finished stitching stronger, which is something you always want when handling clothing!
6. Use Different Threads
Use separate threads for decorative stitching and standard embroidery-style work. Decorative stitches will look better if done with a fine thread that contrasts with your background fabric or an invisible monofilament thread.
If you decide to use regular thread, make sure the needle is appropriate for both types of work or use two different needles! Additionally, it will also make your stitching look more refined and professional.
7. Secure Your Threads
When you have finished stitching, don’t just cut the thread close to the fabric. You need to secure it so that it doesn’t unravel or spring loose from your work.
There are a variety of ways to do this:
- You can knot the thread at each end before starting on a new section.
- Twist several stitches in the same place while stitching them together.
- Backstitch a few stitches when finishing a line of decorative stitching and then snip off the ends, or use fray-check.
Some Final Words
And there you have it! We hope that once in a while, when you experience one of the most common sewing machine problems, refer to this guide to make the right diagnosis before seeking professional help.
As a result, you won’t be sending away your machine for repairs at too frequent intervals, which will save both money and time.
Furthermore, as you now have a better understanding of the mechanics of your machine, you’ll feel empowered to repair it yourself when faced with similar problems in the future.
Happy Sewing!
