Last Updated on October 4, 2021
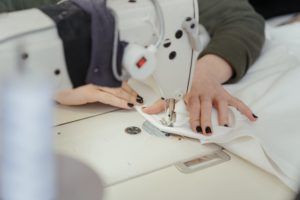
Tailors, dressmakers, and even home sewers might have experienced difficulties or problems with their sewing machines. It is not important whether they are using mechanical or sewing machines powered by electricity.
Since a faulty sewing machine will not let you start a project or finish a good one, you should learn how to troubleshoot your sewing machine. To know and understand more about sewing machine problems, continue reading the article to learn about their causes and how to repair them.
Terms To Know Before Troubleshooting Your Sewing Machine
To help you understand the troubleshooting tips I will be sharing with you in the latter part of this article, here are the parts of the sewing machine you need to know along with their functions:
- Pressure regulator – As its name implies, it regulates the sewing machine’s presser foot pressure. This part of your sewing machine is not something you usually need to adjust.
- Bobbin winder tension disc – This part of the sewing machine applies thread tension for the bobbin winding.
- Thread tension control – The portioning of your sewing machine’s thread will be controlled through this component.
- Cover face – It protects and covers the light and the parts inside the sewing machine.
- Thread cutter – It is a tiny knife that easily cuts the thread tails.
- Thread take-up – You can move it up and down to feed the thread to the needle. It also tightens the loop created by the shuttle.
- Feed dog control – This sewing machine component lets you raise or lower your feed dogs.
- Extension table – A removable table or additional table that gives extra room and support to what you are sewing. Usually, it is removed for small items.
- Stitch width control – It lets you control the stitch width of your sewing machine.
- Reverse stitch lever – A held-down lever to start and complete a back-stitch or sew backward.
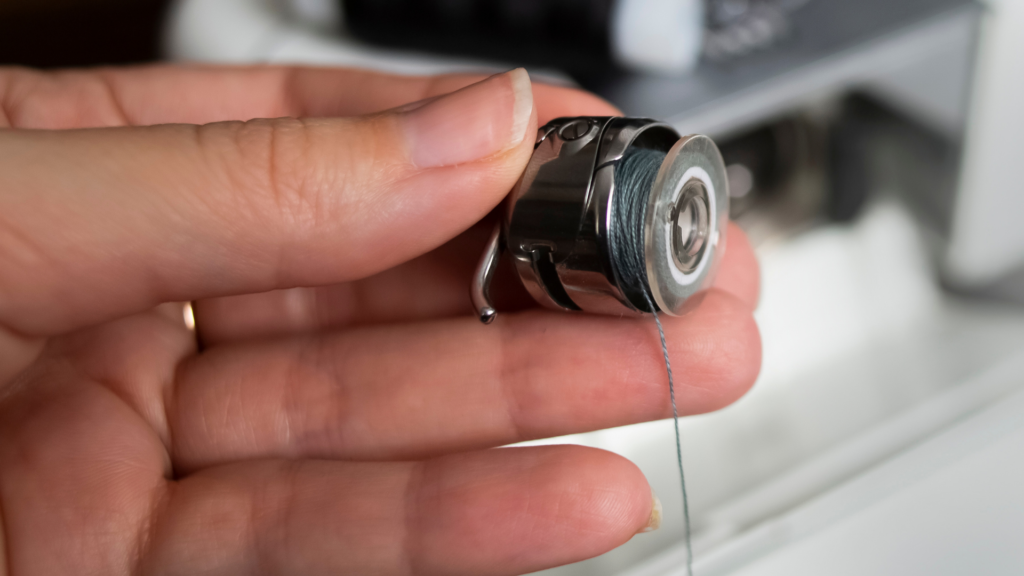
- Bobbin winder shaft – It is where you put your bobbin to place a thread to it.
- Bobbin winder stop – This component prevents the bobbin from over-winding.
- Stitch length control – It lets you adjust the sewing machine’s stitch length.
- Stitch indicator – This sewing machine part displays your selected stitch.
- Power/light switch – It switches the light off or on and controls the machine’s electrical current.
- Stitch selector – You use it to select the stitch you wish to use, like straight, blind-hem, or zig-zag.
- Identification plate – It is your sewing machine’s personal identification number.
- Hand wheel – It lets you manually move the machine’s feed dog and move the needle up or down. Usually, it is used when pivoting at corners.
- Super pattern group selector – This component lets you change the pattern groups.
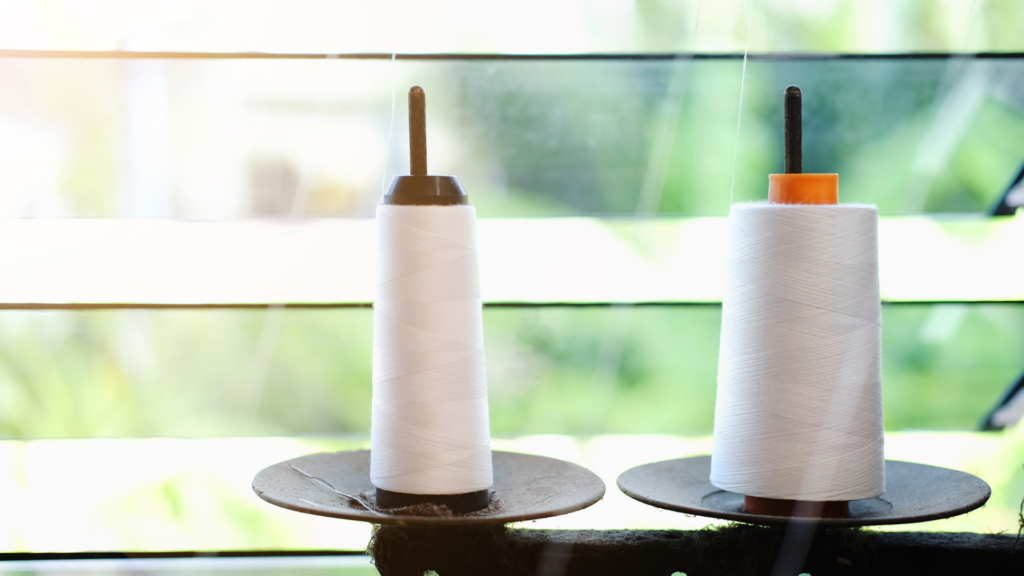
- Horizontal spool pin – When sewing, this sewing machine part holds your thread.
- Plug socket – It is where you can find the foot control and plug in the power cord.
- Presser foot lifter – It causes the presser foot to lift.
- Thread guide – This part of your sewing machine works like a guide for the thread, keeping it on the right path.
- Buttonhole stitch adjuster – It lets you adjust the stitching on a buttonhole.
- Thread guide – As its name suggests, it keeps the thread on the right path.
- Presser foot – It allows you to stitch in different styles when attached to the sewing machine, such as blind-hem foot, gathering foot, ruffler, or ¼” piecing foot.
- Bobbin cover plate – It is the plate covering the bobbin housing and the bobbin, preventing the bobbin from popping out while it is moving.
- Foot release lever – It is a tiny lever that you can find at the back of the presser foot’s ankle. It releases the foot and lets you change out your feet.
- Needle clamp screw – This component holds the needle in place. You can adjust it to loosen or tighten when releasing or securing the needle.
- Bobbin cover release button – It works as the release catch, letting the bobbin cover be closed into place or removed.
- Retractable spool pin – The sewing machine’s pin holding the thread can be raised or lowered.
- Feed dogs – It is a set of metal teeth grabbing the fabric and feeds it.
- Buttonhole lever – It works as the sensor to let your machine know when it has to turn around when the lever touches the plastic guide. It helps to make the right buttonhole size for the button you will use for the project.
- Automatic needle threader – This component is a pull-down lever. It threads your sewing machine needle’s eye for you.
- Presser foot screw – It is a screw that holds the presser foot onto your sewing machine’s shank. You have to remove it before attaching some accessories like the ruffler.
- Needle plate/Stitch Plate – A needle plate is the flat metal piece under the presser foot. It features an opening for the feed-dogs, an opening for the needle to pass down into the bobbin housing, and measurement markings for your seam allowance. You can remove the stitch plate so you can clean out lints.
- Foot control – Similar to your car’s pedal, your sewing machine also has a pedal that lets you control the speed of your machine operation. When you push it down harder, it will also tell your machine to go faster. Always remember that, similar to a car, faster means harder to control.
Most Common Sewing Machine Problems
Tangled threads, broken needles, and inconsistent tension are just a few common sewing machine problems experienced by tailors or even some sewers. However, you can have your sewing machine repaired and assembled at home without spending much. Here is a list of the most common sewing machine problems and how to fix them.
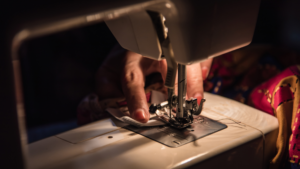
1. The Sewing Machine Becomes Noisy
When your sewing machine starts to make noises, it is time to clean and remove some of the collected oils from the needle bar. Always check if needles are working and not damaged. Check your sewing machine’s manual for the suggested cleaning procedure. Oil up or apply lubricants to your sewing machine and try to sew some fabrics if it still makes some noises.
2. The Needles Are Easily Broken
When a needle breaks easily, it is a sign that needles are damaged. Check if needles are correctly inserted. Another reason for needle breakage is because it is not suitable for the fabric or material you are using. If needles are not inserted correctly, it will cause striking and strains. Always put the needle on a flat side and leave no space after it is inserted in the shaft. Screw it properly and tightly.
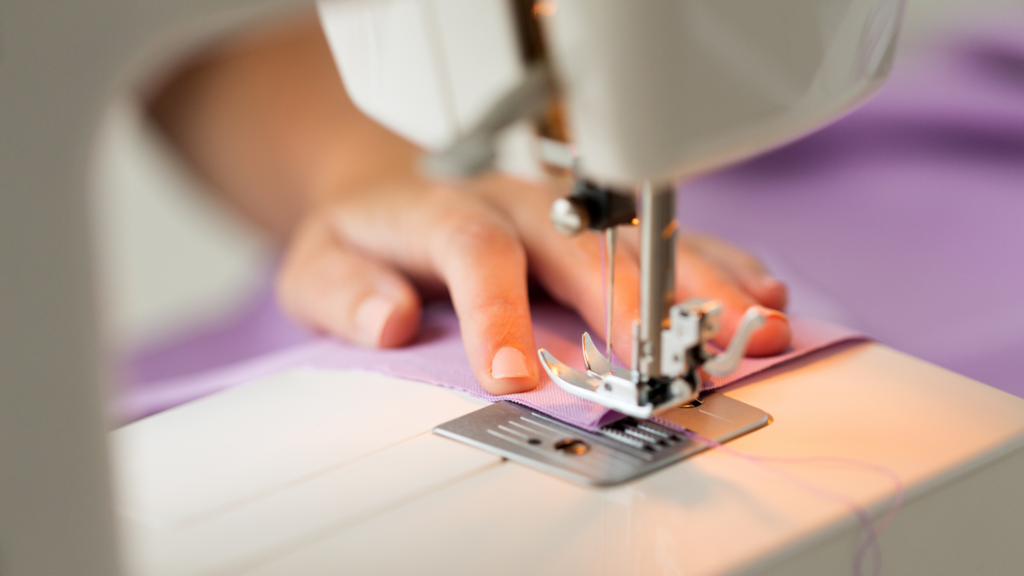
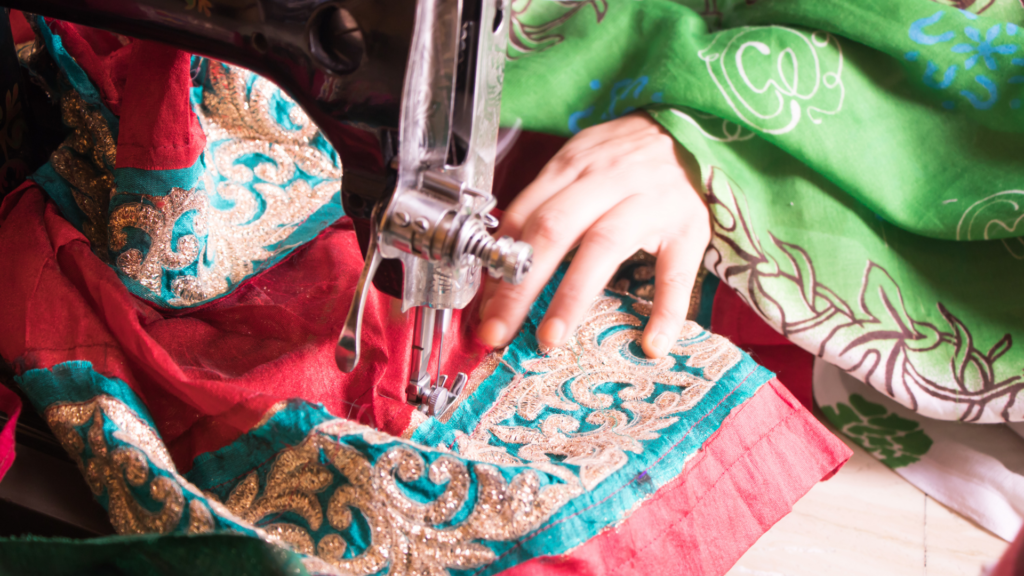
3. The Fabric Does Not Fit In The Sewing Machine
There are sewing machines that cannot sew some types of fabrics or materials. If you sew thicker materials, you need to consider the type and sizes of the needles and threads you will be using. It will help you to avoid straining your fabric in the sewing machine and utilize it well.
If fabrics are difficult to feed in your sewing machine, try to clean around the feed dogs to remove lint. You can also try to apply more pressure to the presser foot to maintain the fabric in the sewing machine.
4. The Threads Are Uneven And Low Quality
Always use a durable and quality thread to avoid issues with your sewing machine and the fabrics. Let the feed dog pull the fabric under its presser foot; avoid pulling or forcing the materials when sewing.
To prevent your sewing threads from breakage, make sure to check the sizes and type before using it in a specific fabric. If your needles and threads are compatible, the fewer chances that you will encounter a problem.
5. Friction Builds Up In The Sewing Machine
When sewing, using a thick needle will strain the fabric and can cause damage. If the sewing machine is not lubricated, it will most likely build up friction when sewing denser and elastic fabrics.
6. The Needles Do Not Move When Sewing
Check the winding mode of the sewing machine’s bobbin if it is in the correct and proper position.
7. The Threads Become Loose
If the threads are easily tangled and loosen, there might be problems inside your sewing machine. Small particles such as dust and lint can loosen the threads in your sewing machine. You can avoid this problem by cleaning your sewing machine, especially inside the bobbin case. You may use small vacuums with brush attachments to clean and remove the dirt and lint.
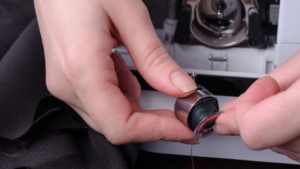
8. Bobbin Case Wears Easily
If you are using a plastic bobbin case for your sewing machine and have inconsistent tension, try to replace it with a metal bobbin case. It will help the bobbins to maintain the correct and proper tension of the sewing machine.
9. Threads Break And Tangle Easily
Know the size and types of threads to use before sewing fabrics or other materials. Some of the delicate threads are commonly used for hand sewing only. Higher tension on sewing machines also causes the thread to break and tangle, adjusting the tension setting to the top thread.
10. Bent Needles Every After Use
When sewing a new fabric or material, always use a new needle according to its size and type. It will prevent problems when sewing materials and avoid making your fabric look dull. Different types of fabric or material such as leather and denim also require different needle types to ensure the quality of seams of your project.
11. Clustered Threads When Sewing
Remove all extra threads or knots under the fabric. It will cause thread clustering when sewing. Carefully pull each knit or extra thread under the fabric to avoid some damages to the seams. You can cut the extra threads after sewing using scissors. You can also check the tension setting of your sewing machine to adjust according to thread type and fabric.
12. Sewing Machine Makes Poor Seams
When your sewing machine is set to a proper pressure, you can easily feed your fabric to be sewn. Poor pressure in the presser foot will result in poor seams.
13. Seams In The Fabrics Are Inconsistent
A wavy and inconsistent seam is one of the common issues with sewing machines. It may also be a problem with the sewing technique that you are using. Pin the edges of your fabric or material to avoid alterations. Wavy seams are also caused by thick fabrics being fed in the sewing machine.
14. Wrong Type And Size Of Bobbins
Threads and needles are not the only materials to consider when sewing. Choosing the right type and size of bobbins for your sewing machine is important.
15. The Sewing Machine Does Not Create Different Stitches
Check the length and width setting of your sewing machine if you will be using various stitches. When the stitch setting is not properly set, chances are the seams will start to bunch and become distorted.
Some Final Words
To sum it up, when you encounter a problem with your sewing machine, the basic knowledge is to check the manuals and follow instructions. However, proper maintenance and some common fixes of your sewing machine are essential to prevent damages and issues. By knowing how a sewing machine performs, you can also repair and assemble it easily.