Last Updated on October 11, 2021
Embroidery is an art done by using threads and needles. It is used to decorate designs into materials such as fabrics and leathers with different kinds of stitches.
Embroidering letters can be done by hand or using a sewing machine. If you have a sewing machine, you can easily make unique designs and letters. This comprehensive guide will show you on how to embroider letters using a sewing machine.
Ways On How To Embroider Letters With A Sewing Machine
If you are fond of adding fancy to your fabrics and other handmade projects, you might consider embroidery to be on your list. Here are some ways to embroider and make unique designs for your following projects using a sewing machine.
1. Make Patterns
Choose fonts for the letters you want to embroider. Pick fonts that are big and thick to avoid scripts. There are also websites on the computer where you can download samples for letter designs.
2. Use Your Creativity
Choose a thick font or pattern. Print the design that you think you can easily follow. Always consider the size of the letters to the fabric you will be using.
3. Use Pencil Or Trick Markers
Trace the lines or letters in tracing paper with embroidery markers or pencil. You can simply transfer it to the fabric using a carbon sheet.
4. Prepare the fabric And The Sewing Machine
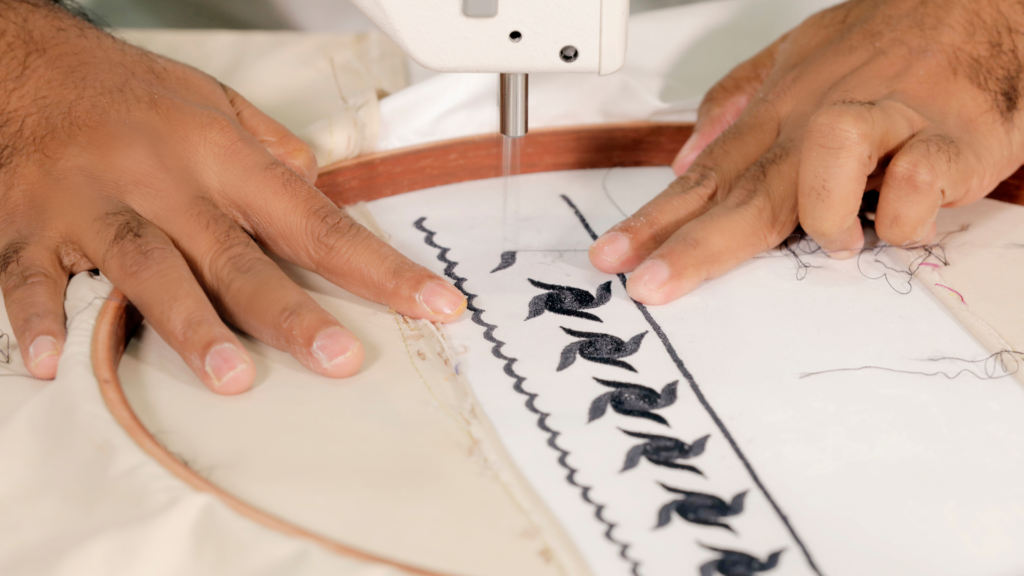
Place the material you are using or the fabric in the embroidery hoop. Set up the embroidery hoop properly to avoid problems while stitching. Ensure that the design is in the center of the hoop and has enough space for sewing.
5. Keep The Sewing Machine In A Straight Stitch
Always test the length and width of the fabric you are using. You need to stabilize the fabric to make it sturdier and give you a cleaner edge. You can also use a double-sided stabilizer to allow you to iron designs on the fabric.
6. Keep The Paper At The Top Of The Fabric
Embroider over the letters written. You can put a needle or pin the paper on the fabric for you to follow while embroidering.
7. Be Sure With The Measurement Of Your Letters Or Designs
Adjust the length and width of the stitches to get your desired size. Try out first to stitch on a piece of fabric before embroidering on the actual fabric or material.
8. Start Stitching The Template
Make sure to use embroidery needles only. Start threading the sewing machine with embroidery threads and bobbins.
9. Stitch The Edge Of The First Letter/Pattern
Secure the thread by holding the embroidery hoops, especially if you do the first stitches on your first letter.
10. Move The Embroidery Hoops If Needed
Make small back and forth motions if needed. Doing so will prevent the threads from puckering. Continue to embroider until you complete all the letters.
11. Tear The Paper
The fine dotted lines created by needles make it easy to tear the paper from the fabric.
12. Thread The Ends
Do not pull the fabric from the sewing machine to prevent uneven filling. If done embroidering, raise the needle and thread. Get your embroidery scissors to cut excess threads.
Basic Tools Needed To Embroider Using A Sewing Machine
Embroidering letters can be a bit complicated compared to regular stitching by hand. But, with a sewing machine, this work of art can be possibly done in an easier way. Below are the basic tools you need to start embroidering letters and unique designs.
- Pencil or tailoring markers – This tool is used to draw lines and patterns to follow when stitching or embroidery. Tailoring markers will fade away when the fabric is washed.
- Quilting – This sewing machine tool keeps your fingers away from the needle. This will keep the fabric moving or the embroidery hoops.
- Embroidery hoop – You can choose what hoop to use when embroidering. However, smaller embroidery hoops can give you better control over meticulous or complex designs and patterns. An embroidery hoop also prevents the fabric from going in the wrong direction.
- Tailoring or embroidery scissors – It is used to cut loose threads, fabrics, and other materials. Embroidery scissors are very sharp and small. You may also use your tailoring shears or scissors, but embroidery scissors will give you more smooth and tidy cuttings of threads.
- Darning foot – This embroidery tool will help you to stitch efficiently and prevent the fabrics from pulling while stitching.
- Stabilizers – This tool is used to avoid crease and folds into the fabrics or other materials while embroidering letters or any patterns.
Dos And Don’ts When Embroidering Letters With A Sewing Machine
Sewing or embroidering letters with a sewing machine can be quite difficult for beginners. There are certain techniques and details to consider in creating and making designs. Here are other things to consider in helping you embroider letters using your sewing machine.
- Choose fonts that are easily patterned – You might be overwhelmed with a lot of letter patterns or designs that you see on websites. If you are a beginner, always choose a font that can be patterned or lined easily.
- Clean fonts are better – Choose San Serif Fonts. These types of fonts are legible but still have their stylistic patterns.
- Fonts must be at least ½ inch high – Always stay within the thread count to avoid very close letter patterns. Do not pick fonts that are too detailed, and it makes the embroidery more difficult and complicated.
- Take note of the space – When embroidering, the size of the work space or artwork space is important. It will help you to be guided with the size of letters and patterns that you will embroider. You can also use simple shapes.
- Make outlines – This will allow you to be guided with the design you will embroider.
- Contrast colors – Use dark colors on light-colored fabrics and vice versa. Do not use gradient colors.
Some Final Words
Learning how to embroider letters using your sewing machine makes it possible by following simple guides and instructions. Depending on your sewing machine modifications, you can start sewing or stitching your first embroidered letters on your fabrics.
Have fun and be patient because a lot of methods and techniques are required to come up with a finished product.

![Read more about the article 32 Sewing Terms Every Beginner’s Must Know [Guide]](https://www.sewkitkit.com/wp-content/uploads/2018/03/sewing-machine-101-300x200.jpg)
![Read more about the article A Beginners Guide To Threading A Singer Sewing Machine [2023]](https://www.sewkitkit.com/wp-content/uploads/2021/09/singer-01-300x169.png)
