Last Updated on September 30, 2021
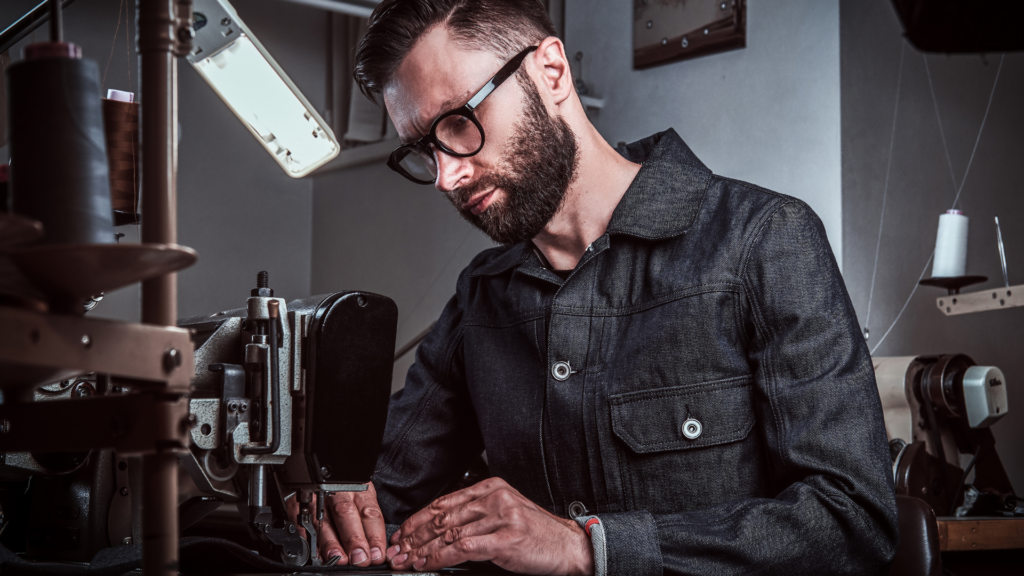
Sewing is a famous hobby for almost every woman on the planet. While others even make sewing a career by creating items that will be beneficial to our everyday use, such as pieces of clothing, beddings and a lot more.
But one question still needs to be addressed to an aspiring sewer’s mind; and that is how to end a stitch using a sewing machine since we are all aware that it’s easier to end a stitch by hand.
There are several stitches that you need to master on your sewing machine, and the “end stitch” is among the most important stitches for finishing or locking the thread. It keeps your stitch from unraveling or breaking up and that will give you peace of mind.
Ending a stitch is significant in every sewing project because when you’re done and the last stitch on the edge of the fabric is not properly knotted, the thread will rip apart quickly. That’s why this blog will help you learn how to end a stitch on a sewing machine.
We have two different sections that we’ll share with you below which tells how to end a stitch on a sewing machine from simpler to more detailed methods.
A Simple and Easy Way to End a Stitch on a Sewing Machine
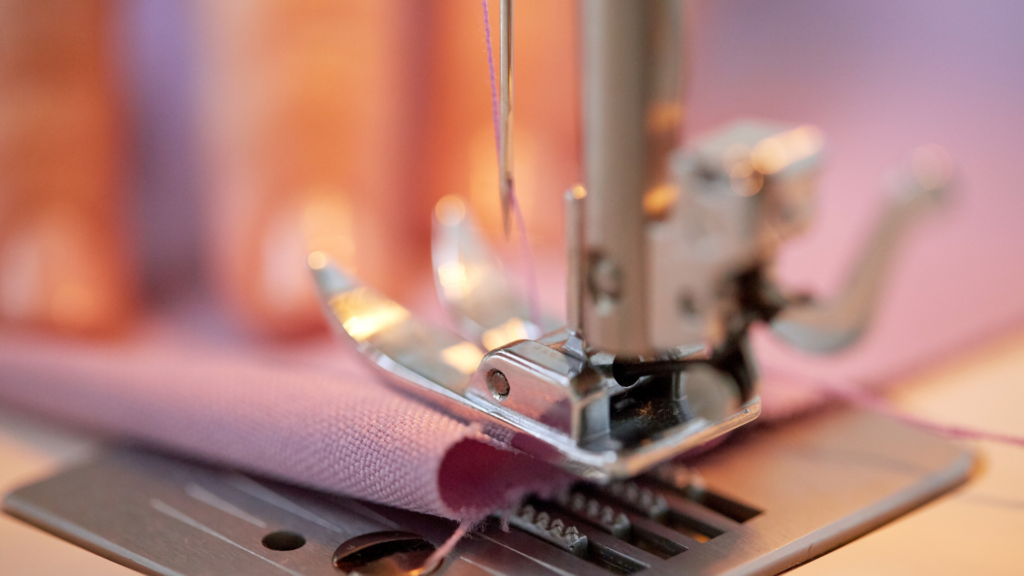
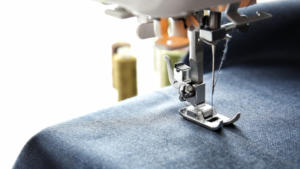
When making a seam, place the full fabric behind the presser foot. It is important to keep the cloth aligned with the seam guides on your machine.
Next, begin sewing in reverse for a few stitches until you reach the end. Stitch forward to the limit of the seam at this point. Maintain the seam line straight to maintain consistency. Keep the seams in place for a nice finish.
6 Detailed Steps and Methods to End a Stitch on a Sewing Machine
Ending stitch on a sewing machine differs greatly from hand stitching. To produce an end stitch, you must first grasp how your sewing machine works and acquire the proper skills. Here are the procedures for making an end stitch.
To start the “end stitch”, use any stitching technique, such as zigzag or straight stitching, until you are near the edge of the material; you can always experiment on a sample fabric if you are new to using a sewing machine and ending stitches.
1. Use the Reverse Button
Almost all sewing machines have a reverse button. It is great if you can find the reverse button on your sewing machine.
Usually, it is just a dial with arrows indicating movement. It would be easier if you did it backwards. Always double-check the dial before starting to avoid further issues.
2. Backstitching
After hitting the reverse button, you must perform a backstitch from 3 to 5 times on your fabric. After that, the sewing machine will begin backstitching on your stitches.
To make the final stitch, you may also adjust the stitch length. However, it is important to maintain the backstitch short for it not to unravel.
Certain stitches are unnecessary; you can use whatever you like, such as straight or curved stitches. Then, simply sew it along the edge of the fabric where you want to finish it.
If you are using a normal contemporary machine, you will notice a round-shaped lever on the machine’s body. So, if you need to backstitch, press the button once you start and when you stop backstitching.
However, some machines need you to hold that button down while backing the stitch and release it when done.
After hitting the button, use the foot pedal to sew several back stitches.
3. Forward stitch
Put the reverse button to its original position and continue sewing forward for a few stitches. Then, begin stitching until you come to the end of the fabric. When you finish, double-check that three parts of thread overlapping the final stitch on the fabric.
4. Raising the needle
You may finally lift the needle using the handwheel. Then, take the fabric out of the machine and pull the threads from the final stretch. Finish by carefully pressing the seam, and now you just have discovered how to end a stitch.
5. Placement stitching
Placement stitching is a great method with modern sewing machines that provide various stitching options.
This stitching technique can do many stitches at the same time while preventing the seam from unraveling. The only downside of this stitching method is that it produces a bulge in a particular area on your material or fabric.
6. Reduce length
When your sewing machine lacks backstitch or stitch-in-place options, you may try reducing the stitch length.
Longer stitching is more likely to rip out than shorter ones. So aim for about 16 to 20 stitches per inch and reduce the seam at the beginning and end.
The end stitch is by far the most important stitching segment; without it, your stitching work is useless because threads will unravel on whatever you sew; you do not want that happening to your sewing projects.
Tips to Prevent the Thread From Unraveling While Securing the Seam’s End
Sometimes you’ll notice your stitches are visible and they begin to droop. You must secure such stitches with a backstitch or locking stitch.
Backstitching is the greatest method for preventing the stitches from unraveling or getting loose and hiding the seam. It is just a simple back and forth stitch at the beginning and end of the seams.
Whenever you sew a piece of fabric, the seam will always have a beginning and an end. These points must not unravel and spread out in multiple directions.
Furthermore, you must verify that your stitching is properly completed. Backstitch and lockstitch can be used to secure the starting and ending points of a seam.
Backstitching is simply stitching back and forth at the beginning and end of seams to perform the stitch.
In contrast, lock stitching is a built-in feature in most modern sewing machines that makes a single stitch on the fabric forward and backward without repeating.
Some Final Words
When you are a beginner sewer, you may find ending your stitch on a sewing machine harder than it seems.
But do not be discouraged, especially if you really aim to learn how to do it.
Instead, practice and be patient and read tips from the experts and you will surely reach your goal in whatever sewing techniques you may want to learn in the future.
Happy sewing!

![Read more about the article How To Thread A Sewing Machine Needle Easily [2023]](https://www.sewkitkit.com/wp-content/uploads/2021/09/threading-a-needle-2-300x169.png)