Last Updated on June 1, 2022
Do you need help installing a needling into a sewing machine. In this guide we will show you exactly how.
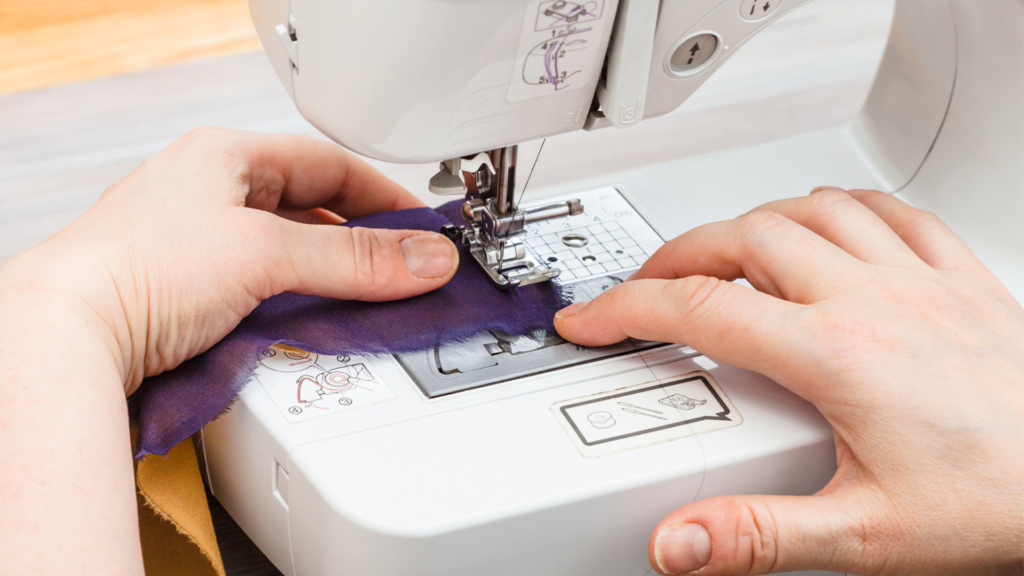
Installing a sewing machine needle properly will help prevent any permanent damage on your sewing project or sewing machine. And since you don’t want to break the needle while placing it, learning the proper way to do so will give you the confidence you need to install a sewing machine needle perfectly every time.
Step By Step Guide For Placing or Changing A Sewing Machine Needle
The following details are accurate for just about all sewing machines ever made. These information will help you determine which side of a needle should be threaded and which way you should insert the needle bar.
- A hook will be attached to the bobbin thread on the sewing machine. It could be the point of a boat shuttle or bullet shuttle or a rotary hook found on oscillating or rotating devices. All of these are different hook implementations.
- A needle will have a lengthy thread groove down one side, which you should be aware of. On the opposite side of the needle, there is usually a short groove and a scarf. The hook is always faced by the needle’s short groove/scarf side. On the upward stroke of the needle, this is the side that makes the tiny loop.
- The hook is threaded through this little loop between the needle and the thread. The scarf on some older needles is missing. Whatever the case may be, the hook will always pass by this side of the needle rather than the long thread groove side.
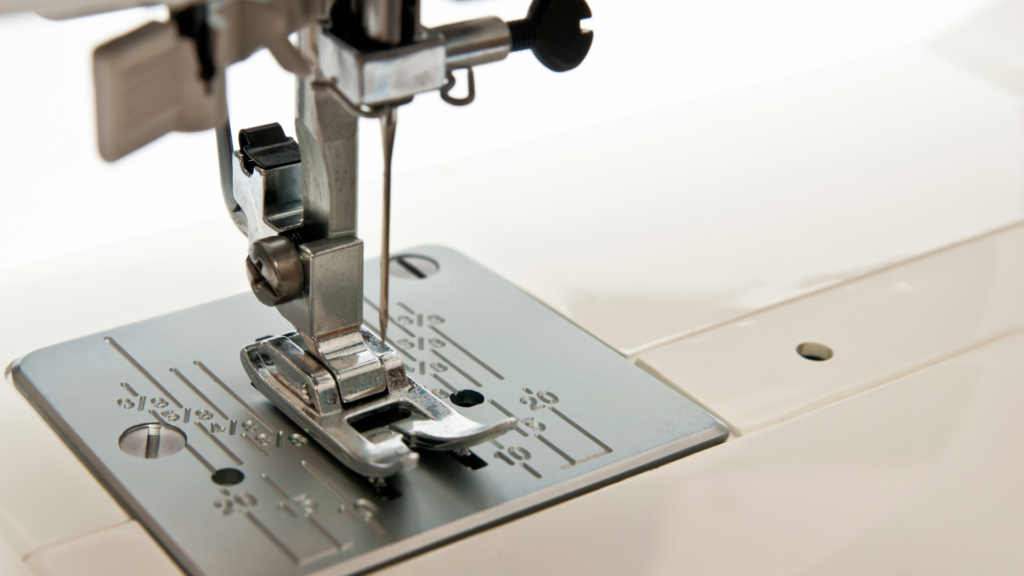
With the information above, you should be able to remove the needle plate and insert a needle. You should know which side of the needle the hook should pass by while you slowly turn the handwheel by hand.
You next orient the needle such that the scarf side faces the hook when it passes by the needle. It indicates that the needle’s long thread groove is on the opposite side. From the side, thread the needle into the eye. Use a long thread groove at all times.
Step 1: Determine The Distance From The Butt To The Top
The thread loop generated during the upward stroke of the needle must be caught by the hook or shuttle point. The hook will miss the loop if it is too high or low, resulting in a missing stitch.
Move the needle down in the needle bar a bit. A needle with a too-short needle eye distance should meet all of the other conditions stated below.
Step 2: Measure The Overall Needle Length
When the feed begins moving the fabric, the needle’s point may remain if the needle length is too long. It can result in stitches being missed, puckering, and needle damage. On its downward stroke, a longer needle may also hit a portion of the machine.
Step 3: Fit The Shank Of The Needle Inside The Needle Bar
This is an easy one!
Step 4: Use A Round Shank Needle In The Place Of A Flat Shank Needle
A round shank needle’s shank diameter must be much smaller than the original flat shank needle to fit inside the needle bar. You must also appropriately orient the needle in the needle bar, as the flat shank on the needle will not accomplish this for you.
A smaller shank will move the needle slightly closer or further away from the hook or shuttle point. It isn’t generally a problem, but it can lead to missed stitches or, worse, a hook catch. So make sure you check for faults according to the guidelines in the next section.
Step 5: The New Needle May Not Have A Scarf Like The Original
A scarf will add a fraction of an inch to the distance between the needle and the hook or shuttle tip. But this isn’t generally a problem, but it could result in missed stitches.
I doubt you’ll ever come across this. Scarves come standard on almost all new needles. If you have this issue, ensure the hook does not come into contact with the needle while stitching.
A collision will occur if the hook is positioned to go through the scarf region of the needle and there is no scarf. That’s a negative thing!
When To Change Your Needle
The most common suggestion for any sewing problem is to change the needle. After repeated use, needles become dull, nicked, or bend due to sewing over a straight pin or tugs on the fabric.
Changing your needle can help you maintain good quality stitching. Otherwise, your sewing project will suffer.
You need to regularly change your sewing machine needles according to how often you sew and your sewing style. Also, it is ideal to use a new needle on every project you do or when you begin sewing unique materials such as leather or fabric that is something stretchy.
Aside from poor stitching quality, failing to change your needle when necessary can lead to broken threads or damaged or puckered fabrics.
Some Final Words
To sum it up, knowing the right way to change your sewing machine needle can help you avoid accidents, poor stitch quality, and ruined projects. Make sure to regularly change the needle of your sewing machine to achieve high-quality results on every project you do.
![Read more about the article Types of Sewing Machine Threads: Everything You Need to Know [Part 1]](https://www.sewkitkit.com/wp-content/uploads/2021/08/thread-c-300x169.png)
![Read more about the article Ultimate Guide to Sewing Machine Tension [2023]](https://www.sewkitkit.com/wp-content/uploads/2021/08/tension-2-300x169.png)
![Read more about the article Types of Sewing Machine Threads: Everything You Need to Know [Part 2]](https://www.sewkitkit.com/wp-content/uploads/2021/08/thread-d-300x169.png)