Last Updated on August 31, 2021
Do you know how to thread a bobbin on your sewing machine? Or do you find it struggling to figure it out by yourself? Many beginners are frightened by the thought of threading a bobbin. That’s because there is so much conflicting information about how to do it right.
Bobbin threading is a skill often suggested to be learned by new quilters and sewers and can result in frustration if proper technique isn’t understood. There are many ways to thread a bobbin, and it doesn’t matter which one you use. It’s just vital that you know how to do so.
Steps On How to Thread A Bobbin Properly
Bobbin thread is the thin thread that runs from your spool of sewing machine thread to the bobbin (one of two spools housed in most machines). Nowadays, they are typically made from metal or plastic.
If you are having problems threading your bobbin, this definitive guide can help. It is an easy-to-follow step-by-step instructions on how to thread a bobbin appropriately.
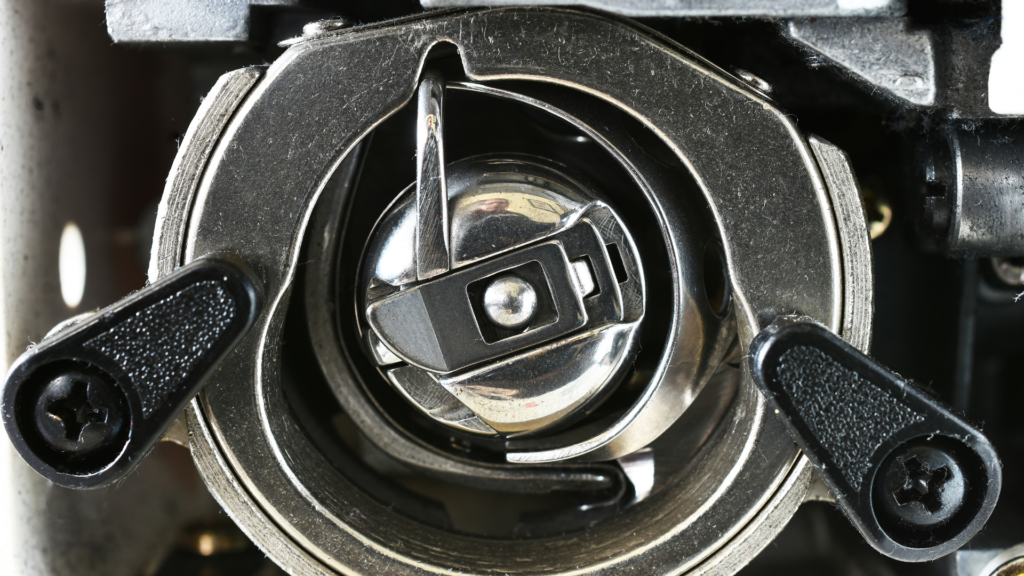
- Pull out the throat plate of your machine. Look for the notch, if there is one (the majority have this).
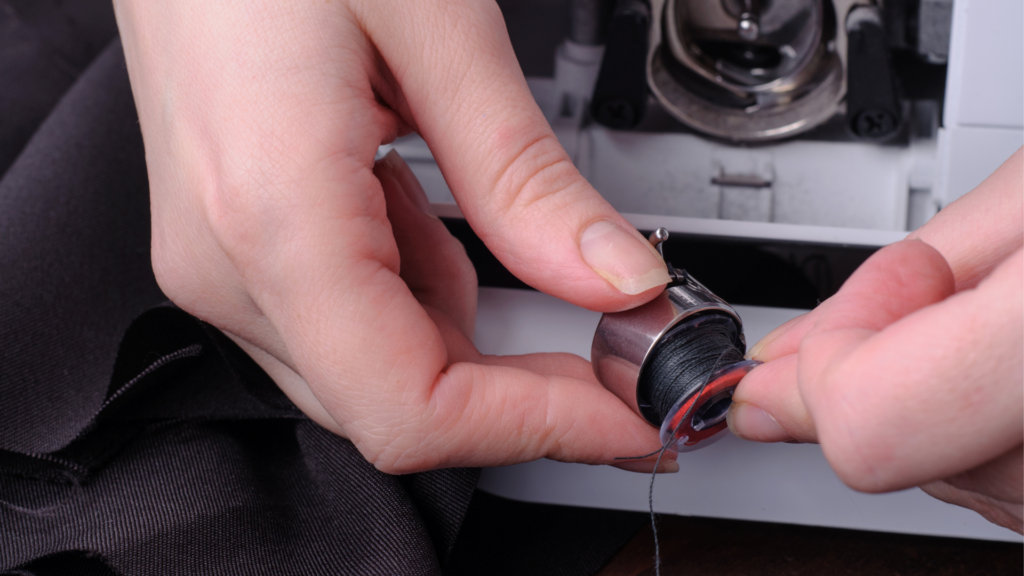
- Pull the spool cap or empty bobbin out of your machine by gripping it at its end and pulling upward slowly so that you will not disturb the hook position yet.
- Locate where to place your thread and which side should go on.
- Unravel your thread, but make sure to keep it taut so that you can control its length easily as you feed it into the machine. Refer to the manual of your sewing machine if unsure about how to proceed.
- Place a finger through one end of the thread and run it upwards alongside the spool hook.
- Thread the end of the strand to the notch in the throat plate and pull it down in front of the wheel. Feed it again above so that you can position the bobbin correctly before you start sewing.
- Run your thread downward along the groove of the throat plate.
- Next, come back up along the other groove and cross your thread under the needle bar in front of the wheel.
- Slip the bobbin case underneath this crossing point to form an X-shaped structure with your thread. Make sure that you have enough slack in your thread to create this position.
- With the scissor, cut your thread off but make sure you leave 1-inch excess at the end for future use. It is advisable that you never cut closer than 3/4 inches because it is not recommended to have loose ends when sewing since they can get stuck in your machine and even damage it.
- Test your stitching by pulling your bobbin out and sewing a few stitches to see if everything is in place correctly.
- Slide the bobbin case back into its compartment behind the throat plate and close it until you hear a click sound. Ensure that your machine is not sewn with loose threads since this can damage the hook and needle bar.
- Finally, test the stitches and ensure that you have done everything correctly or make adjustments to your sewing machine according to the manual’s error. Now that you have threaded your machine, you can begin sewing!
What You Should Know About Sewing Machine Bobbins
This is a frequently requested topic. Therefore, it would be best to cover what you must need to know about sewing machine bobbins. Excellent information for both novice and expert sewers!
There are also different types available in the market today. Choose the one that is right for your machine and your needs. Don’t just grab a box of off-the-shelf bobbins that are a lower price. They may not fit your sewing machine appropriately.
Bobbins Are Not All the Same
There are different sizes of bobbins, and some fit only specific machines. Make sure you get the right size for your machine.
Bobbins Are Not All Metal
Many of the bobbins you find at your local fabric store (or big box store) are plastic. They don’t work very well for serger applications, and can’t use them on any machines. You can buy plastic bobbins that are made specifically for the serger sewing machine, or you can purchase metal ones.
Metal Bobbins Come in Different Finishes
There are shiny and non-shiny metal bobbins. There are even gold-colored ones! Most machines don’t like the polished finish and will shred the thread for the first 5 or 6 stitches. Non-shiny bobbins are easier to find, but they tend to rust/corrode quicker than shiny ones.
The Right Bobbin Can Make a Big Difference
The movement of the sewing machine and the tension on the serger have a significant impact on the performance of your machine and the creation of uniform stitches.
Bobbins are designed to provide the right amount of tension on the serger thread and smooth movement. The difference between a high-quality bobbin and the average bobbin is fantastic! If you are having issues with your sewing or serger machine, try switching to a different type of bobbin. You won’t be disappointed!

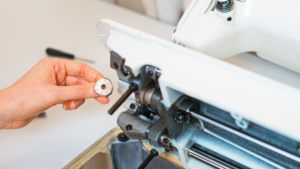
Bobbin Winding Templates Make It Easy to Load the Bobbin
These handy little gadgets are not expensive and make it easy to wind the thread onto your bobbin for straight, even stitches. They can be made out of plastic or metal, and they will make your sewing easier!
The Bobbin Fits Into the Machine, but How Does It Fit on the Spool
Some bobbins are designed with a standard spool, and others are used with a stackable spool.
A Bobbin Can Go Around and Around, but It’s Not a Good Idea
When the bobbin starts unwinding off the spool, stop winding. Turn the machine off and take the bobbin out of the machine. Set the device to sew a few stitches, turn it off, then rewind your bobbin.
Takeaway
Threading a bobbin correctly is essential for the thread to not tangle and snag. Threads should flow smoothly through the machine, with equal tension on both sides of the cloth.
If you followed these instructions correctly, then you should have no problems threading your machine at all. Keep on practicing, and before long, you will have expertly threaded your bobbin in no time.
![Read more about the article A Beginners Guide To Threading A Singer Sewing Machine [2023]](https://www.sewkitkit.com/wp-content/uploads/2021/09/singer-01-300x169.png)

