Last Updated on September 14, 2021
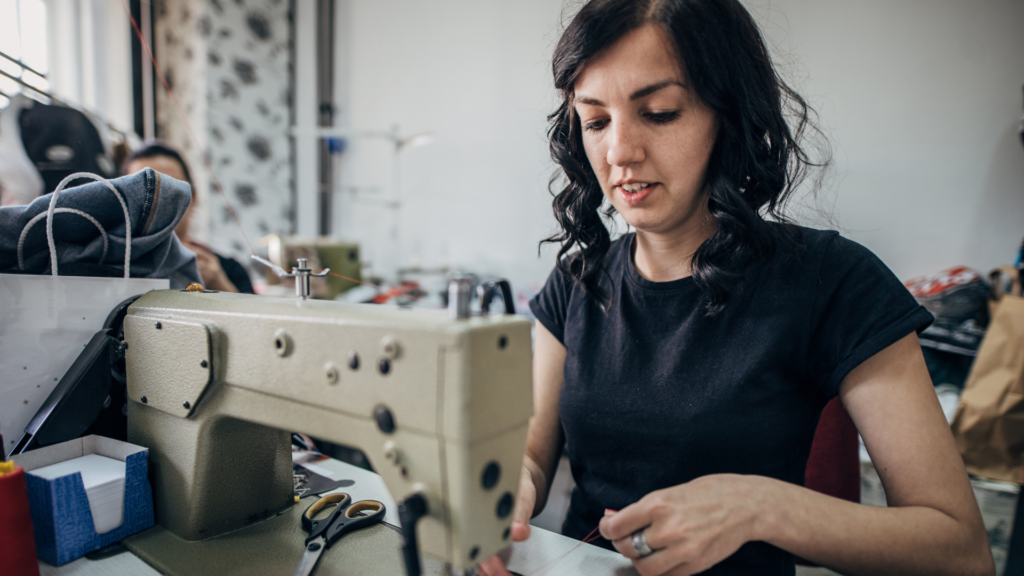
Have you ever threaded a sewing machine before? It seems like such an easy task, but it can be frustrating and time-consuming. If not done correctly, your threading will result in either skipped stitches or tangles that mess up the tension of the fabric.
Threading a sewing machine is not as complicated as it sounds, and it is one skill that every sewer should know how to do. Whether you are new to sewing or have been doing it for years, there’s always room to improve your skills and techniques!
This guide will walk you through the process of threading a dressmaker sewing machine step by step, along with helpful tips and tricks along the way.
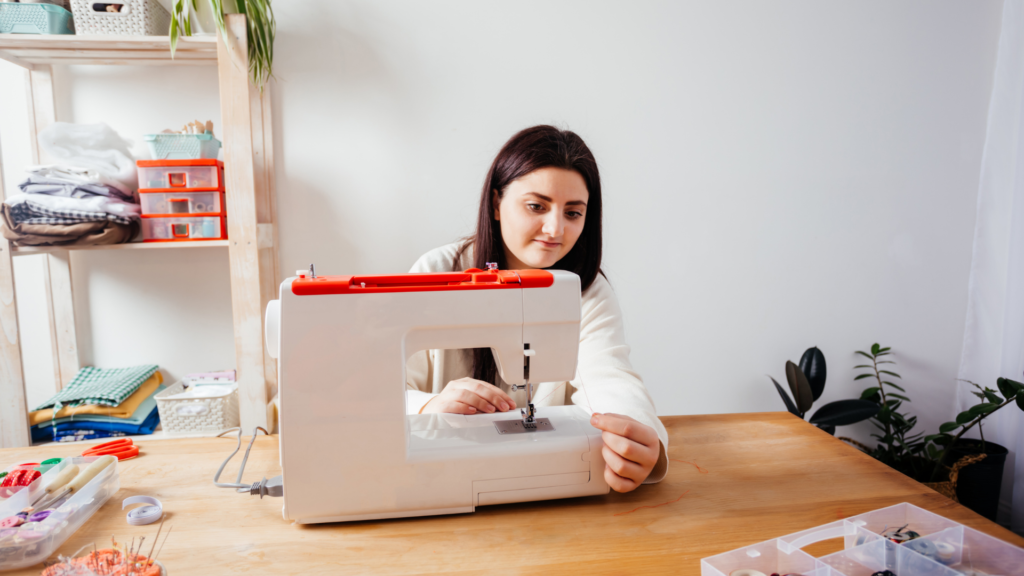
How to Thread a Dressmaker Sewing Machine
A dressmaker sewing machine requires two sources of thread, like any other machine.
- Threading the bobbin
- Threading the machine
Prepare to thread a dressmaker sewing machine
- First and foremost, locate the threading diagram at the side of your sewing machine.
- Check first if the bobbin is inserted adequately into its compartment. If not, follow this step: Press on the take-up lever of your sewing machine to release pressure from underneath so you can pull out the bed of your sewing machine for clearance.
- Open the bobbin cover and pull out the thread spool pin.
- Look inside your sewing machine compartment to locate a small hole with a metal thread guide underneath it. It is the take-up lever post where you will attach your upper spool of thread on top of it.
- With your hand, grab the end of the thread coming out from the hole and pass it through your spool pin.
- Put back the thread spool on the top of the spool pin and attach both to the needle bar. Make sure that they are tightly in place and not loose.
Pull out the bed of your sewing machine for clearance again, after which you will release the tension on your presser foot.
Now that you are all set, you can begin threading your dressmaker sewing machine.
Follow these simple steps:
- Gently pull out about 3 inches of thread from underneath the spool pin.
- Put it onto your machine’s thread guide (to be precise, the one that says “up”).
- Pass the end of the thread into the big hole located at the faceplate. You will then see a metal hook rotating. As you watch its movement, pass your thread through this hook and keep it straight.
- After this, pass the thread back through the hole you saw previously and pull it until it’s taut.
- Keep your end of the thread under or behind your presser foot (whichever position is comfortable for you). Then lower your machine’s needle into the fabric using your hands; you will see that as soon as the needle is inserted, the bobbin hook moves up to grab your thread.
- Draw a 1-inch long stitch on your fabric and pull gently on both threads of your machine’s upper thread. This will automatically lock them together, forming a new stitch on top of the old one.
- Do this for about an inch or two (up to your discretion) and cut all the threads in order to prevent them from unraveling. And you are done! Your dressmaker sewing machine is now threaded!
If you followed all of these steps correctly, congratulations! Your machine is now ready for use. If it’s not working well, then maybe there’s a loose part in your threading sequence. So, go back and double-check everything you’ve done so far.
Tips to Maintaining Your Dressmaker Sewing Machine
Many dressmaker sewing machines would call for proper care and maintenance to work as expected. With proper care and maintenance, your machine can last for years before you need to spend money on a professional repairman or purchase a new machine.
Here are some tips on how you can efficiently maintain your dressmaker sewing machine:
Use the Right Needle for Your Fabric
Using the correct needle is essential when sewing different fabrics. If you are using thicker material, make sure to use a heavier needle for it. Switching from a thinner needle to a thicker one in mid-sewing may lead to skipped stitches or breaking of needles. In addition, heavy-duty fabrics also require heavy-duty needles that can adequately penetrate through the material.
Make Sure You Are Using the Appropriate Thread
Although most machines can use a variety of thread types, remember to match the weight and kind of thread you are using according to your sewing machine. Using a lighter or heavier weight may result in jamming or breakage, especially when working with thicker fabrics. Also, if your machine requires metallic needles, make sure you use appropriate metallic threads.
In addition, choose only high-quality thread for your projects since it is vital that your sewing machine can effectively glide through them. Poorly threaded spools may also result in skipped stitches and broken needles due to friction during operation.
Don’t Push Too Hard
Angling your presser foot and pressing on the fabric gently will allow free motion in the hook area, leading to uninterrupted stitching. Pressing too hard in one place could damage or bend parts in your machine resulting in poor quality stitch in that part of the seam or fabric if not stalled altogether because of bent parts rendering your sewing machine unusable.
Light Stitches for Delicate Fabrics
Though it should be obvious, there is no need to use thick, heavy-duty needles when you’re sewing delicate fabrics such as silk and chiffon. Just like using heavy-duty needles on heavyweight fabric will not create well-sewn seams and may even damage your machine, so too will the sewing of fine materials with thick needles do damage to them and your machine.
Clean Your Machine
As with any complex machine, some parts need to be cleaned regularly to keep them working smoothly. For your sewing machine, this means removing excess lint and dust by running a small brush (canned air or other appropriate lint removing tool) over the moving parts of the machine several times. This is especially important when using heavier threads which tend to leave more residue on the spool pin.
Lubricate Your Machine
The primary lubrication points are the feed dogs, shuttle race, and thread paths. As with any other machine, these parts work best when lubed regularly to keep them operating appropriately. However, it is essential to make sure that you are using the correct lubrication at the right points of your machine. Using oil on a shuttle race can cause damage to your sewing machine.
Some Final Words
Proper threading of your dressmaker sewing machine is crucial to maintaining your needle’s speed, quality, and lifespan.
Follow the steps outlined above, and you will be doing your machine an excellent service and make your stitching process effortless.
Happy sewing!
![Read more about the article What To Do If Your Sewing Machine Isn’t Catching Thread [2023]](https://www.sewkitkit.com/wp-content/uploads/2021/08/stitches-2-300x169.png)
![Read more about the article How to Oil a Sewing Machine: A Comprehensive Guide [2023]](https://www.sewkitkit.com/wp-content/uploads/2021/07/oil-4-300x169.png)