Last Updated on June 1, 2022
Do you need help threading a mini sewing machine? In this article, we will show you how.
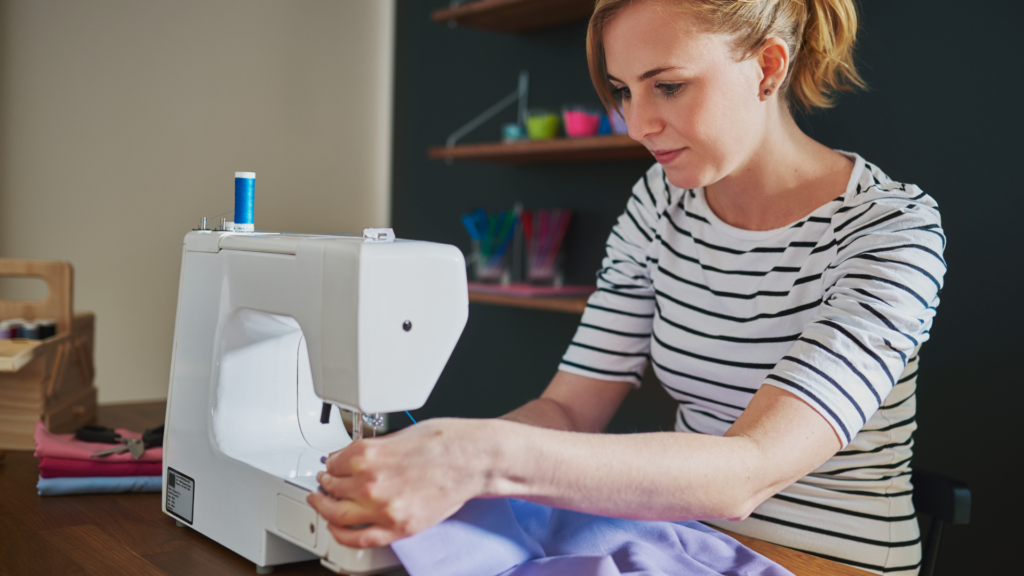
Mini sewing machines are an excellent choice for sewers and crafters of all ages and abilities. You will definitely appreciate the convenience and portability of this sewing instrument whether you’re a beginner who is on a budget or someone who wants a substitute for a heavier-duty machine.
How do you thread a mini sewing machine? To thread a mini sewing machine, start by threading a spindle at the top with your spool of thread. You must now pass your thread through seven distinct locations. The last step is to feed your thread through the needle’s eye. To thread your mini sewing machine fast and effectively, follow these simple instructions.
How to Thread a Mini Sewing Machine (Step-by-step guide)
Getting To Know Your Top Thread Spindle
A top thread is a type of thread that you can find in any sewing machine. When you express it in a way, it may sound a bit technical, but it’s relatively straightforward.
The top thread is a spool of thread that stands on top of the sewing machine. It is visible to the naked eye. That is, it isn’t tucked away inside the sewing machine.
Depending on your taste, this top thread can sit in two different places in a mini sewing machine. A concealed hidden spindle is the best position for the top thread to sit. You can raise this small spindle and place your thread spool on it.
An upper thread bobbin spindle is another position on a mini sewing machine where the top thread can sit. Using the top hidden spindle, on the other hand, is significantly faster and easier.
Gather The Things You Need
Let’s take a look at the supplies you’ll need to thread your small sewing machine. Of course, you’ll need a spool of thread similar to this one.
- Thread reel
- Scissors
- Needle threader
Prepare To Thread Your Mini Sewing Machine Using The P-is-for-perfect Method
The first step is to lift the top spindle of your mini sewing machine. Now you must thread this spindle with your spool of thread. But how would you position it?
It’s much easier now with a thread because all you have to do is make sure the letters on the reel are upright. But what if you don’t have any letters to follow?
Here’s where the P-is-for-Perfect approach comes into play. Keep in mind that your top thread needs to sit perfectly; thus, your thread should be in the shape of a P
You can see the letter P on the spool if you turn it sideways. The thread is running in the shape of the letter P. You must position your spool of thread on your little sewing machine.
Now that your top thread is in place, we’re ready to thread your small sewing machine, so follow the seven simple steps below. It’s critical to remember all seven of these guidelines to ensure that your equipment runs well.
1. The first coil
You could see a little coil of wire in your mini sewing machine. This coil is making a loop or a hole your thread needs to go. Start by passing the thread from your right to the left.
2. The tension controller
Now you must pass the thread through the thread tension controller. It consists of two metal plates that squeeze together to keep the thread taut. And it’s not at all frightening.
Your thread must travel right through the gap between the two discs. So don’t just thread the thread behind the tension knob wherever. Check to see if it’s traveling through these two plates.
As soon as you do this, you will notice that the thread is becoming tenser, which is normal. That’s how it’s intended to work.
The thread tension increases when the tension discs are tightening. When the tension discs are loose, the thread tensions fall, or the thread loosens.
3. The second coil
Now we’ll go on to point three, which is a small coil of wire through which your thread must pass. Pass it from right to left once again.
4. The up-down lever
Then there’s this lever, which pushes the thread up and down as the sewing machine’s needle moves. The lever has a hole in it. Start passing the thread from right to left through this hole.
5. The third coil
Step five is another coil of thread through which your thread will pass. Pass the thread from top to bottom.
6. Above the needle shank
Next is to thread the needle through a hole in the thread. In a little metal plate above the needle on the left, there is a hole. Thread the needle from above and down into the hole.
7. The eye of the needle
You need to pass the thread through the needle itself as the final step. Every sewing machine needle has a small hole in it if this is your first time. You must pass the thread in your small sewing machine from left to right.
Your needle’s eye must be visible and up to execute this correctly. By spinning the handwheel towards yourself, you can raise the needle.
PRO TIP: Always let the handwheel facing you, never away from you, okay? You don’t want to damage the machine.
You can thread the needle after raising the eye. You can do this fast and effortlessly with your (optional) needle threader.
A needle threader is nothing more than a spool of flexible wire. It’s so thin and flexible that it can even pass through the eye of a needle.
Pass the threader from right to left to utilize it. You now have a huge loop through which you can pass your thread without having to squint or strain your eyes.
From the needle’s eye, pull the threader out after passing the thread through this wire loop.
What You Should Do After Threading Your Mini Sewing Machine
Before stitching, make sure you have a good amount of thread trailing out from your mini sewing machine needle. This extra thread length is simple to remove.
Always be careful not to yank on the threaded needle to obtain extra thread! It has the potential to harm both the needle and the lever mechanism.
The next step is to remove the other thread. Take the thread to the left of the tension controller and pull it down vertically to form a loop. You can now get the extra length by pulling on the end of your needle’s thread.

Some Final Words…
Lots of sewers, especially beginners, are becoming more and more attracted to mini sewing machines. While it is small, it has several features similar to quilting that people enjoy. Mini sewing machines are relatively quiet for a sewing machine and don’t shake the table excessively. I hope you found this step-by-step guide to threading your mini sewing machine helpful.


![Read more about the article How to Replace a Sewing Machine Needle: A Comprehensive Guide for Beginners [2023]](https://www.sewkitkit.com/wp-content/uploads/2021/07/needle-4-300x169.png)
![Read more about the article How to Erase Chalk Markers in 3 Easy Steps [Guide]](https://www.sewkitkit.com/wp-content/uploads/2019/06/how-to-erase-chalk-markers-300x168.jpg)
![Read more about the article How to Oil a Sewing Machine: A Comprehensive Guide [2023]](https://www.sewkitkit.com/wp-content/uploads/2021/07/oil-4-300x169.png)