Last Updated on September 7, 2021
Are you just starting as a sewer? Or do you find it challenging to thread your sewing machine? No doubt, threading a machine may be intimidating for novice users, and it may even put you off sewing entirely. However, once you’ve learned how to thread your sewing device, it will become a habit and get easier with each subsequent effort.
Proper threading of your sewing machine is the fundamental starting point. But how do you know you are doing it the right way? In this article, we will guide you on how to thread a sewing machine properly. So clean off your machine, set yourself up, and follow these step-by-step instructions.
1. Winding a Bobbin
Winding bobbins is a crucial step in getting the most out of your sewing machine. It is your machine’s bottom thread spool. If you don’t already have threaded bobbins, you will have to wind your existing spool of thread.
- Put your spool of thread on the spool pin at the top of the sewing machine. The spool should be rotated counterclockwise so that the thread is freed.
- Before you put your thread spool, look for a diagram on the top of your machine. Some machines include a tiny graphic on the top that indicates where the thread spool should be placed.
- Pull the thread out and wind it around the top of the sewing machine’s bobbin winding tension disc. This section is located on the other side of the sewing machine, above the needle. A tiny wire connected to the disc may also assist in keeping the thread in position.
- Next, thread the end of the thread through one of the holes on your bobbin. Then, wrap the thread many times around the bobbin to secure it. If you don’t want to thread your bobbins, there are pre-threaded bobbins available at craft shops.
- Now, start pressing the foot pedal on your machine, and the bobbin should begin winding. Wind it until it’s complete, then cut the thread to separate it from the bigger spool.
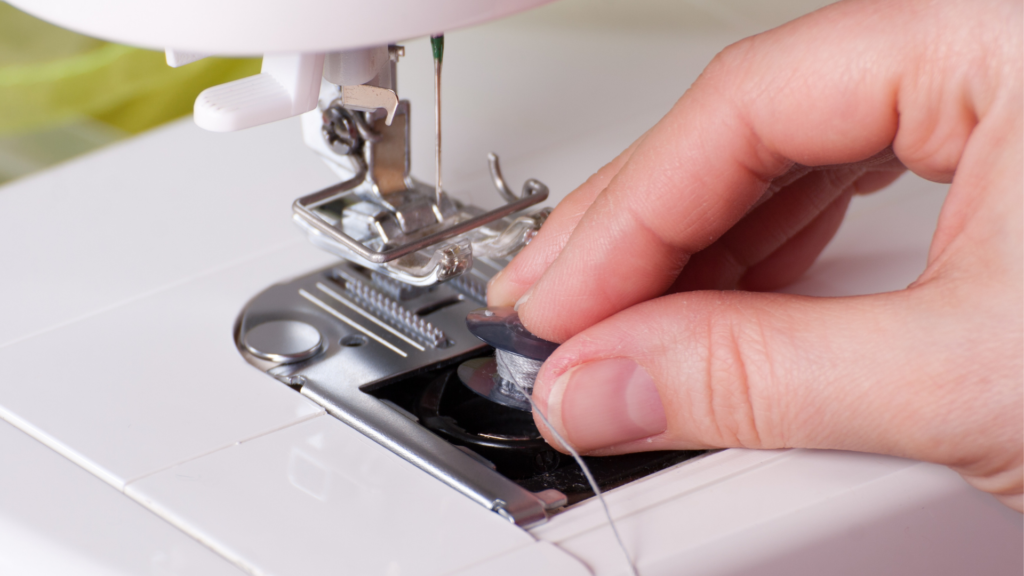
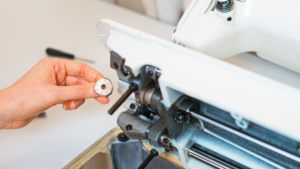
2. Fill Your Wound Bobbin With Thread
Once you’ve wound a bobbin, it’ll be placed in a small compartment underneath your needle, also known as the bobbin case, to provide the lower thread while your machine sews.
- Lift the needle and press the foot to the highest position (your machine will have a hand wheel or a button for this), and remove the bobbin cover to load your bobbin.
- Put your bobbin in the circular slot; your machine should have an arrow indicating which direction the bobbin should be positioned for it to unspool properly.
- Then, thread the end of the bobbin thread through the tension spring on your machine and replace the bobbin case.
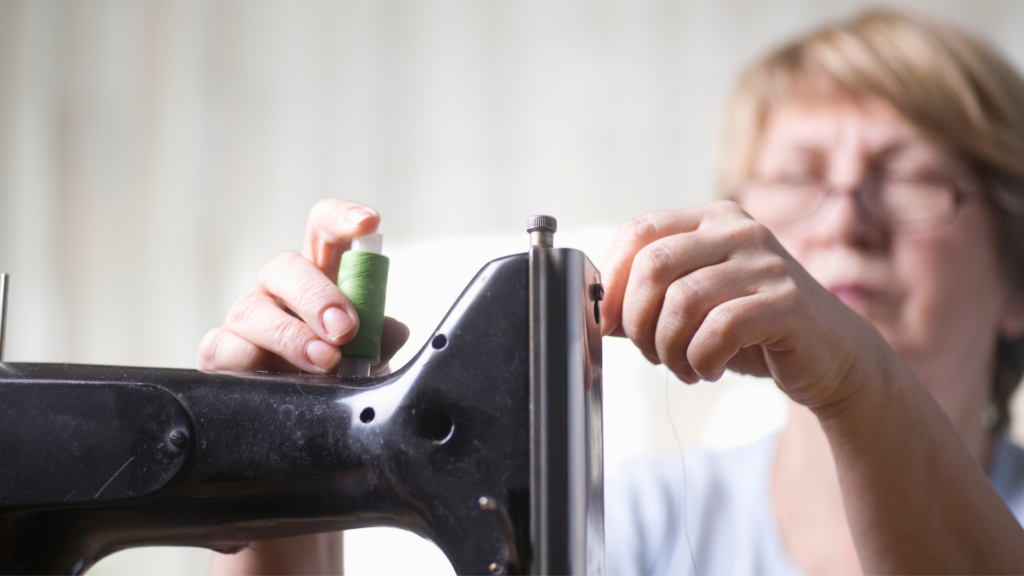
3. Place the Spool Pin
The spool pin is placed on the right side of your sewing machine. This pin is the largest of the two on this side.
- To begin setting up the upper thread for your sewing machine, put the thread on the spool pin, then pull the thread slightly away from it.
- When you look down at the spool, it may be more steady if you position it such that the thread is coming from beneath the spool.
- If your machine includes a diagram, you can use it to figure out where the spool pin is and which way the thread should be traveling.
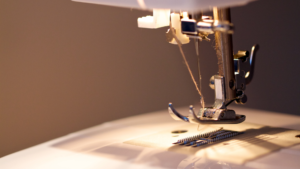
4. Thread Machine Through the Thread Guide
Pull the thread end from the spool on the top of the machine. Bring the thread over the top and through the thread guide on top of the sewing device. It will appear like a silver piece protruding from the top.
- Ensure you wrap the thread around the rear side of the guide, towards the forefront where the “U” shaped section for the thread to go through next is situated.
- The top of the machine will most likely include printed instructions showing how to do or work the thread through this area.
5. Pull or Drag the Thread Down
Follow the instructions on your machine by tugging the thread from the thread guide into a deep groove on the front of the machine, then back up into the second deep groove immediately to the left.
6. Bring the Thread Through the Take-up Lever
The take-up lever is a metal hook located at the top of the machine’s second groove. Wrap the thread around the take-up lever.
The take-up lever is a metal item that protrudes from the second thread guide. This metal component will have a hole at the top through which the thread will pass. When you finish this motion, the thread will form a large, narrow, sideways “S.”

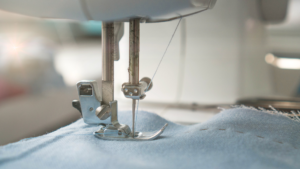
7. Thread the Needle
Pull the thread down your sewing machine towards the needle. Thread the needle’s eye from front to back by pulling your thread down toward the sewing machine needle. Keep tugging the end of the thread until there are many inches of thread through the needle.
However, other machines feature an automated needle threader; see your sewing machine handbook for additional information.
The top part of your machine is now threaded; all that remains is to thread the bottom half before you start using the sewing machine.
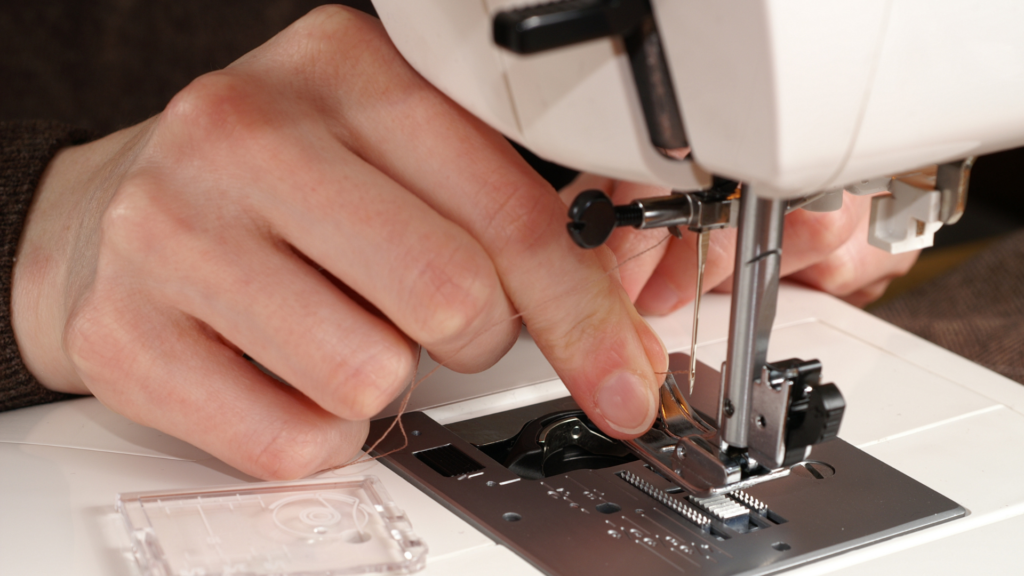
8. Catch the Thread
After you’ve set up your top thread and bobbin, you’ll need to link the two threads before you can stitch. Lower the needle down and back up again using your needle placement button or knob—by doing so, it will grab the bobbin thread, then draw it back out in a loop.
Whether the thread does not catch, check the compartment to verify if it is running in the correct direction and moves freely when pulled. If it does not, it is likely too full, and you will need to unravel part of the thread.
Quick Tips When Threading Your Sewing Machine
After we’ve compiled threading your sewing machine step by step, there are certain things that you might encounter some problems with your machine. To avoid getting to that stage, here are some pointers to assist you with this:
- Always clean and lubricate the sewing machine’s mechanism before using it.
- Don’t begin with the most delicate components of the sewing machine. Always start stitching gently to verify the machine’s threading. Begin by practicing basic straight seams on scraps or samples.
- Always make an effort to utilize high-quality threads. You will avoid extra lint in the machine this way.
- If you see that the stitching is uneven, it indicates that the tension has to be adjusted.
- It is crucial to replace the needles regularly.
- Don’t put yourself through complex tasks. Keep things basic, particularly if you’re starting. Begin with basic tasks and concentrate on mastering and understanding the machine’s settings and operation.
Some Final Words
It is necessary to know how to thread the sewing machine properly so you can keep the stitches secure and appealing.
Now that you’ve completed all of the procedures for threading a sewing machine, it’s time to put what you’ve learned today.
Happy sewing!


![Read more about the article What To Do If Your Sewing Machine Isn’t Catching Thread [2023]](https://www.sewkitkit.com/wp-content/uploads/2021/08/stitches-2-300x169.png)