Last Updated on January 10, 2023
Whether a beginner or an expert sewer, the first thing they would want to know about a machine is how they will operate it.
Are you one of those looking for answers on how to use a serger sewing machine? Worry no more as you’ll be about to find out everything on using serger with ease in this blog.
A serger is a remarkable machine that is worth considering. It can simultaneously stitch, neaten rough edges, and trim extra fabric. If you can learn how to operate a serger, you’ll never have to trim seams and zig-zag ever again. A serger will take care of everything, and the final result is flawless!
What is a serger and its purpose?
The word serging is the action of seaming a fabric’s edges to keep it from fraying. Overlocking is a practice you may be familiar with; the terms serging and overclocking have similar meanings in the sewing industry.
Serging or overlocking your fabric not only keeps the edges from fraying but also provides it a professional and classy look. Serging is usually done with the use of a serger or an overlocker. Simply said, this is a machine that overlocks or serges the edges of the fabric. In the absence of a serger, you may end your fabric using a zig-zag stitch on your sewing machine.
How to use a serger sewing machine
Sergers that you can buy from the market will come to you with a sewing guide, but to help you start, here are some basic pointers on operating a serger.
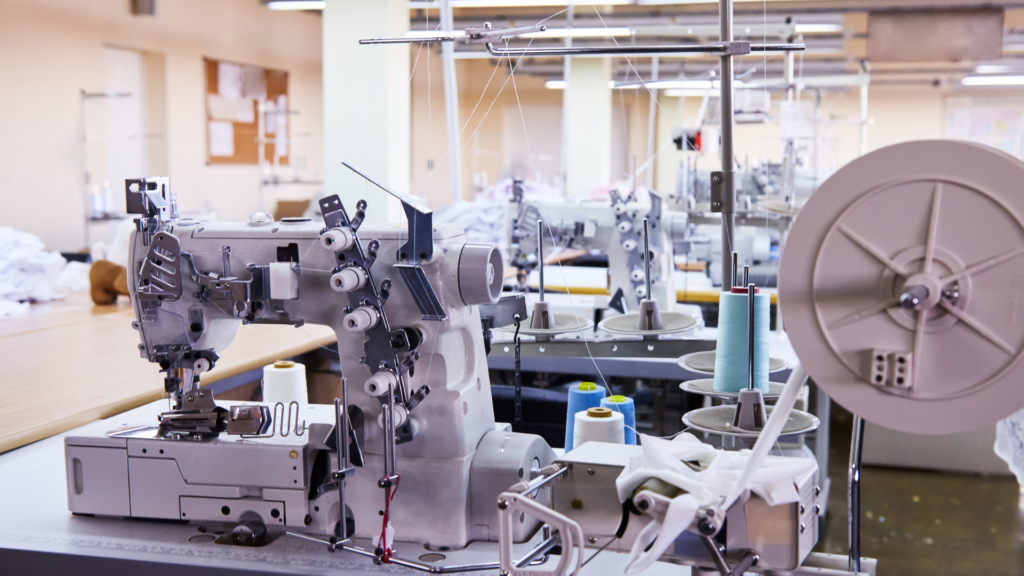
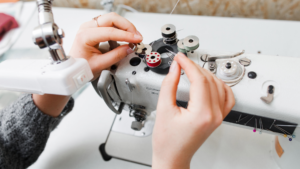
Main vital parts of a serger
Make sure you are familiar with the parts of a serger. To quickly know how to use a serger sewing machine, you must find them in the user’s guide and make sure to recognize them on your machine.
- Tension dials are essential for achieving beautiful, smooth threads with no looping.
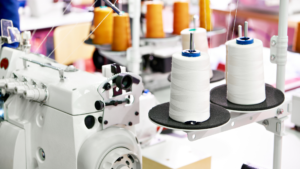
- Spools with three or four threads, both are usually found at the back or top of a serger.
- Two needles are recommended, although you can stitch with just one if desired.
- Cutting blade, a serger blade’s function is much like a pair of scissors.
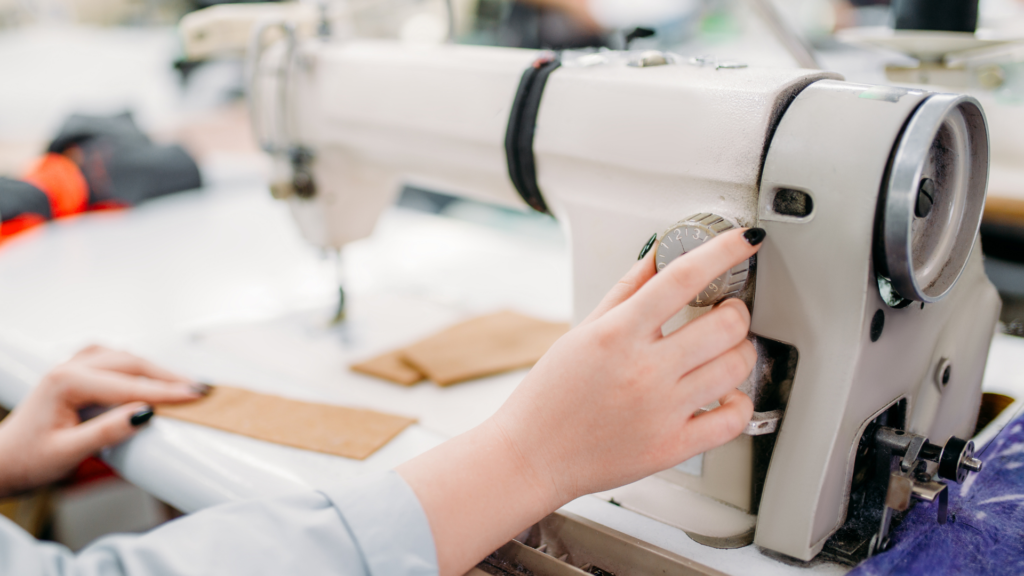
- A serger’s stitch length dials are the same as a regular sewing machine’s stitch length. The higher the extent, the more stitches will be spread apart. Stitches are closer together when the number is less.
- Differential feed knob is usually on the side of the machine but maybe in different places depending on the model and brand of sergers. It will have an impact on how fast the fabric is delivered to the rear feed dog.
Threading the serger
Its different threads and the cutting blade should not intimidate you. Simply follow the easy instructions in your guide to having your machine up and running. The threading may appear complicated at first, but you will never think back as your expertise develops.
To minimize snapping and re-threading, remember to use high-quality thread.
Cut up the threads at the spools and tie on your desired new color. Carefully choose the new color into the machine, and you’re ready to sew with a fascinating color that doesn’t require laborious re-threading.

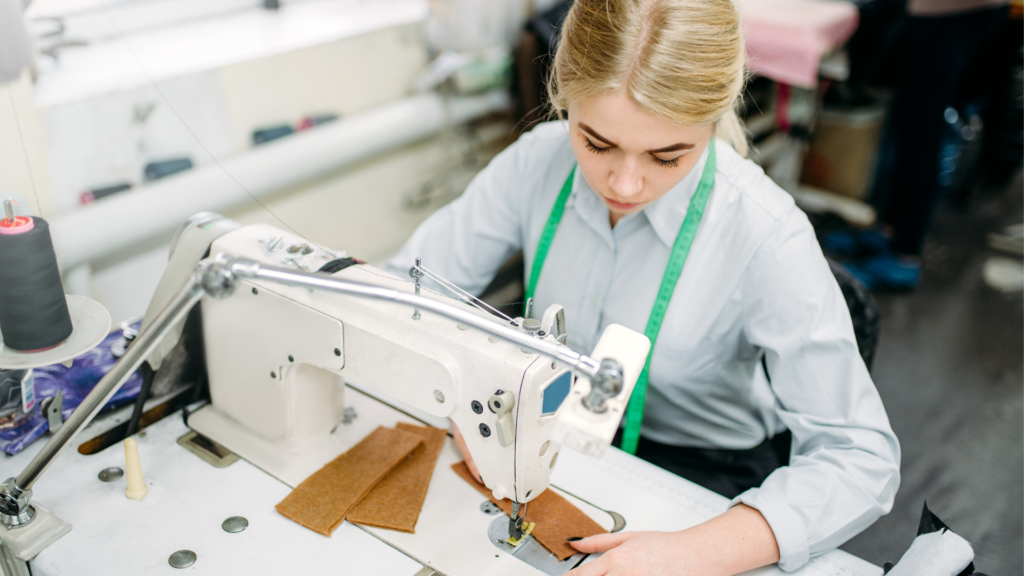
Serger for sewing
Before starting on new fabric, it’s usually a good idea to practice on a spare. It requires patience to become familiar with the serger’s capability to perform with the fabric. In any circumstance, you are the captain, and too much pushing or pulling might knock the machine’s rhythm off. The whole idea of how to use a serger sewing machine will be evident little by little.
Place your fabric directly under the foot when you’re ready to stitch. In the end, leave a strand of chain thread coming out. Hang on with this chain as you begin sewing to prevent it from becoming entangled in your cloth.
Allow the fabric between the machine’s plate and presser foot to stitch the blade cut to make the cleanest seam possible.
It is essential to watch over your speed through the foot press. Speeding might result in the loss of valuable seam margins. For the best starting effects, do it softly and slowly. You’ll be sprinting up in no time after little practice.
You’ll be able to learn the following procedure, the curved edge, once you’ve nailed the straight edge seams.
Serger for curves
Just like in sewing, it is advisable to take a spare fabric and practice first.
- For outside curves
-
-
- Place the fabric right beneath the foot of the machine, ready to stitch.
- With one hand, gently move the fabric around the curvature.
- Keep an eye on the blade since it cuts up the extra fabric to ensure you do not go over the edge.
-
- For inside curves
Since you have a limited area to stitch in, this is a little more difficult.
- Sew in level with the blade by straightening the edge. Simply hold the fabric’s edge and grab it straight. The fabric will gather up on the other side as a result of this.
- As you stitch, place your fabric closer to the blade.
Serger for corners
We don’t need to repeat the first step in everything, but practice is the first step on how to use a serger sewing machine before shifting into the real deal.
- Begin stitching along with the first edge as usual.
- Finish at the outer limit of the fabric, at the end tip of its first corner.
- Take off a stitch or two from the edge. Slow down, so you don’t end up with too many stitches. You only need to make a small sufficient chain to rotate the cloth in the next one.
- Raise the foot and turn the fabric in the direction of its next edge. To resume stitching, place the foot down.
Serger’s starting and stopping
Based on your desired design, you may have to overlap the serger stitches and start and stop around the same position.
Begin sewing from the starting point, moving the threads at an angle over onto the fabric.
When you approach the beginning, overlap the stitching and slip off the edge at an angle, cutting the chain out from the machine.
Cut the chain to match the fabric’s edges. The overlap will be practically unnoticeable if you’re using a corresponding thread.
Conclusion
You may be intimidated by the different functions of serger parts at first use, don’t worry, as it is normal for a first-time user. What‘s important is that you are willing to learn how to use a serger sewing machine to achieve your desired outcome. It is challenging to operate a serger, but seeing how clean and stable the seams and edges are and how serger contributed value to your craftsmanship is worth the time and effort.
