Last Updated on March 29, 2021
Embroidery machines have a lot of moving parts. There are over 5,000 in some multi-heads. Moving parts need oil and they need it on a regular basis. Incorrect or infrequent lubrication can not only affect a machine’s sewing quality but also place undue wear on the affected parts. Negligence in oil and lubrication will eventually shorten a machine’s lifespan and add unnecessary repair costs to a company’s bottom line.
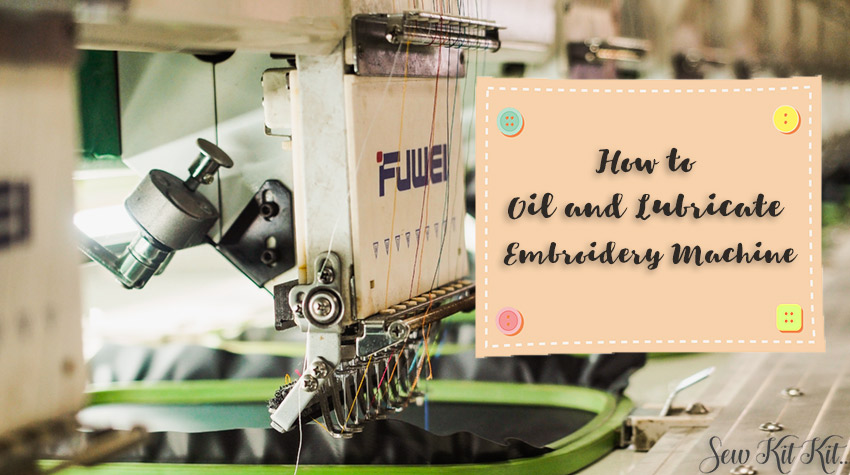
Table of Contents
How To Correctly Oil and Lubricate an Embroidery Machine
To safely assure that all areas are being lubricated routinely, the first thing you should do is create a lubrication calendar and post it near the machine. You likely have a free promotional calendar around your office that a vendor dropped off at the beginning of the year; why not use it?
With a highlighter, designate a two-week window for your lubrication regimen. Within that two-week period, write the items that are to be lubricated every three months. Flip to each month in the calendar and repeat this two-week highlighted window after every third month.
You can use this same system to mark one-week windows for monthly items. Pick a particular day of the week to do weekly oiling, and do your daily oiling at the beginning of the work day. Oiling at the end of the production day is a common practice, but the oil then has several hours to drip off the parts it is intended to lubricate.
Most oiling points that require daily oiling call for light oil, and it runs off easily. So oil the machine before it is run with a lightweight, clear oil designed for embroidery and other sewing machines.
Follow your machine manufacturer’s recommended oiling schedule, based on the number of hours you run the machines in your shop. For example, if the manufacturer recommends oiling a machine component once a week, but your machines operate two shifts per day, oil the component twice each week.
And of course, for items on a weekly maintenance schedule, oil them when the work week begins, rather than when the machines will be sitting idle for the weekend.
Proper Oiling
Many machine owners and operators think that if a little bit of oil is good for the machine, then adding a lot more should be even better. Too much oil can splatter the garments being embroidered. Unfortunately, when they see oil spots, many people stop oiling almost completely, rather than oiling regularly in smaller amounts. The key is to get a small amount of oil where it needs to go-often.
Oiling points for machine brands and models differ, but there are a few general lubrication rules that apply to most embroidery machines.
First, don’t squirt the oil. Lightly press on the oil applicator, and allow the oil to run in. When you squirt the oil, you may miss the very thing you want to lubricate. For example, it’s easy to shoot oil over a bushing and miss it completely.
A large hypodermic syringe makes a good oiler when you need to apply a small amount of oil or when you need to be sure that you are placing the oil precisely where it needs to go. Break off the tip of the syringe needle so it is blunt, reducing the risk of accidental sticks. A lot of pharmacies offer hypodermic syringes over the counter, and they usually aren’t very expensive.
As a rule of thumb, oil the rotary hook once every eight hours of sewing. Remove the bobbin case, and place a single drop of oil at the bottom edge of the hook using a pin-point oiler or modified syringe. Wipe off excess oil from the hook with your finger or a cotton swab.
Most needle bars on newer machines do not need lubrication, although some older machines may require it. Check with your equipment supplier for specific recommendations. If you are unsure, an easy way to test whether your needle bars need lubrication is to pull down each needle bar until its presser foot rests on the machine table, and then let go.
Watch how long it takes for the needle bar to retract to its normal resting position. If it springs into position quickly, the needle bars probably have sufficient lubrication. If the needle bar rises slowly, it is not retracting properly during the stitching process either. If you decide that lubrication is needed, you can avoid oil being thrown off the bars during sewing by oiling them in this way:
Place a small amount of oil on a cotton swab, and wipe the bars with the swabs. Or using a pin-point oiler or modified syringe, place a single drop of oil at the top of each needle bar, let it run down the bar, then wipe away the excess with a cotton swab.
Sometimes oil is thrown off from needle bars that haven’t been used for a while. Even if there was only a small amount of oil applied to the needle bar, it can accumulate at the bottom of the bar when a needle hasn’t been used in a while. It’s a short trip from there to the garment when the start button is engaged. Avoid this mess by using all your needle bars equally.
Other lubrication
Solid lubricants may be used in pantograph tracks and on gears. A popular solid lubricant is lithium grease. This grease is sometimes used inside the sewing head where it can be applied with a cotton swab, or there is a variety sold in a spray dispenser.
Because spray lithium grease is used to lubricate motorcycle chains, it can often be found in automotive supply stores. Other parts of the head are lubricated with light oil. Oil, however, breaks down lithium grease, so be careful when applying oil near lithium grease.
It is not a good idea to use all-in-one products like WD-40 as a lubricant on your machine. WD-40 works great to free sticky parts (because it actually contains a solvent to help dissolve residue on metal parts) but does not do well as a long-term lubricant.
If something becomes stuck on your machine and you do decide to use WD-40, be sure to re-lubricate it with regular oil, or it can go right back to being stuck again in a short amount of time.
Conclusion
You can also lubricate your needles to make them last longer. Just keep liquid silicone on the felt pad in your thread path. As each bit of thread is passed over the pad, the silicone gives it more slip, and it slides through the needle’s eye with less resistance. This extends the needle’s life. A side benefit is that most threads sew better with this lubrication, particularly old, brittle or weak threads.
If your machine is not equipped with a felt silicone pad, you may be able to attach one. There are also boxes sold by industrial sewing machine supply houses that open and close like a book, with a sponge pad inside that can be soaked in silicone. All the threads on a single head can be passed through this box, which attaches magnetically to the head.
![Read more about the article 5 Common Embroidery Mistakes and How to Fix Them [Guide]](https://www.sewkitkit.com/wp-content/uploads/2018/05/5-Common-Embroidery-Mistakes-and-How-to-Fix-Them-300x168.jpg)
![Read more about the article How to Separate an Embroidery Floss [Guide]](https://www.sewkitkit.com/wp-content/uploads/2019/07/How-to-Separate-an-Embroidery-Floss-7-300x168.jpg)