Last Updated on September 13, 2021
When you think of Satin, you probably imagine nothing but softness, which is precisely what your satin stitch should be.
Satin stitch is the first stitch that comes to mind when you have a layout to cover. Let us take a peek at how we can make those silky satin stitches with a sewing machine.
Premium sewing machines may create a decorative stitch at the click of a button, but if your demands are more simple, a less expensive machine with straight and zigzag stitches will do.
Zigzag stitches create a spiky stitch to complete a raw edge or stitch a seam on elastic or knit fabric. You can also utilize a zigzag stitch on a standard sewing machine to create satin stitches.
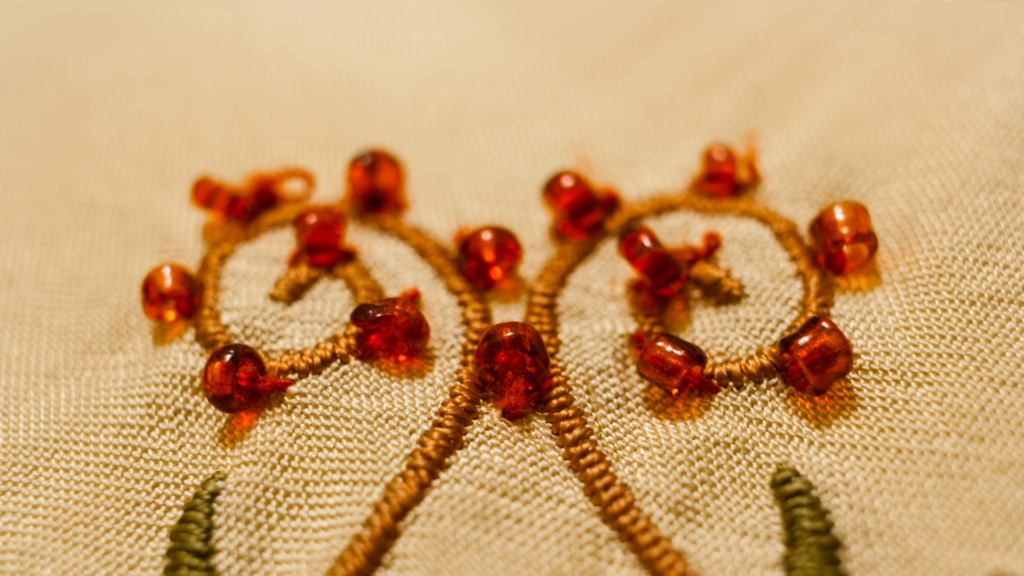
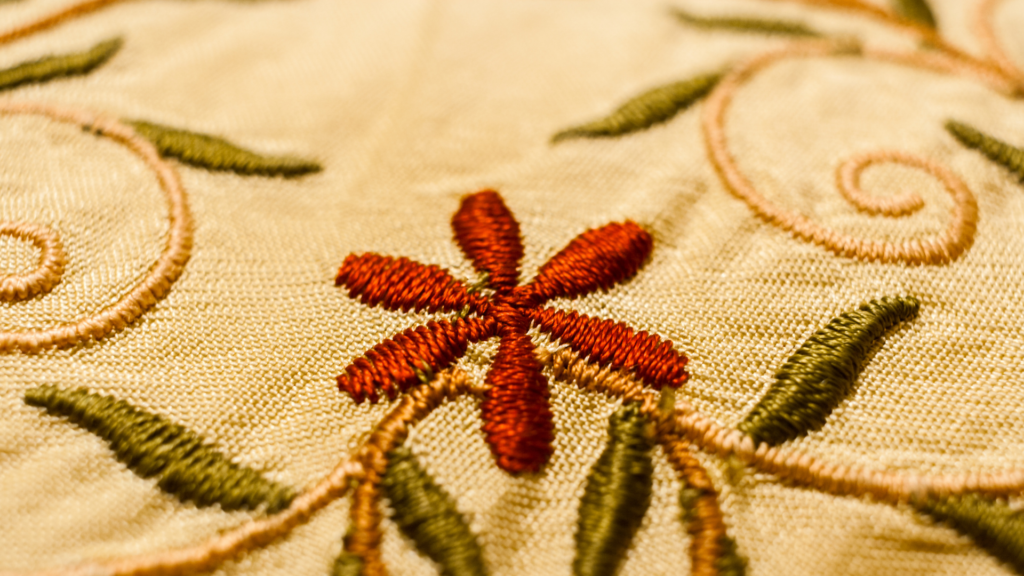
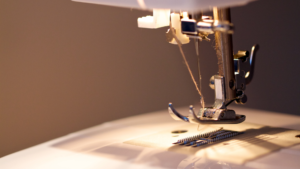
A satin stitch is a horizontally produced line of stitches with very tight thread spacing. The tight stitches result in a smooth, satin-like line made by a satin stitch sewing machine.
What is a Satin Stitch?
A satin stitch, also known as a damask stitch, is a succession of flat stitches used to completely cover a piece of the background fabric in sewing and embroidery. You can sew a zigzag stitch on a regular sewing machine or a unique satin stitch foot and narrow rows of satin stitch.
How to Do A Satin Stich
Below are guides on how you can perform satin stitch.
- Trace around the form you want for your appliqué on the paper side of the lightweight fusible web. The glue side of the fusible web is the opposite of it. The paper has a smooth feel, but the adhesive has a rough texture. Cut at least 1/2 inch away from the drawn line around the form.
The term “fusible web” refers to a thin, artificial material that fuses when heated, enables two pieces of material to be joined together. It’s available by the yard, in rolls, or flat sheets. Place a scrap of cloth with the wrong side pointing up on your ironing board. To eliminate wrinkles and creases, you should iron the cloth.
- With the paper side facing up, place the fusible web form on the cloth. To attach the fusible web to the cloth, then iron it.
- Trim out the shape using the lines as a guide. Remove the paper at the back of the fused fabric. The adhesive will stay on the fabric for a long time. Place the fabric appliqué form with the adhesive side down on your fabric creation. To attach the appliqué, iron it.
At this stage, an appliqué pressing sheet may come in helpful.
These are constructed of Teflon and help prevent stray fusible from adhering to your iron or ironing board. They’re convenient if you have a complicated appliqué form that you’d want to “construct” on the appliqué pressing sheet first, then adhere to the background fabric.
Because the pressing sheet is see-through, you may lay the pattern below it and line up the appliqué pieces on top of it to “glue” them together. After that, peel off the sheet and press it onto the product.
- Make a regular zigzag stitch on your sewing machine.
- Set the stitch width to its most extended position. It is the width of your satin stitch. The satin stitch and the blanket stitch are by far the most frequent stitches used during this phase. You may also use a straight stitch, but this will result in more fraying.
- Change the stitch length to the shortest option. It will create the satin stitch by laying the threads for each stitch side by side and extremely close together.
- Slide the cloth with the ironed appliqué beneath the presser foot of your sewing machine. Place the applique’s edge in the middle of the presser foot’s central gap. The appliqué should be on the left side of the presser foot’s core, while your project’s fabric foundation should be on the right. Reduce the pressure on the presser foot.
- Sew a satin stitch from around the applique’s edge. Under the presser foot, keep the applique’s edge centered. Slowly sew. Gaps in between stitches will result from tugging or straining the cloth.
How to Create a Satin Stitch on a Sewing Machine
If you do not usually pre-wash your materials, this could be the time to do so. The primary reason for this is that fusible products stick better to fabrics that are clear of chemicals and sizing.
- Always use a stabilizer beneath the work area to ensure that the satin stitch stays smooth and is not pulled in by the machine or scrunched.
- Slowly move the pedal when sewing satin threads in circles. As you control the fabric, move it carefully in the direction of the circle’s arch.
- Ensure that the machine’s needle is in the down position when you adjust the fabric while sewing. If you don’t, you will be sewing threads outside your pattern, which you probably don’t want to happen.
- Before dealing with the fabric, practice the proper sewing tension and stitch lengths on a piece of scrap fabric.
- Your bobbin thread will not be seen on the face of the cloth when you sew the perfect satin stitch.
Some Final Words
The satin stitch is one of several types of stitches present in the sewer industry. It is a delicate way of stitching as you will not just put your fabric on the sewing machine and start stitching.
It has several steps for you to do, and perfecting a satin stitch is not that simple, so patience and hard work are necessary if you want to accomplish a good satin stitch.
Happy sewing!


