Last Updated on September 14, 2021
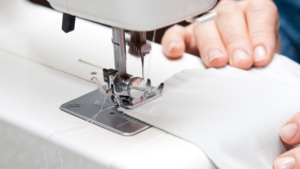
If you’re a beginner or an experienced quilter, you have probably run into the problem of threads breaking. When sewing machine thread keeps breaking, it can prevent anyone, even the most experienced sewer, from finishing a project they are enthusiastic about.
Why is my thread breaking at the needle when I’m sewing? Your threads breaking at the needle might be caused by several factors such as the thread material. Cotton, rayon, trilobal polyester, and other weaker fiber threads are more prone to breaking or fraying.
When this happens repeatedly, the sewing experience becomes tedious, and you begin to dislike sewing. So, you might be wondering why the thread keeps breaking at the needle. Fortunately, this article discusses some of the potential causes and solutions.
Common Causes Why Sewing Machine Thread Breaks At The Needle
Imagine your sewing machine’s top thread snapping every few stitches. Frustrating! That’s one way to describe how you feel when something like this keeps happening.
Well, it is a common issue with many sewing machines. You have to stop sewing every time this happens; thus, it slows down progress. As a result, you’ll be spending more time on a single project than usual.
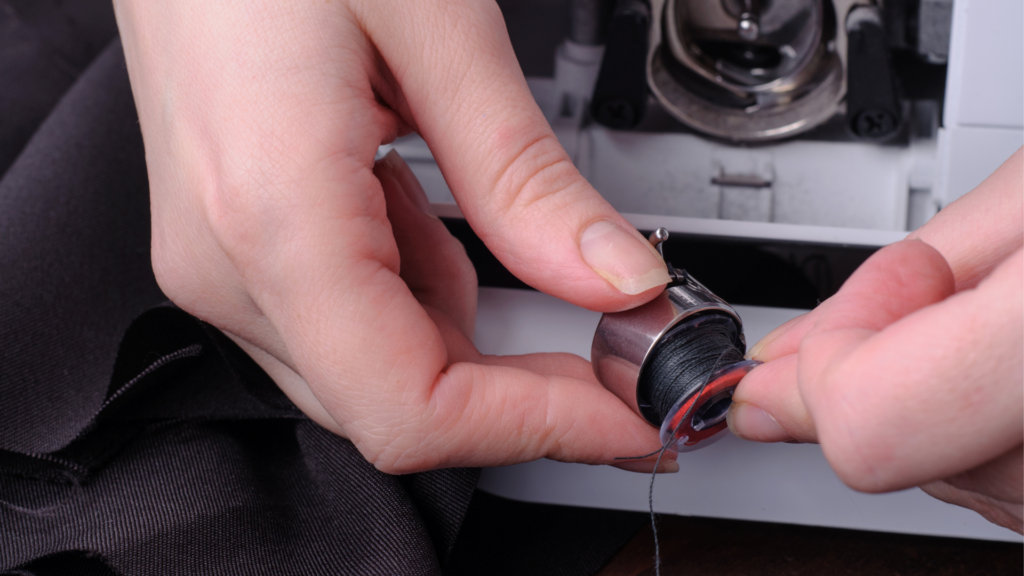
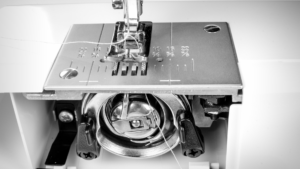
1. Lint Build-Up In The Bobbin
The sewing thread will break if a broken thread or cotton fragments gather in the bobbin. Lint is the term for the broken pieces of cotton that accumulate in the bobbin. It is because lint deposits mess with the hook timing, which messes with the sewing thread.
Fixing The Problem: Do Servicing And Cleaning Of The Sewing Machine
You can clean the lint build-up in the bobbin by cleaning the sewing machine. You can clean the machine using a tiny brush. When in doubt, though, it’s better to consult a sewing machine manual. Your machine should come with a cleaning instruction in the manual.
If you have misplaced your handbook or purchased a used machine, contact the manufacturer. You may also go to the maker’s website and look through the FAQ area.
2. Inserting The Needle In A Wrong Way
Problems can arise if you insert the needle incorrectly. It’s one of the issues that’s causing the top thread to break.
Furthermore, the screw that holds the needle in place can loosen over time. As a result, the needle may move slightly out of place.
You could also accidentally bump the screw while stitching, causing it to loosen. If this happens, the needle will strike the bobbin, and the thread will break.
Fixing The Problem: Correct Insertion Of The Sewing Needle
Always make sure that you insert the need in the sewing machine correctly. The insertion should be tight and up to prevent it from striking the bobbin and breaking the thread.
Also, before you begin sewing, make sure the needle is as tight as possible. The problem of the needle getting loose while stitching can be solved by checking the needle settings.
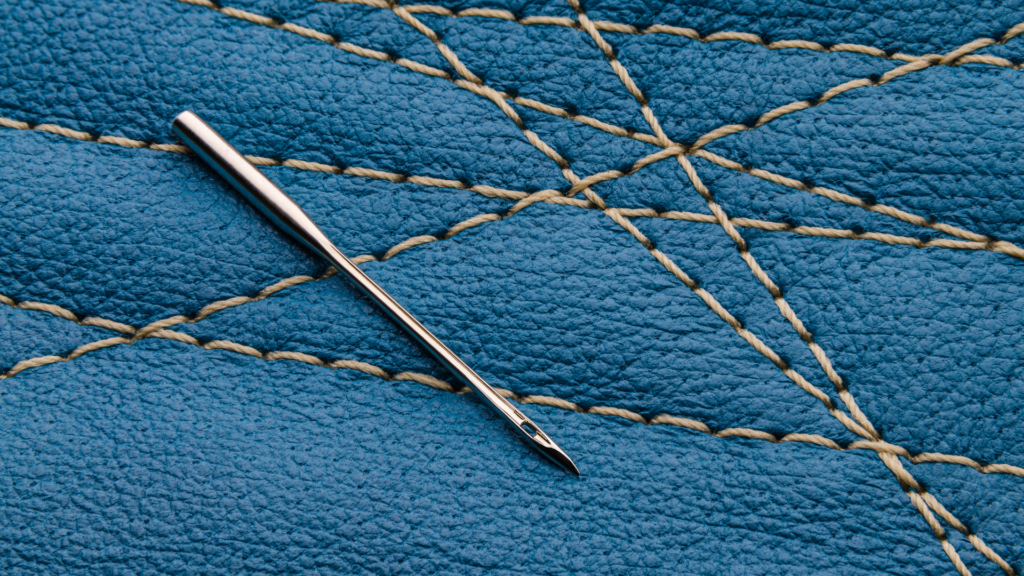
3. Use Of Bent, Dull Or Damaged Needle
Your needle may become worn out or bent after several projects. It’s widespread, particularly if you sew a lot of thick cloth. The automatic needle threader hook will not line up correctly if the needle is damaged, bent, or dull.
As a result, the top thread will continue to break. In addition, the needle’s sharpness will impact how successfully it pierces the fabric. The thread will snag and break if the sewing needle is not sharp enough.
Furthermore, if you leave the needles in for an extended time without replacing them, this problem is likely to occur.
Fixing The Problem: Always Check The Needles
Examine the needles for any damage, bends, or dullness. Check to see if the needle size is appropriate for the fabric type and thickness. Replace the needles if you experience any issues. Furthermore, if possible, change the sewing needle after each project.
4. Cheap Thread Breaks Quite Often
In sewing, thread quality is quite essential. The lower the thread quality, the more likely you are to experience thread-breaking issues. If you do not replace the thread, it will continue to break throughout the project.
Thread is available in a variety of weights. Some threads are fine and will snap if pulled too hard. Others are so thick that they break in the needle’s eye or tension discs.
Thread weights vary depending on the fabric. As a result, the thread weight should always be the same as the fabric.
Furthermore, some thread weights are only for hand sewing rather than machine sewing. When you use such threads on a sewing machine, they will break.
Sewing thread can also develop snags or knots. These can obstruct the thread and cause it to break.
Knots, on the other hand, result in one-time thread breakage. It means that if the thread continues to break, the knots are not the source of the problem. Something else must be causing the thread to break.
Fixing the problem: Select the Right Thread
It’s all about the quality. Thread breakage can be avoided if you use the correct thread quality, type, and weight for your sewing. To summarize, always use top-of-the-line thread when sewing.
5. Disproportion In The Thread Tension
If the thread tension of the sewing machine is excessively tight, the top thread can break while stitching. Tension also becomes a problem when we utilize the preset tension for different textiles instead of changing it.
Different materials, as well as threads, require different tensions. As a result, if the tension of the top and bobbin threads is unequal, the thread will break while sewing.
Fixing The Problem: Adjust The Thread Tension According To Your Fabric
Adjust the tension if the thread keeps breaking at the needle. Make that the tension of the bobbin thread and the top thread are the same.
Also, make sure the strain isn’t excessive. It will prevent the thread from being overtightened. Thread breaking at the needle will eventually come to an end.
6. Broken Take Up Lever Spring
The take-up lever is the portion of the machine that takes thread from the spool and feeds it through. After forming a stitch, it also raises the thread back up out of the material.
If the take-up lever’s spring breaks or bends, your thread will break as well. When you begin stitching, you will see thread breaking almost immediately.
Fixing The Problem: Replace A Broken Take Up Lever Spring
The broken take-up lever spring is impossible to repair at home. You may need some specialized equipment and knowledge to accomplish so. If this is the cause of the thread breakage, take it to a sewing machine repairer to have it fixed.
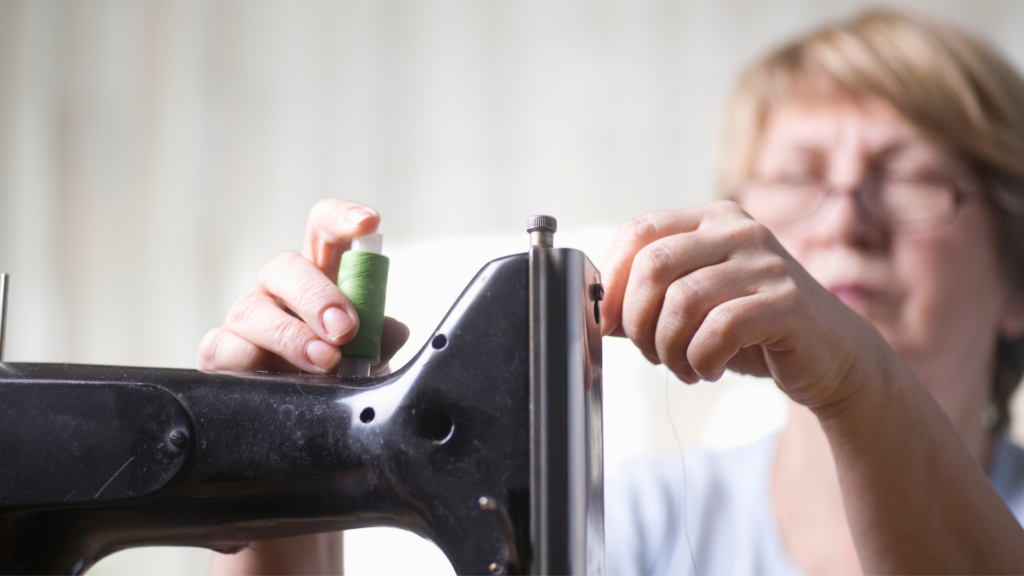
7. Sewing Machine Threading Gone Wrong
Thread difficulties occur when the machine is threaded incorrectly. The reason for this is that the thread is not in the proper location.
As a result, the entire threading process will not go as planned. A broken thread indicates improper threading.
It might appear to be a minor issue, yet anyone can be affected. Even the most experienced sewer, no matter how long they’ve been sewing, can make a threading error.
Fixing The Problem: Rethreading Sewing Machine Is the Way Out
Make it a habit to double-check that you’ve threaded everything correctly. Even before you start sewing, you can remove the thread and reread it to ensure you’ve got it right.
Rethreading the machine regularly may appear to be a time-consuming task. But, on the plus side, there is a silver lining. You’ll keep the thread from snapping.
8. Condition Of The Throat Plate
While sewing, needles can break. When they shatter, nicks in the neck plate can occur (metal cover of the bobbin). The little leftovers that fall once the needle breaks are referred to as nicks in this scenario. These can lead to thread breakage and tension issues.
Fix To The Problem: Fixing The Throat Plate Condition
Replace the throat plate if minor nicks that enter it are suspected to be the cause. A throat plate is inexpensive to replace. Consult a sewing machine mechanic if you’re not sure how to do it.
You may remedy the problem after learning about the causes and treatments for top thread breakage. Some of the issues listed above have a similar remedy, while others have their own.
How To Avoid Sewing Machine Thread Breaking
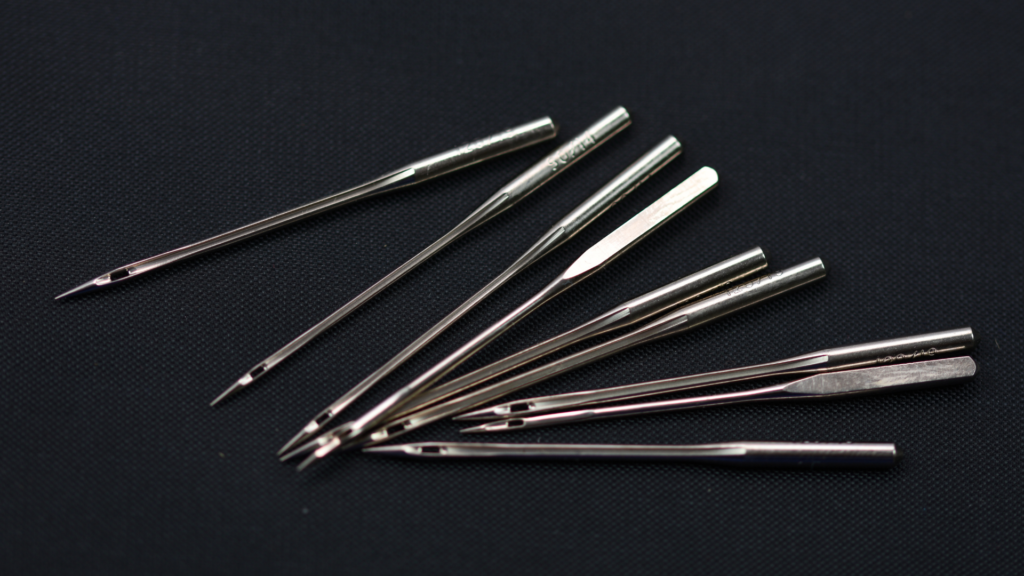
1. Use The Correct Needle Size And Type
Before you start sewing, double-check that your needle is the right size for the thread you’ll be using. The smaller the number on the packaging, in American and European sizes, the smaller the needle. The same is true for larger groups.
More delicate threads, such as 80wt, require smaller needles, whereas heavier threads, such as 12wt, require larger needles. Needle size of 80/12 is mainly for a medium thread such as 40wt or 50wt.
See to it that you have the right needle for the cloth you’re working with. When stitching heavy denim cloth, for example, you’d use a denim needle. Or a jersey cloth and a ballpoint needle. All needle kinds have a function, so find out what you’ll need to get the best results!
It’s worth noting that the size and type of needle you use will significantly impact the outcome of your project. Using the wrong needle might result in skipped stitches and tension difficulties, leading to thread breakage.
2. Use a High-quality Bobbin Thread
Some lower-quality bobbin thread will leave lint, fluff, or adhesive residue on the machine, which might cause it to malfunction. Because the thread may be trapped, knotted, or running poorly due to the bobbin’s casing and surrounds, you should inspect them.
As a result, we always advocate utilizing a bobbin that hasn’t been treated with glue or residue. Threads with residue on them will feel slightly tacky when you touch them. Side-less bobbins, for example, are held together by glue to keep them together.
If you’re winding the bobbin by hand, take care not to overwind it. More delicate bobbin threads make this more accessible because the machine’s self-stopping system doesn’t always recognize the finer thread right away. To avoid this when winding your bobbin, we recommend stopping slightly before the bobbin’s edge.
3. Set The Correct Tension in your Sewing Machine
When sewing, this is always an important consideration. If the tension is excessively tight on either the top or bottom, thread breakage can occur.
Before beginning your project, we always recommend stitching a test strip on a scrap cloth to evaluate the quality of your tension. If the bobbin thread pulls through to the top, the top tension is too tight and needs to be adjusted.
If the top thread pulls through to the bottom, the bobbin tension is too tight. You need to relax the bobbin tension.
Every machine is unique, so it is essential to consider the type and weight of thread you use, the fabric, the batting, and the stabilizer. Since you have to think about these things, it is advisable to stitch a test piece and change your tension as needed.
4. Stack Wound Thread Or Cross Wound
If you’ve ever looked at your thread spools closely, you’ll see that the thread is coiled onto the spool in two different ways. When a thread is wound on a spool in a straight and even pattern, it is called stack wound thread.
The more frequent of the two are cross-wound thread, which is wound in an angled pattern. Your thread needs to draw off the side of the spool if you’re stitching with a stack wound spool. You can easily accomplish this by placing it on your sewing machine’s vertical spool pin.
You must draw the thread from the top of the spool if you are sewing with a cross wound spool. You can achieve this by putting it on the machine’s horizontal spool pin. When you put the spool on the wrong pin, the thread will slide across the spool, causing tension issues and maybe thread breakage.
5. Use a Multi-Purpose Thread Guard
If you are using a specialty thread, think about how various sewing equipment can help you improve your sewing experience. We highly recommend using a multi-purpose thread guard if you have a slippery thread.
Wrap this thread guard over the spool to prevent the slippery thread from being trapped, knotted. This action will change the tension of your thread, resulting in thread breaks.
Final Words
It is discouraging when your sewing machine’s upper thread keeps breaking free, and it’s time-consuming to rethread and mend it. Now that you know how to prevent this issue on your sewing machine, you can work on your sewing projects without interruptions.

![Read more about the article Difference Between Shears and Scissors [Guide]](https://www.sewkitkit.com/wp-content/uploads/2018/03/difference-between-scissors-and-shears-300x168.jpg)

