Last Updated on June 1, 2022
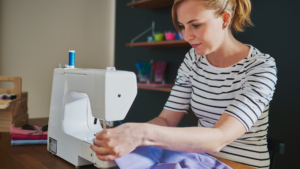
Are you looking to learn how to quilt with a sewing machine? In this guide we will show you how.
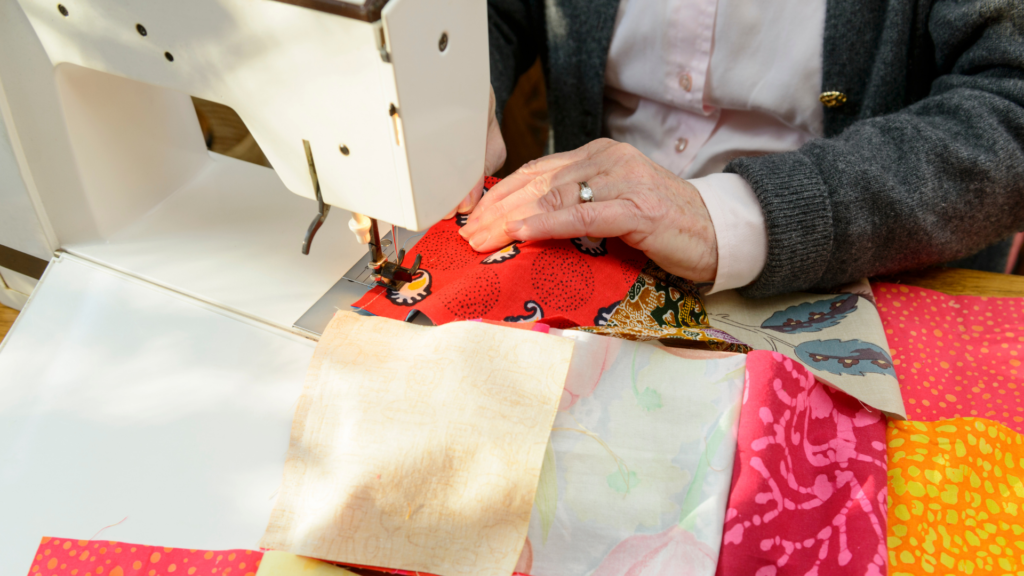
One thing every sewer should experience in life is to learn how to quilt. Quilting involves the process of sewing multiple layers of fabric together to make beautiful heirloom quilts, mini-quilts, lap quilts, smaller homewares, quilted clothes, and more.
For centuries, the craft of quilting has been passed down from one generation to another. So, if you are planning to learn how to quilt with a sewing machine, here is a guide that can help you out. Spoiler alert!
It’s not that difficult to learn machine quilting.
5 Steps for Sewing Machine Quilting For Beginners
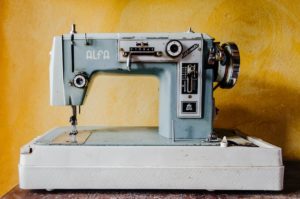
You can pretty much use a regular sewing machine for quilting. One way is through straight-line quilting using a walking foot. Another is to quilt using a free motion quilting foot to create any design.
The step-by-step guide on how to quilt with a sewing machine for beginners below are worth noting:
1. Find A Table Surface As Big As You Can
If you don’t have a large table, drag and drop will happen frequently. You must ensure that the working material does not fall off the table where you plan to begin quilting. If this occurs, your sewing machine may experience a variety of issues.
Gravity will act on the quilt, preventing you from working precisely. Gravity will create friction, and it will cause the quilt to fall. Another issue is that if the quilt falls, the good stitches will be disrupted.
It is preferable to utilize a drop-in table for home purposes. But, you may not always be able to fit the drop into a table.
It is preferable to set the largest table around you and away from the table in that situation. You can arrange the tables in a portable manner to control as much as possible in a large quantity.
Allow plenty of room on your left side for your left hand to roam around freely because it’s your left hand that does most of the work.
2. Start Off Making Small Units
Don’t load up everything at once! It will only cause you to be frustrated.
Because you’ll be quilting with your own domestic sewing machine, you should start with little units for your own safety. But, again, a very tiny unit can cause you to waste days and hours of your time.
Alternatively, instead of sewing the cloth, you might sew your finger, so be careful! You can go with a small quilting unit that is 36-50 inches in length.
3. Choose A Simple Shaped Block
Choose a square and simple block that is on the diagonal. It’ll be ideal for you if you want to produce a wacky pattern because you won’t be able to impose straight sewing lines on it. The more dramatic the shape, the more agony you will create.
Tools Required:
Of course, you’ll need a sewing machine for quilting! For quilting a quilt, you need to separate your fabrics into three sections.
- Backing
- Batting
- Top piece
The top piece must be 2 or 3 inches larger than the batting and backing. So you don’t run out of fabric or the edges of the cloth shift while you stitch.
Batting is divided into two categories. For example, poly batting and cotton batting are two different types of batting.
A basting spray is required for basting all of the textiles. But, you may not always be able to find a basting spray to use. But don’t be concerned! The same can be done using safety pins! The basting spray is preferable to the safety pins, in my opinion.
Because instead of stapling each fabric with pins, a layer of spray is all that is required. Basting spray cuts down on work time and makes sewing the textiles a breeze.
You’ll also need an ironing machine to keep the folds straight and the textiles flat so they’re easier to work with. Scissors, a rotary cutter, chalk markers, and a mat are also required.
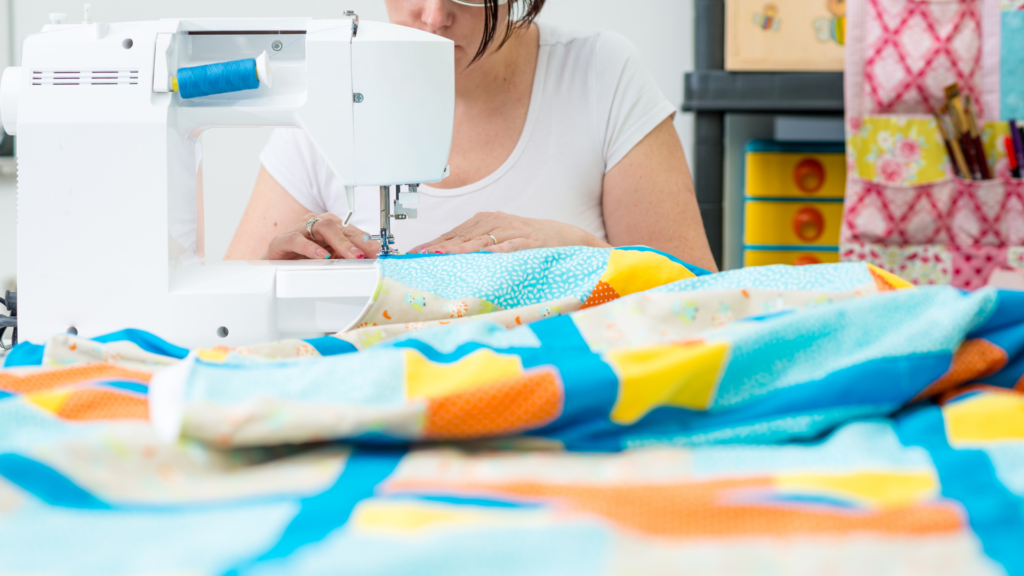
4. Preparation And Sewing
Construct a quilt sandwich!
To follow the grid line:
- Use a gridded cardboard.
- Place the right side of the backing piece down.
- Maintain as much flatness as possible. You can use an iron or heating machine for that.
- Then saturate the backing piece with the basting spray. Cover it with the batting piece.
- Spray the batting with the basting spray once more, and then place the top piece right side up over the batting. By pressing or ironing all three portions together, they should be smooth and flat.
Poly fabrics shrink in the heat. So, for poly batting, use a cool iron to avoid shrinking.
You are now ready to sew. Sew the edges all the way around and make the second backing, batting, and topping unit. Repeat the method for each of the remaining blocks.
Start sewing your design from the edge of your quilt sandwich if you’re working on a small project. If you’re working on a larger project, mark a center, and split the fabric into four squares.
If you’re a beginner, pick your backing piece carefully. For example, if you use dark fabric for the background, you’ll be able to see fewer faults.
As a result, you won’t be able to spot any skipped stitches, overstretching, or fallout threads. As a result, your quilt may become ungainly.
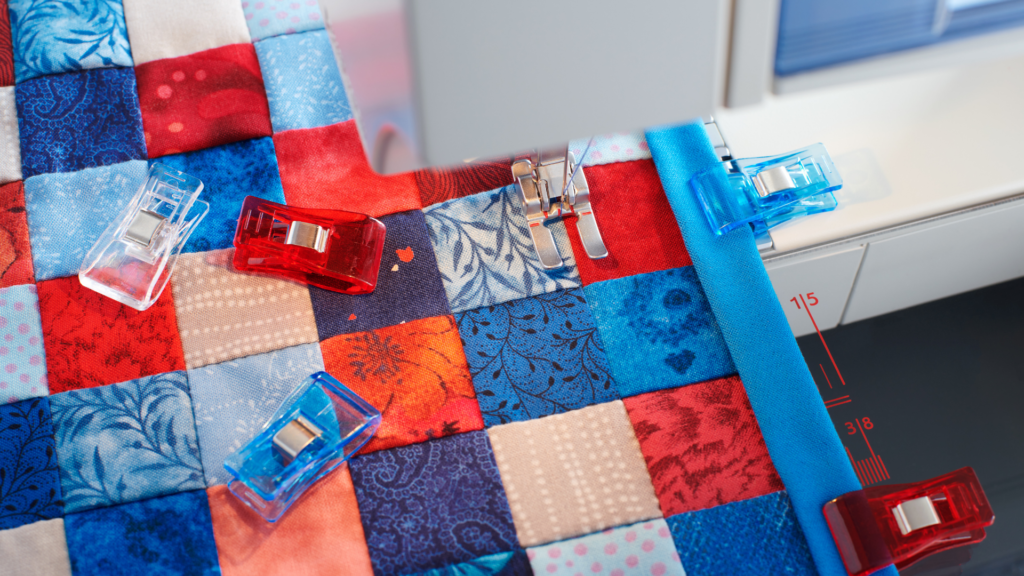
5. Binding The Blocks
It’s time to line up all of your desired blocks now that you’ve prepared them all. Before that, use the rotary cutter to trim the excess fabric. Then, use the ruler to help you finish it off nicely.
You’ll need two different kinds of binding. The front binding is 1.5 inches folded, and the back bound is 1 inch unfolded. If you use an ironing machine to fold the front binding, it will be simple.
Apply the same rule here as well! Both sides of the bindings must be 12 or 1 inch longer than the block pieces lengthwise. Even if something goes wrong, extra cloth can readily be used to cover it.
If your bindings are wiggly-wobbly, starch them twice to make them stiff and straight.
- Insert the 1-inch strand right side up, then cover it with a quilt block edge, which should also be right side up.
- On top of the previous two sections, add the 1.5-inch folded strand. Make sure the raw side of the folded strand is on the right side when you place it.
- Using the gridding cardboard, precisely align all three sections. Sew all three components of this set with a quarter-inch seam allowance using a beginning sewing machine. Stop sewing after 2 or 3 inches to ensure that all parts are in the correct place. Sew it all the way to the finish to make it nice and secure.
When you’re through sewing, you’ll notice that the one-inch rear binding has shrunk to around 12 inches.
- Press out the back binding by turning the block right side up.
- Put another block on top of the first, right side down.
- Place the first block on top of the second, right side up.
- Align the rear binding’s edge with the second block’s edge. Then sew it up nicely.
- Turn the two blocks over to the right side, then turn the first (1.5-inch) bound over. Bring it in the direction of the second block. Sew it to the adjacent block after correctly aligning it and giving it a great press, preferably with the ironing machine.
In the same way, sew the opposite side to maintain it balanced and give it a pleasant appearance. Then, to join the remaining blocks, repeat the process.
The mission is complete! You have finished your first quilt with your sewing machine!
Tips For Machine Quilting
Make The Most Of Your Available Space
One of the secrets to properly quilting on your home machine is having enough workspace. Drop-in tables, available from various manufacturers, allow your machine to sit flush with the work area.
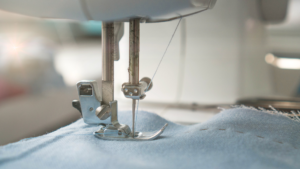
Match The Weight Of The Thread To The Needle Size
With so many threads and needles to choose from, here’s a general rule: Use a size 80 needle and a size 90 needle with a size 40-50wt thread and a size 28-30wt thread. Sharps, topstitch, or quilting needles are preferable to universal needles. These needles have strong ends and can puncture all three layers of a quilt more easily.
On Top And In The Bobbin, Use The Same Color
You should use any color combination for the top and bobbin threads with perfect tension; however, this isn’t always the case. You may see tiny specks of thread on the front or back of your quilt if the two threads have great contrast. Invisible threads can be used in the top or bobbin, but not both at the same time.
Make A Sketch, Then Quilt It
Warm-up by sketching your quilting design on a piece of paper, a photograph, or a printout of the quilt top before you start stitching. You can duplicate the flow of the thread path on your actual quilt if you understand the flow of the thread path.
Practice Free-motion Quilting Regularly
Prepare many practice examples by layering two 10′′ squares with batting in the middle. Fill out one sample per day and date them. After seven days, you will see a difference.
Accept The Walking Foot As It Is
Free-motion quilting allows you to stitch in any direction and create beautiful, intricate motifs. But don’t overlook the designs. You can start with your walking foot. Try continuous spirals, organic patterns, and smooth wavy lines instead of stitching in the ditch.
Quilt On Real Quilts
Progress is made via practice. So what better way to learn than practice on a quilt for someone who will adore it and overlook any flaws?
For A Flatter Quilt Top, Press Seams Open
Pressing seams open will not weaken your quilt top, contrary to popular belief. Simply reduce your stitch length to secure the seams, and you’ll be able to stitch in the ditch with ease. Quilting over a seam strengthens the quilt and ensures that you don’t break a needle trying to quilt through lumps and bumps.
Take Your Time To Baste Properly
Basting is everyone’s least favorite aspect of quilting, but it pays off in the end. The top, middle, and bottom layers should all be as smooth and flat as possible. Spray basters should press the quilt on both sides to fix the adhesive, while pin basters should use twice as many pins as usual.
Develop A Positive Mindset
It is the final–and most crucial–advice. At any given time, only one-fourth of the quilt should be beneath the machine. So take your time and remember that this is supposed to be enjoyable!
Some Final Words
Quilting is easy when it is done by hand. But, it is undeniably more convenient when you quilt using a sewing machine.
For beginners, the quilting stitch patterns integrated into modern sewing machines are easy to work with. They are also elaborately decorative, allowing even beginners to make beautiful quilts.
![Read more about the article 32 Sewing Terms Every Beginner’s Must Know [Guide]](https://www.sewkitkit.com/wp-content/uploads/2018/03/sewing-machine-101-300x200.jpg)
![Read more about the article Your Ultimate Guide On How To Use A Serger Sewing Machine [2023]](https://www.sewkitkit.com/wp-content/uploads/2021/09/serger-Y-300x169.png)
![Read more about the article Difference Between Shears and Scissors [Guide]](https://www.sewkitkit.com/wp-content/uploads/2018/03/difference-between-scissors-and-shears-300x168.jpg)