Last Updated on September 15, 2021
Do you want to know how to topstitch? Topstitching is an easy way to add detail and dimension to your projects. It’s also a great way to make something look more professional, so it’s perfect for beginners who want their work to stand out from the crowd.
You don’t have to be intimidated by topstitching anymore! We’ll walk you through everything you need to know about topstitching in just a few easy steps. We’ll show you how topstitching works and give you some ideas on what kind of projects can benefit from employing this technique. Let’s get started!
What Is Top Stitching?
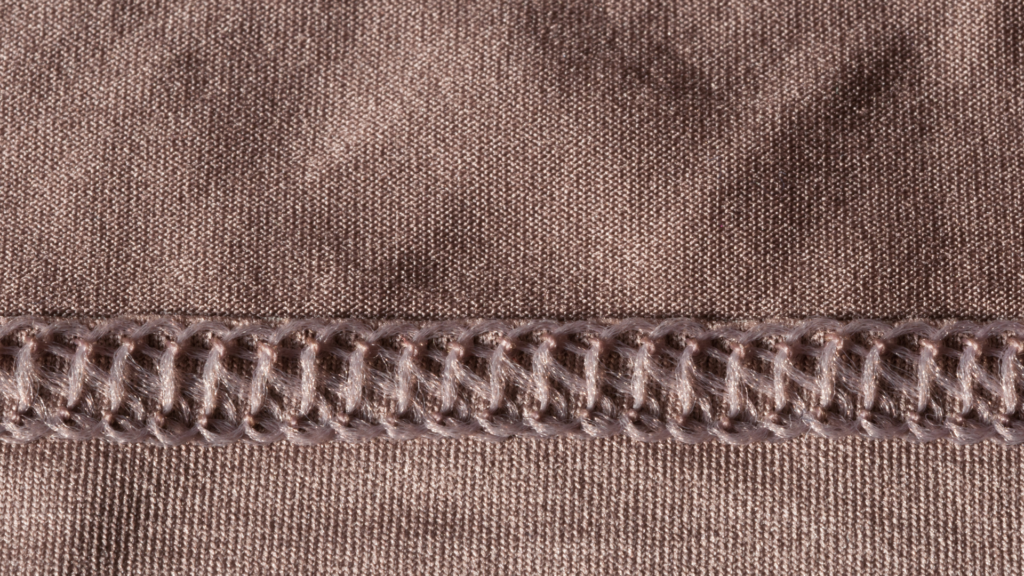
Topstitching is a sewing method in which the stitching line is visible from the outside of the garment and can be decorative or functional. You can use it when attaching pockets, finishing the edge of the fabric, inserting zippers, or creating cuffs for pants. With topstitching, you add interest to your project while also strengthening seams and supporting by folding over raw edges that might fray with wear or washing after completion. Adding this extra detail takes almost no time and makes everything look more professional in less than half an hour.
Different Types of Top Stitching
There are many different types of topstitching. Each type has its own purpose and place in garment construction.
Straight-stitching
This is a prevalent stitch type, and it can be used in many applications such as seam finishes, topstitching, or reinforcement of seams. Because this technique uses one thread going straight through from beginning to end, you need to use two spools/threads – one on top of the other.
Double Stitch
This stitch is used to create a more decorative type of stitching, and it can be instrumental in embroidery applications as well. This technique uses two threads going through at once, with each thread coming from its own spool/thread. Like straight-stitching, you need to use two spools/threads.
Triple Stitch
This stitch is often used to create a unique and decorative type of stitching, as well. Like the double stitch, you need two spools/threads for each thread that goes through – one on top of the other.
Zigzag Stitch
This stitch type is trendy because it creates a robust and durable seam while still looking great! This technique uses one thread going through at once and will work best with regular sewing machine needles. When the needle goes down into the fabric for this technique, the bobbin thread will go up, over, and around it to form a zigzag pattern.
Purpose of Top Stitch Sewing
If you are new to sewing, it is essential that you begin by practicing with simple projects. You might want to start out learning the basics of topstitching in your sewing machine before moving onto more complex tasks like hemming pants or creating specific seams on a dress.
Before you start learning how to do this, let’s discuss why you might want to implement topstitching in your next project.
Make the Seam Stronger While Keeping the Shape
It holds the seam in places prone to strain and stress, such as crotches and necklines. Topstitching also creates a cleaner look for the seams of your sewn product.
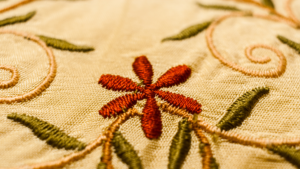
Ornamental and Artistic
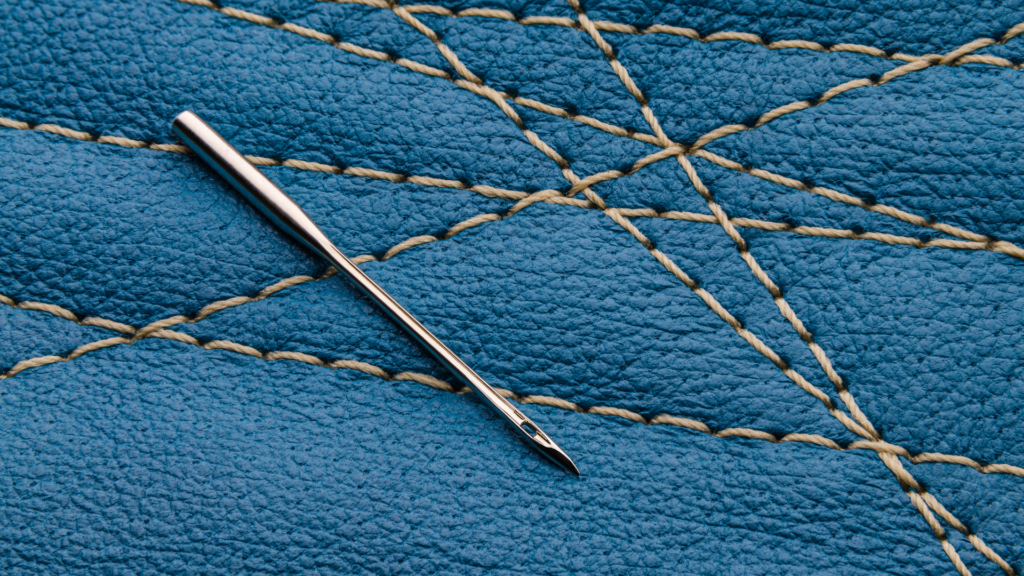
Topstitching provides a decorative element and artistic effect while also emphasizing the structure of the garment. It draws attention to the seam lines, particularly if the thread is a contrasting color.
Preventing Fabric from Fraying
The primary or double topstitch will prevent the fabric from fraying for areas where the seam allowance is not clean or polished, such as lined jackets or knitted materials.
Reduce Bulk While Also Stabilizing the Seam Allowance
It aids in keeping the seam level and secure. It’s great for heavyweight fabrics since it helps to decrease the thickness of the seam allowance beneath.
Keeping Two or More Layers of Cloth Connected
Typically, these are the stitch-in-the-ditch and topstitched off the edge. For example, although the topstitch is a beautiful feature in padded jackets, its primary function is to support the padding and keep it together with the cloth.
This applies to furniture as well as accessories such as purses and shoes.
Tips for Topstitching Perfectly
Now that you know topstitching basics let us move on to how to topstitch perfectly every time. These simple tips can help any sewer master the skill of topstitching!
- Raise the needle of your sewing machine to its highest setting, then lift the presser foot. Set the chosen foot in place.
- Thread your machine with the topstitching thread of your choice.
- Set the length of the stitch. 3.00 mm for thinner materials and 4.00 mm for heavier textiles.
- Pull a small length of fabric under the sewing machine – you’ll need it later.
- Place the cloth beneath the presser foot and line the seam or edge with the needle position.
- Reduce the pressure on the presser foot and insert the needle into the cloth.
- To prevent fabric damage, gently grasp the tails from step 4 and use them to guide the cloth through the feed dogs.
Proper Tools and Materials for Top Stitching
Using the appropriate tools and materials is essential when you topstitch. Everything you use must be able to withstand the pressures of stitching, and it should also work well with your chosen thread. If you’re just starting as a sewer or want to learn how to sew a button on a shirt, here are some helpful tips for using the right equipment.
Thread
Use thread that matches the color of your fabric well but is slightly lighter than it so that you can see it easily in most light conditions. For this project, do not use cotton or silk thread because they are too slick and hard to sew through with a machine needle without breaking frequently.
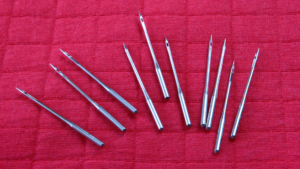
Needle
Choose a needle that is the same size or slightly larger than your thread. For example, if you are using a #18-gauge needle (which has 18 holes per inch) with #30 thread (which has 30 twists per inch), then use a needle between 18- and 19-gauge.
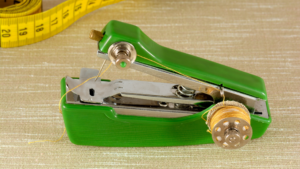
Sewing Machine
Using a machine with 50- to 90-stitch width and an adjustable stitch length between 0 mm and four millimeters is ideal for this project because it will sew through several layers of fabric quickly without the risk of breaking thread or needles.
Adjusting your needle position can also help you sew around tight curves more easily. By doing so, your topstitching will be more precise.

Fabric
Select a fabric for your topstitching with a tight weave for durability and is thin enough to see your seam allowances through. For example, denim or canvas that is thin enough to be cut with scissors would work well for this project because it will allow the string to flow through easily without getting stuck on any one area of fabric.
Some Final Words…
Topstitching is an excellent method to enhance the look of your handmade clothing. It’s also an easy way to add design features that can make any piece unique, giving it extra flair or personality without having too much embellishment on top of it.
Moreover, it is also a great addition to every type of sewing project because it only requires simple stitches, material, and tools.
It’s also straightforward to do since no sophisticated skills or technical sewing expertise are needed. You can add this touch to virtually anything with only a few minutes of your time, some string or thread, and the proper materials for topstitching.
Happy sewing!