Last Updated on October 14, 2021
Sewing machines are generally designed to make sewing more efficient and more manageable. But unfortunately, they also sometimes experience malfunctions in strange and complicated ways. For example, if your sewing machine unit at home is only sewing in reverse, there might be several factors to look out for to solve the problem.
Why is your sewing machine sewing backwards? The reason lies in the reverse lever on your sewing machine. A mechanical level can push when you need your fabric to enter the machine in reverse. Just be mindful that this is prone to issues as it can get stuck or broken internally.
In this article, you are about to learn what significant factors come into play when your sewing machine only runs in reverse. This post will also suggest what you can do to troubleshoot and fix these problems and how to work with a machine that only runs in reverse.
Why Does My Sewing Machine Sew Backwards?
There can be many reasons why your sewing machine suddenly starts malfunctioning. These issues can range from being as simple as flicking a switch to being as hard as to warrant the intervention of a trained professional.
In other worse cases, you may need to directly send your unit back to the manufacturer if specific issues persist. Some of the common problems or malfunctions that may cause your machine to sew and work backward are:
1. Feed Dogs Malfunction
Feed dogs can find this part of the sewing machine in the lower compartment of the mechanism just beneath the needle and presser foot. This kind of motion moves back and forth to give the fabric through the sewing machine smoothly and consistently.
Unfortunately, simply tweaking the machine’s settings will not troubleshoot this issue. As such, you should contact the manufacturer and seek help from their official hotlines and technicians.
2. Reverse Lever Malfunction
The reverse lever is the part of the machine that allows the user to sew backward. It is essential since it is one way to be able to secure your stitch at the beginning.
Reverse stitching is also useful when the user is finishing up a seam. Different models have different versions of this mechanism ranging from a lever to a button.
If this button gets stuck or broken internally, the machine would only operate backward. However, it may be a bit too complicated without extensive knowledge of the parts used in the machine, so it may be best to seek professional help to solve this problem. Otherwise, if you have knowledge or are at least familiar with machinations employed in the sewing machine, then taking a look at the problem yourself should be safe enough.
3. Software Issues
When it comes to computerized sewing machines, issues in software may also cause your machine to sew backward. The onboard computer system is what dictates the action of the machine.
So when it fails in its function, that may result in problems with the sewing machine. Often, when the system software update is delayed, it may prompt the machine to sew backward and cause issues in productivity.
If you have extensive knowledge of the software that your machine utilizes, it may be possible for you to fix this on your own. Otherwise, it would be advisable to seek help and advice from your machine’s manufacturer to get it running correctly again.
Also, there are times when the problem may not be software-related. In this case, it may be necessary for your hardware to get checked instead.
Fixing The Reverse Button On A Sewing Machine
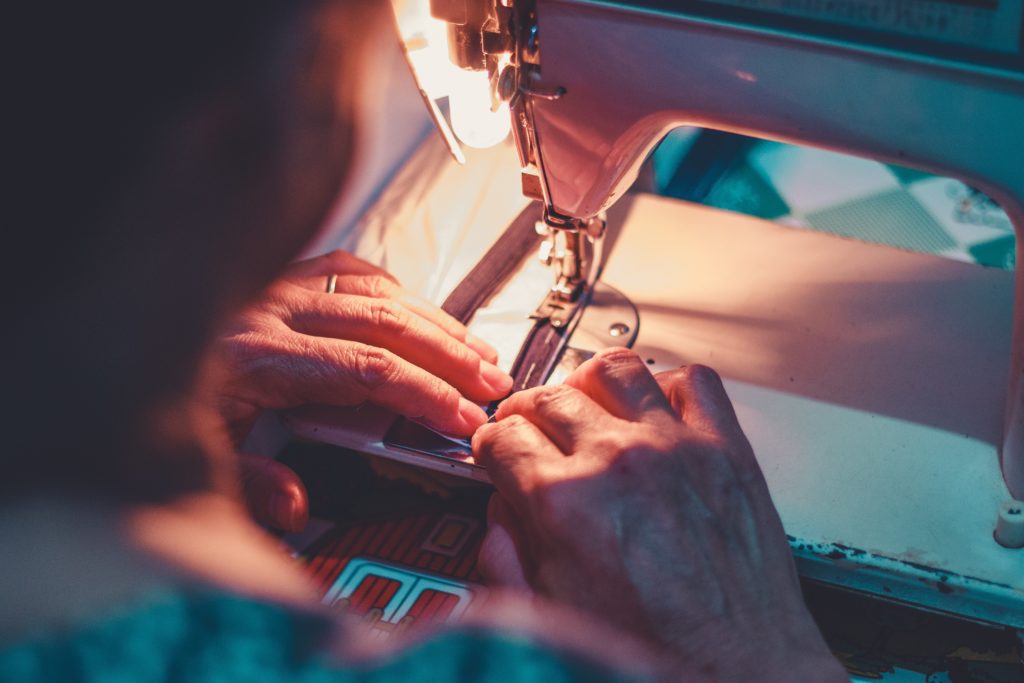
A sewing machine reverse button can be fixed by simply replacing the spring if it is worn out or by putting it back in the correct position if it has been dislodged. In this case, the old hairdryer trick might help you fix the issue. Blow hot air using a hairdryer toward the button for a few minutes, and the button should become unstuck.
This trick works because the grease behind the reverse button may be too old or frozen and require replacements. Unfortunately, this hair dryer trick only works with older models of sewing machines. Newer Brother, Singer, Bernina, and Janome sewing machines have a complicated reverse button mechanism consisting of springs, belts, levers, and an electrical activation circuit.
1. Reattach The Spring
Modern sewing machines tend to have a spring as a part of the inner reverse button mechanism. It is one of the most common parts of later models, especially with Janome, Brother, and Kenmore types.
It is also the part that either keeps the reverse button in place or allows it to move freely. To troubleshoot this part of the machine, you will need to open the machine using a set of Philips screws.
First, make sure that the sewing machine is completely shut down and unplugged. It is to avoid accidents and electrocution.
Next, take a look at the cover assembly for the particular model you will be fixing. Then, use screwdrivers according to the types of screws you see and remove them.
Afterward, carefully remove all the knobs and the cover. Then, trace where the reverse button is located and look for the spring.
You may find the spring dislodged from the sides or just stuck due to grease, rust, or gum. If the spring is dislodged, simply putting it back to where it should be will fix the issue.
You can also put some oil if the mechanism is too greasy or rusted to allow it to expand and contract. After doing this, test if the reverse button has been fixed and works properly.
2. Replace The Spring
There are times when the spring might have to be replaced altogether if it has been too damaged or rusted. This problem is typical in older models and their reverse buttons.
Unlike most of the other metallic components of the machine, springs have a much shorter lifespan. For this reason, they are subject to replacements more often.
If you’re pretty observant, you may hear a snap or crack just as the reverse button stops working. It tells you that the spring from the mechanism needs to be changed.
Additionally, take note if your reverse button loses its tension or may require an abnormal amount of force to activate. These are also some signs to look out for when you may have to replace the spring.
3. Oil The Inner Components
Like other mechanical devices, a sewing machine is also prone to get stuck after a while. The reason behind it is because of dust and too much friction.
This problem is widespread in sewing machines that use a lever-driven by gears and springs on the inside. But to fix this problem, all you need to do is open the sewing machine and lubricate the mechanism with more grease and oil to reduce friction effectively. You can follow the manual that comes with your sewing machine on lubricating the mechanism and its parts and gears.
4. Release The Hooking Mechanism
When it comes to most Brother sewing machines, a standard reverse button problem involves its hooking mechanism. You will often find components that have either grown too tight or far apart and, therefore, cannot register input from the knob.
To troubleshoot this problem, you only need to open the headcover, remove the reverse button, and see it loosening or tightening the inner screw, which is golden in color, does the trick.
5. Cleaning And Degreasing The Sewing Machine
As time goes by, dust and grease might have accumulated around the different components of your sewing machine. Too much grease or dust can cause tons of problems and malfunctions in your machine when they are left unattended. Make sure to give time to service and maintain the machine from the outside to the inside and remove the dust, grease, and gum all over the mechanism and the inner components.
This procedure is more important if the sewing machine in question has not been used for an extended period. By doing this, you will most likely be able to fix the reverse button in the process of maintaining and cleaning the sewing machine.

Sewing In Reverse
Almost every sewing machine model in the market comes with a separate knob, lever, or button that you can quickly toggle to allow you to sew in reverse. Refer to your machine’s manual to help you locate and use the reverse sewing toggle.
Depending on the model and machine, you may have to stop and toggle the switch before you can sew in reverse. Meanwhile, some models allow you to switch between directions as you sew continuously. For example, most older models require you to stop before you toggle the reverse sewing button and continue working.
The Reverse Button In A Sewing Machine
The reverse button is used to change the direction of where you’re stitching. Sewing in reverse means that the fabric you’re working on will move towards you instead of the other way.
Reverse sewing is an essential but necessary skill because it allows you to secure and reinforce the first stitch, finish seams, correct missed spots, and create double stitches without moving the fabric around too much. This skill is also essential when it comes to complex embroidery projects.
Some Final Words
If your machine is sewing backward, seeking expert and professional advice is always the best course of action unless you have extensive knowledge of the machine you’re working with.
To troubleshoot a sewing machine that sews backward, you should first check and minimize damage before repairing the broken parts.

![Read more about the article How to Erase Chalk Markers in 3 Easy Steps [Guide]](https://www.sewkitkit.com/wp-content/uploads/2019/06/how-to-erase-chalk-markers-300x168.jpg)
