Last Updated on June 7, 2022
Creating a chair cover for an old chair, without sewing a single thread is so cheap and easy nowadays. You can design stylish chair covers using interesting, low-cost fabric such as canvas, or repurpose clothes or drapes.
You can refurbish an old chair using reasonable fabrics or remnants, and it can save money also. As it is a no-sew project, you can quickly change out the look of a room for the season or a holiday.
DIY Chair Covers Without Sewing
Items needed
- One piece of a table cloth or linen fabric.
- One piece of ribbon
- Four safety pins
Step 1: Fit Linen fabric or table cloth on the chair.
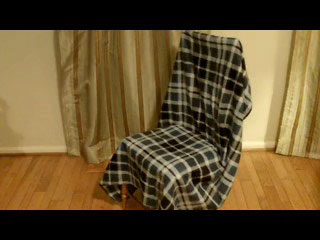
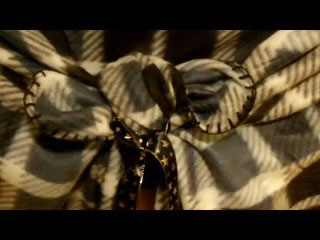
Step 2: Take the two ends of the cloth from the back of the chair and tie a bow.
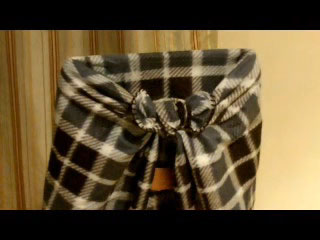
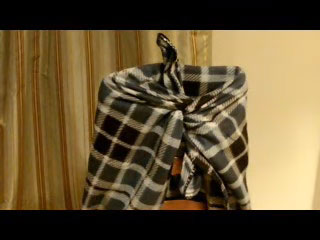
Step 3: Pass the ribbon through the bow and proceed to tie the ribbon into a second bow. The ribbon is used as decoration for the back of the chair.
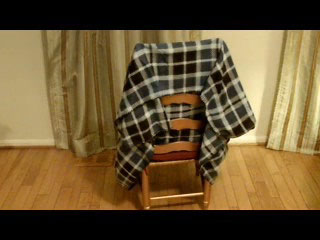
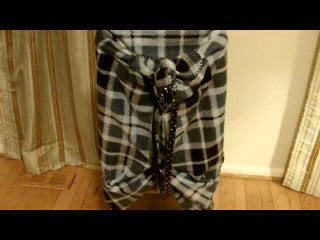
Step 4: Close the opening in the back of the chair using two safety pins.
Step 5: Holding each side together connect with a safety pin. The 1 safety pin should be placed at the top and the 2nd at the bottom.
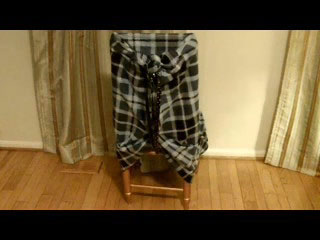
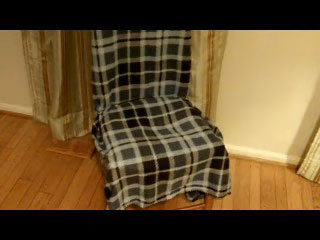
Step 6: Finally, use the remaining safety pins to connect the cloth to the sides of the chair cushion and the chair will look like as following.
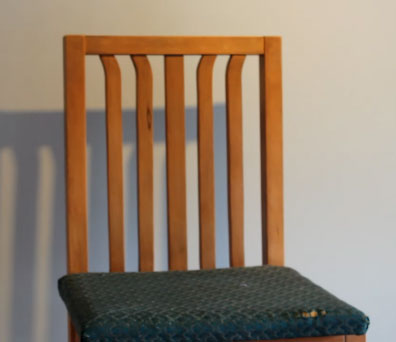
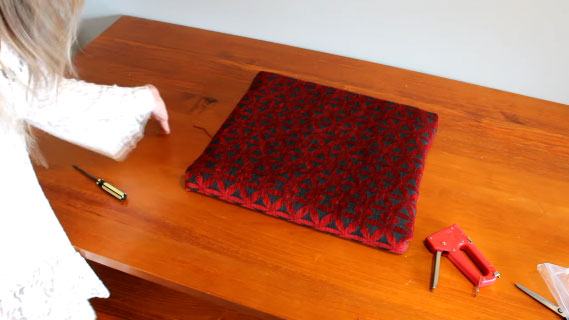
Give your chair cushion a new look
Before:
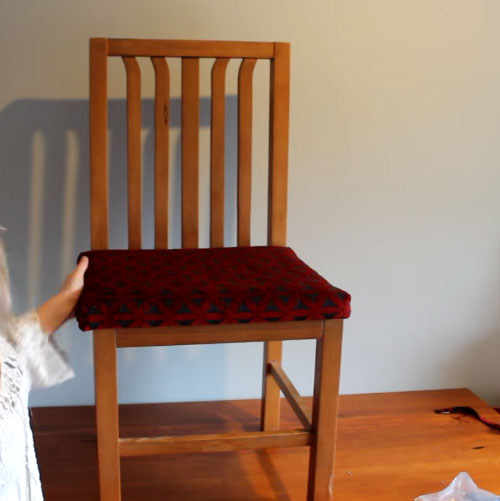
After:
Necessary Equipment
- A glue gun
- A staple gun
- Heavy-duty fabric
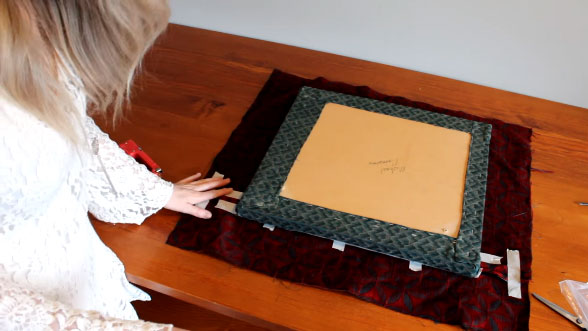
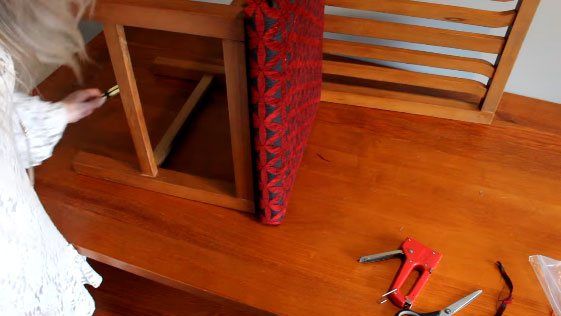
Step 1: Unscrew the cushion from the bottom to recover the base.
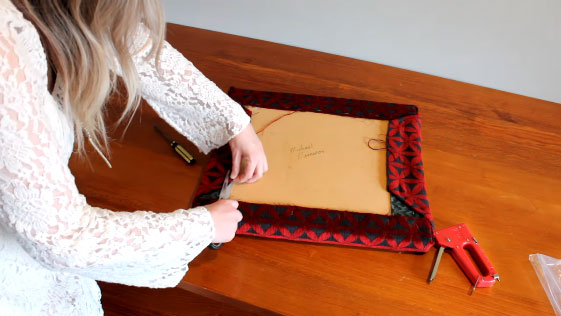
Step 2: Place the base cushion in the fabric as seen in the picture.
Step 3: Now fold one side of the fabric and staple it with the cushion and do the same thing with the opposite side.
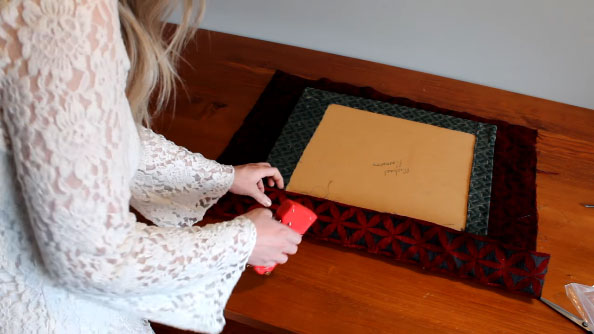
Step 4: When folding down the third side of the cushion, fold the edges down first and staple them in a trapezoid shape.
Step 5: Now staple the trapezoid-shaped fabric with the cushion.
Step 6: Do the same thing with the opposite side.
Step 7: Cut off the extra fabric and attach the recovered cushion with the chair.
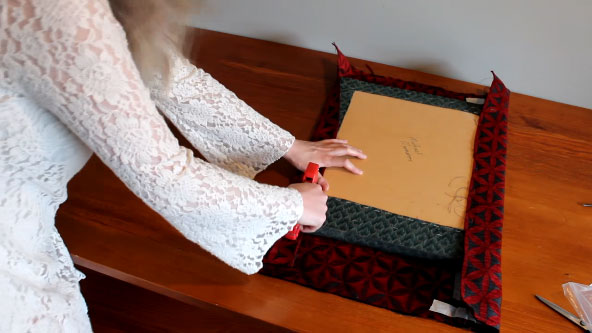
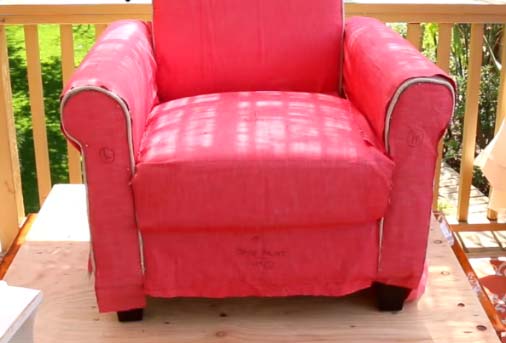
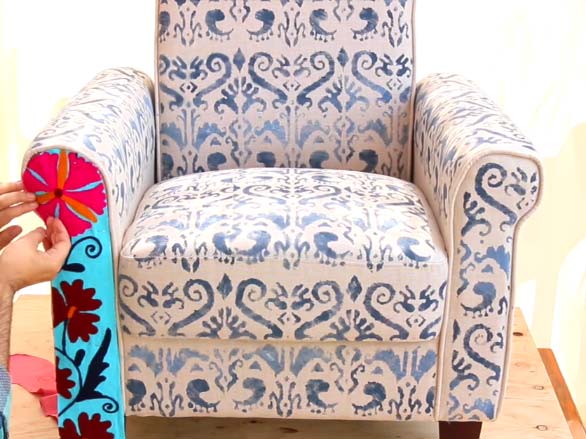
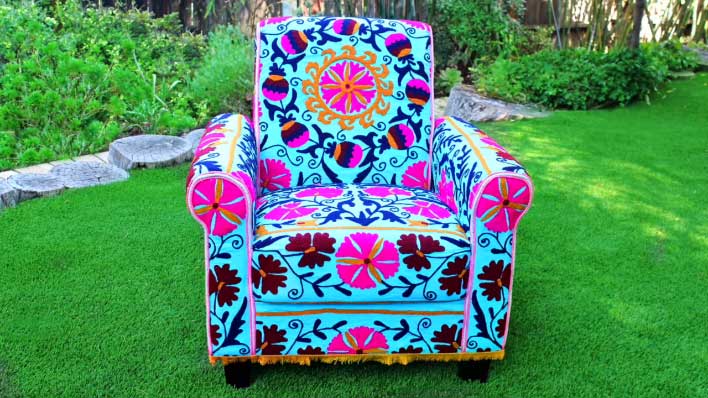
No-sew Boho Upholstered Chair
Here you will need:
- Embroidered Suzani fabric
- Trim
- Fabric Glue
- Heavy cotton
- pencil &
- pins
Let’s make this.
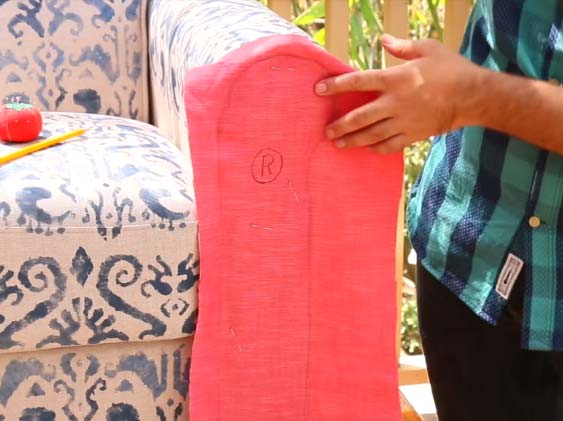
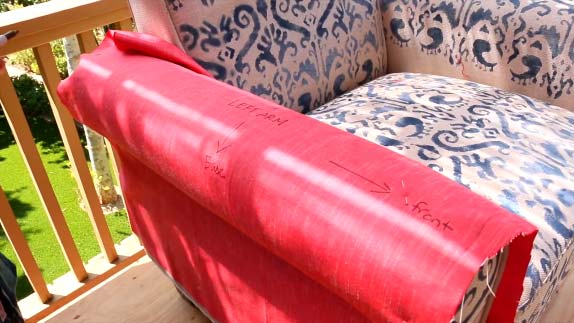
Step 1: Pin-pressed fabric to the front arm panel.
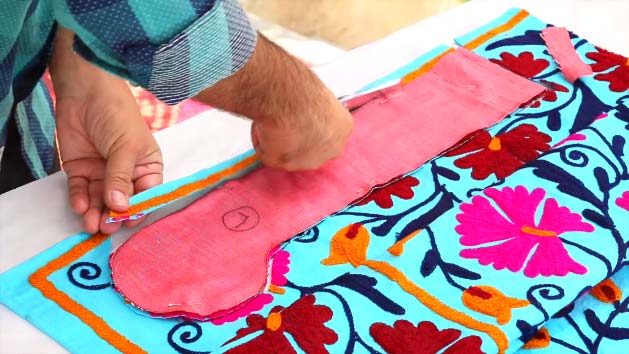
Step 2: Outline the shape inside of the piping and label the pattern and remove the fabric.
Step 3: Repeat on the other side.
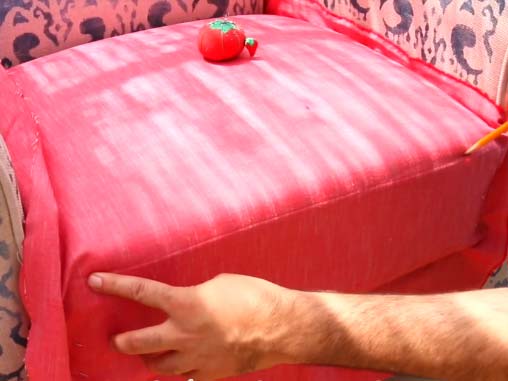
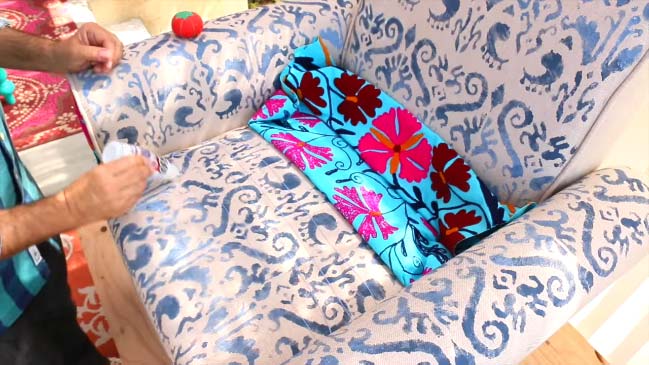
Step 4: Pin fabric to the seat and base(tuck in the edges).
Step 5: Outline all of the edges and seams and label the pattern.
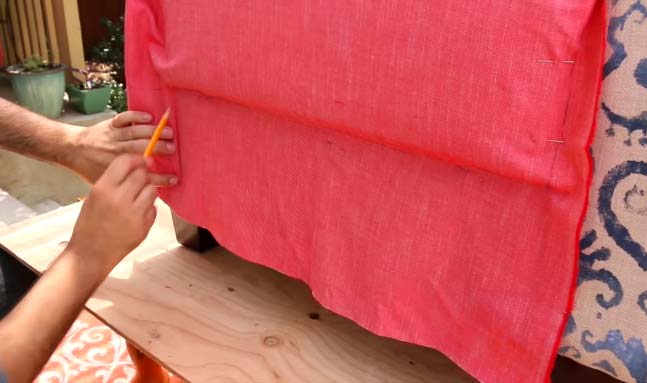
Step 6: Repeat on the chair back.

Step 7: Pin fabric over the arm and side, outline, and label.
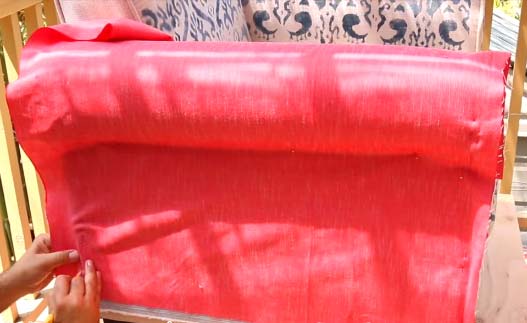
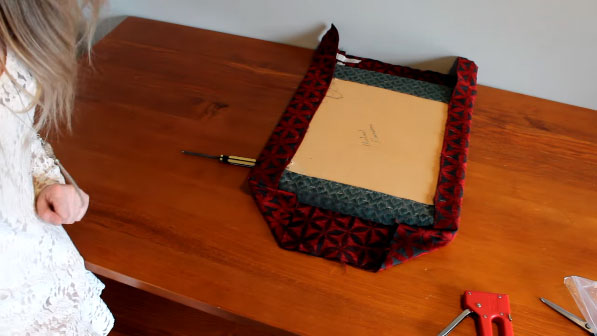
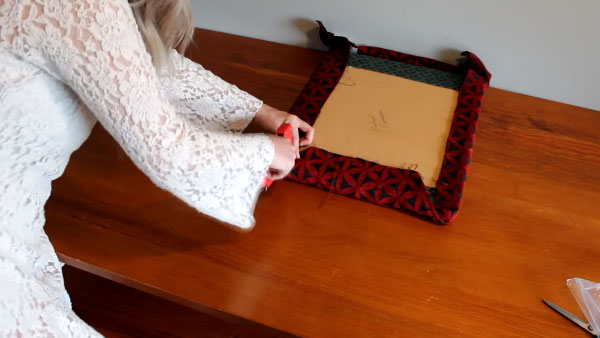
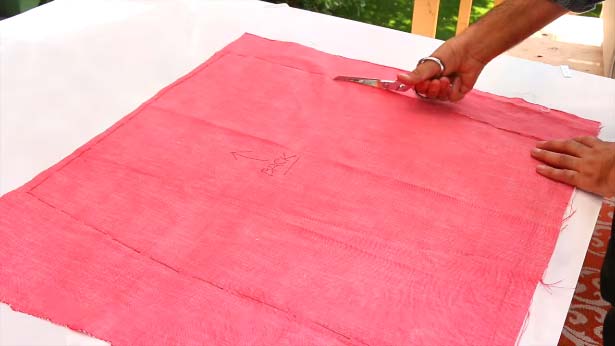
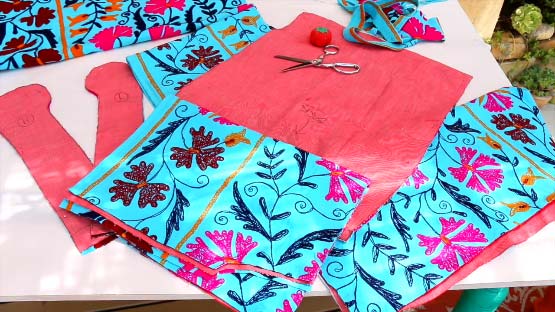
Step 8: Cut out the patterns and pin them back on the chair.
Step 9: Trim as needed so the patterns fit precisely.
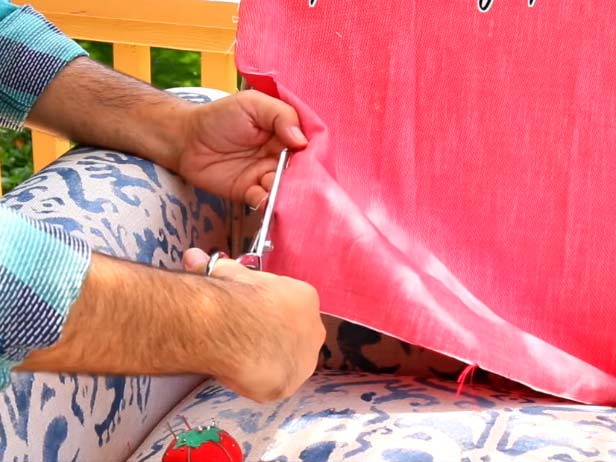
Step 10: Continue cutting and pinning to create a perfect fit and leave an extra 2” on the base of each pattern to be folded under the chair.
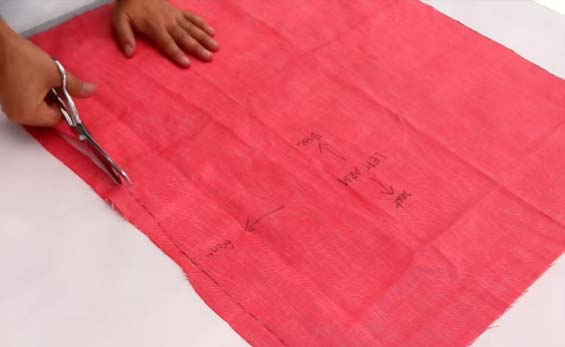
Step 11: Place and pin the patterns on the fabric before you cut.
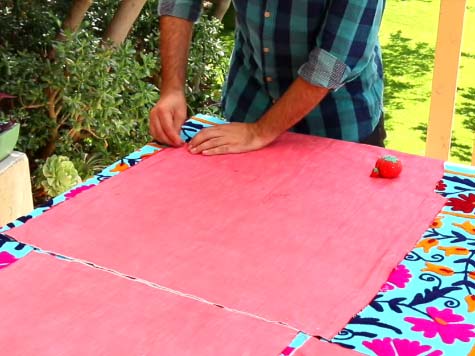
Step 12: Place the patterns for the overall chair design. Chair arms and sides should mirror each other.
Step 13: Only cut when everything is pinned. Make sure your fabric pattern fits perfectly before you cut it in the real fabric.
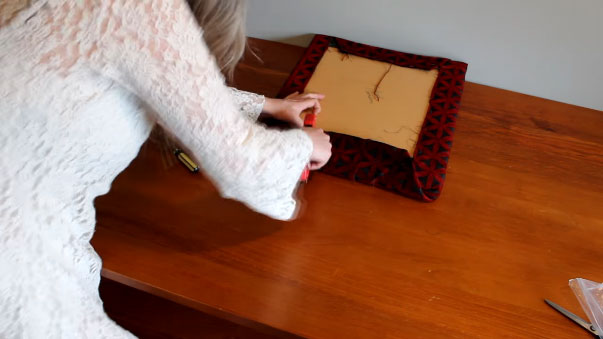
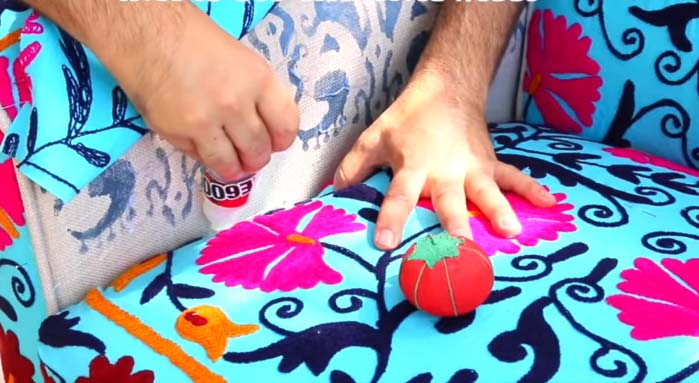
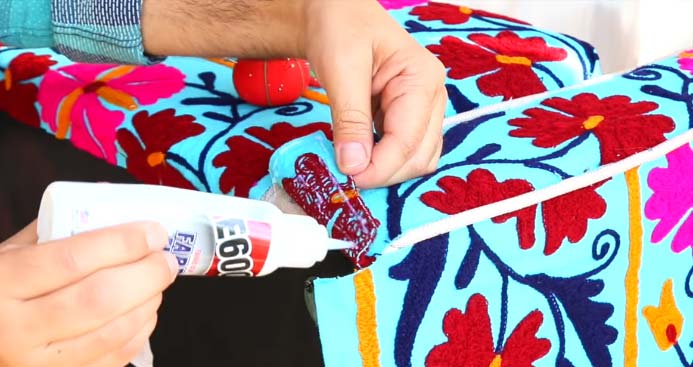
Step 14: Now pin a front arm panel in place. Glue one section at a time with fabric glue and glue each piece to the chair using the same process.
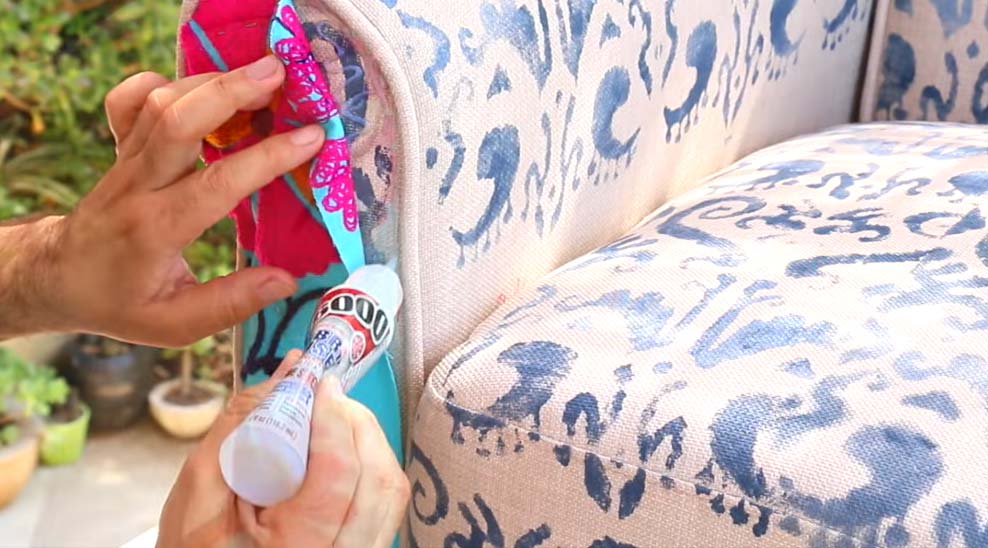
Step 15: Place extra pins around the edges and squeeze extra fabric glue in the creases where the cushions meet.
Step 16: Unscrew the feet. Glue the extra fabric under the chair. Remove the pins when the glue is dry.
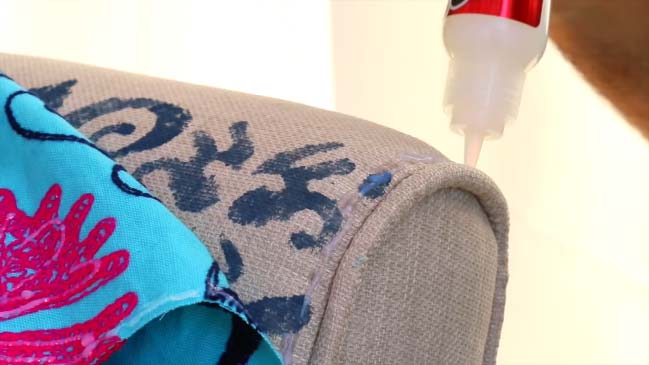
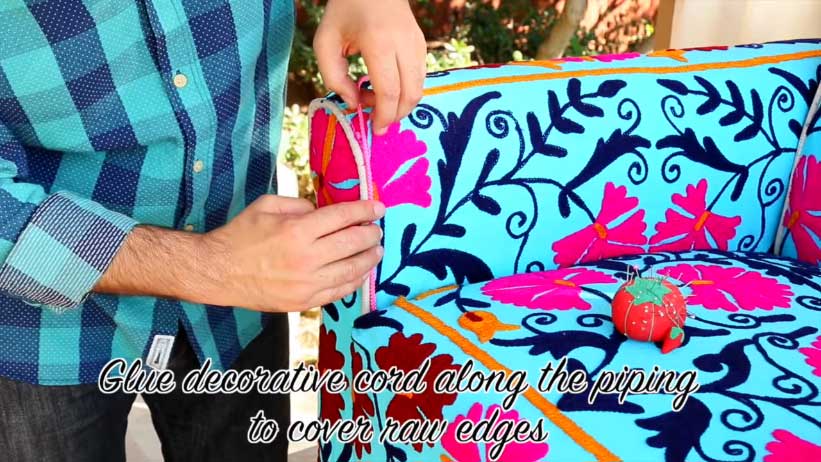
Step 17: Glue decorative cord along the piping to cover raw edges. Pin in place until dry.
Step 18: Add fringe around the base of the chair and pin until dry.
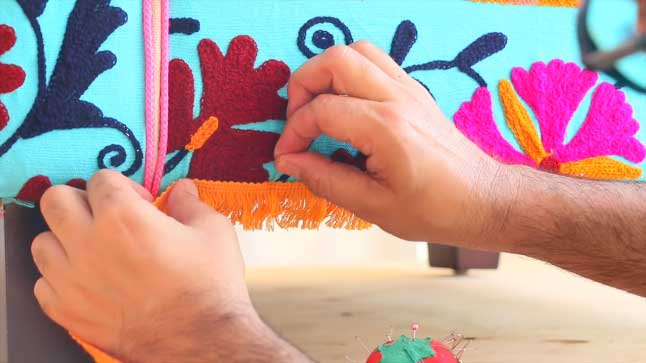
The chair will look as follows.
Leather, Vinyl, or smooth fabric chair cover:
Required Materials:
- Fabric
- Americana decoupage for fabric
- Americana decor satin enamels
- Masking tape
- Paintbrush
- Scissors
- Leather, vinyl, or fabric chair
Let’s make these.
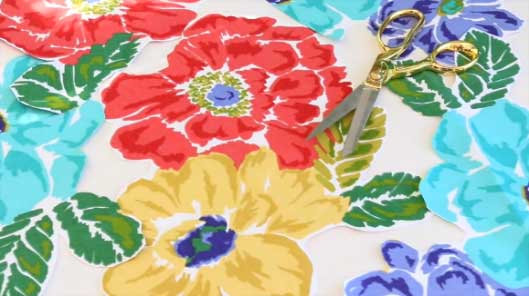
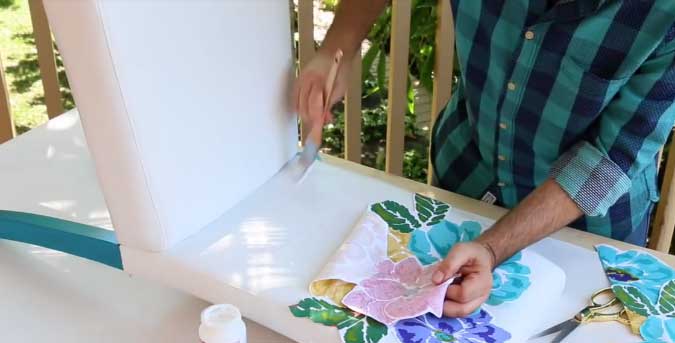
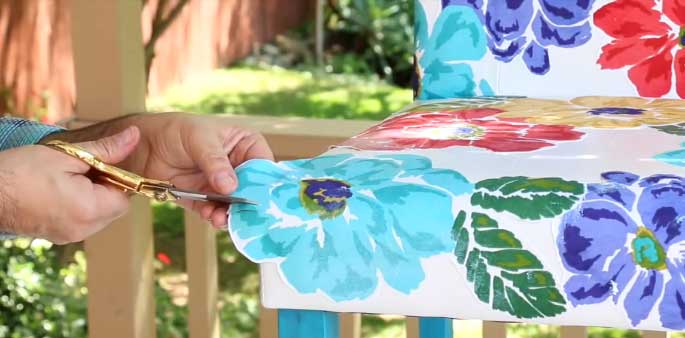
Step 1: Use a large cotton floral fabric or any other pattern fabric and then cut out the flowers and leaves.
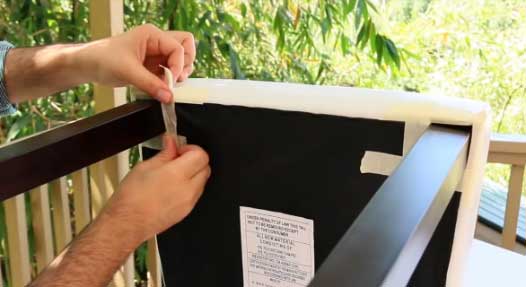
Step 2: Tape around the legs to protect the chair.
Step 3: Choose an Americana Decor Satin Enamel that matches your fabric. It’s perfect for home decor projects.

Step 4: Remove the tape when the paint is dry.
Step 5: Figure out your pattern placement.
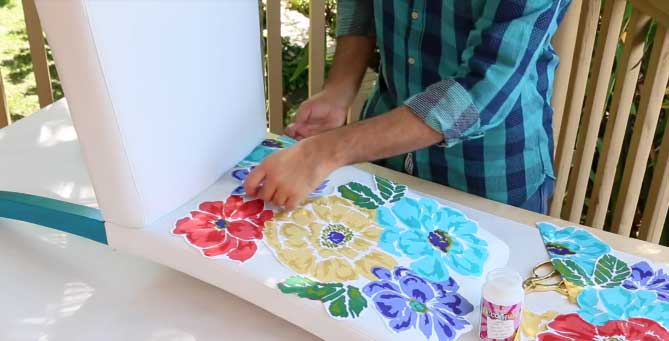
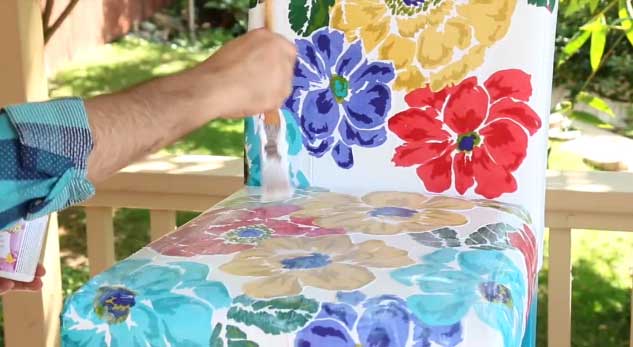
Step 6: Apply the cutouts with Americana Fabric Decoupage. Decoupage in one section at a time.
Step 7: Cutting slits in the fabric allows you to easily decoupage around curves and corners. Trim evenly along the edges. Seal everything with a thick layer of decoupage.
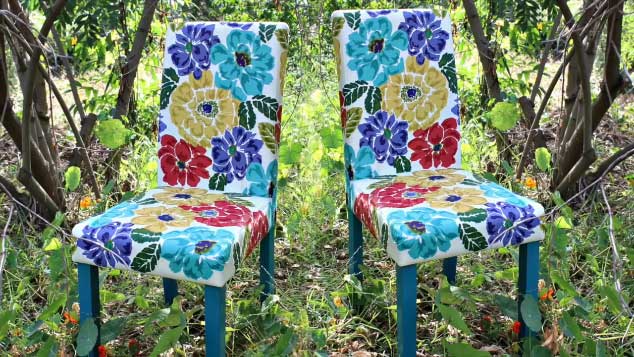
Step 8: Make sure to use several coats of the Americana decoupage for fabric and let it dry thoroughly before you use your chairs.
Wedding Chair Cover
Material Needed:
- A rectangular shape big White satin pillowcase.
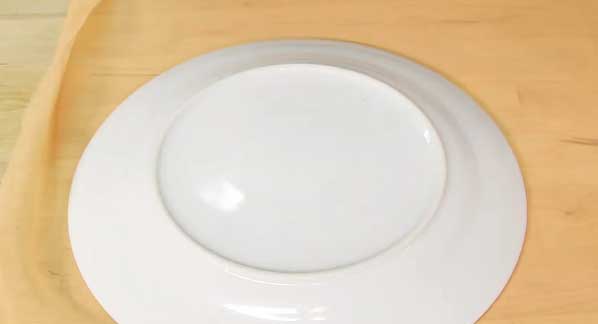
- Plate
- Chiffon fabric
- Drawing Pencil
- Hair clip
- Fabric flower
- Scissors
- Glue gun
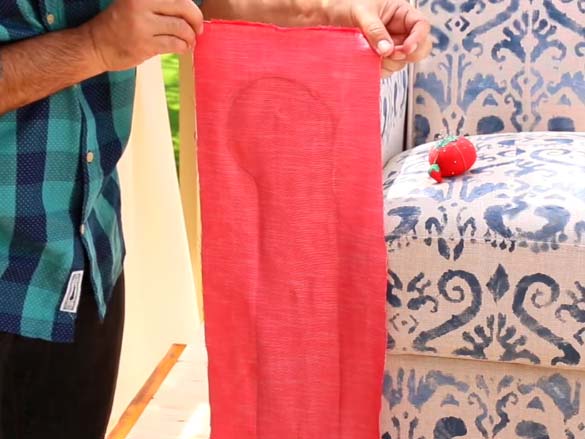
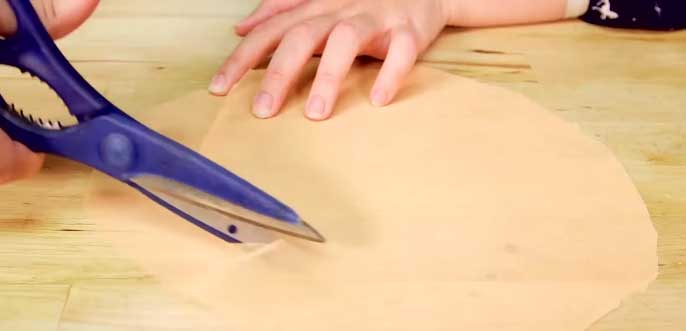
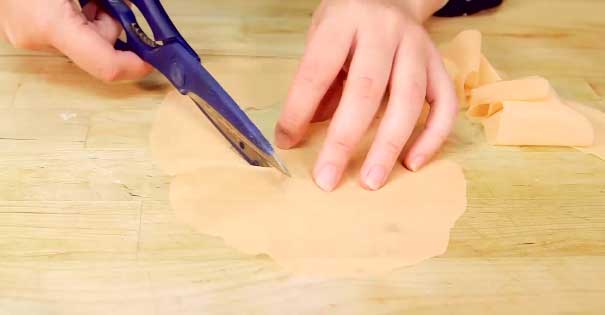
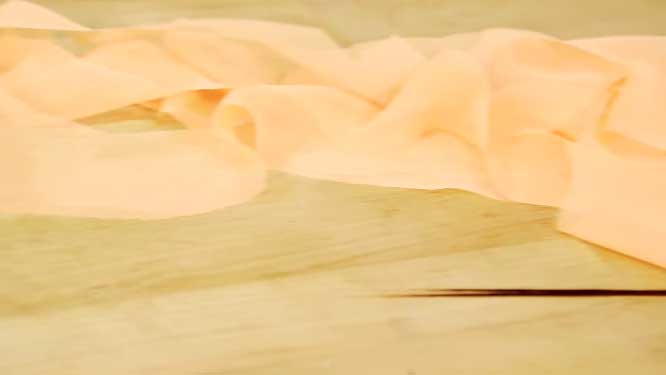
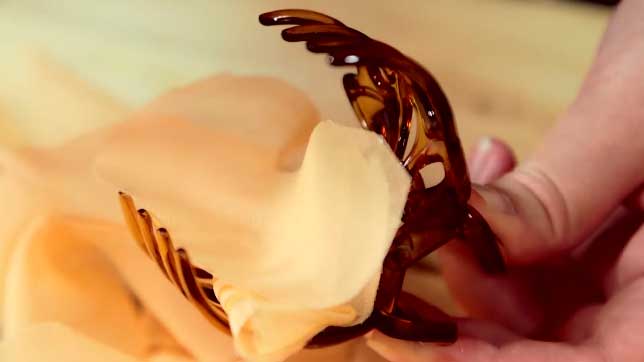
Step 1: Draw around the plate over the chiffon fabric. Cut out the circle through scissors. Cut the circle into ruffles.
Step 2: Repeat step 1 to make 9 more.
Step 3: Stick ruffles to hairclip one by one. Glue fabric flower to the back of the hair clip.

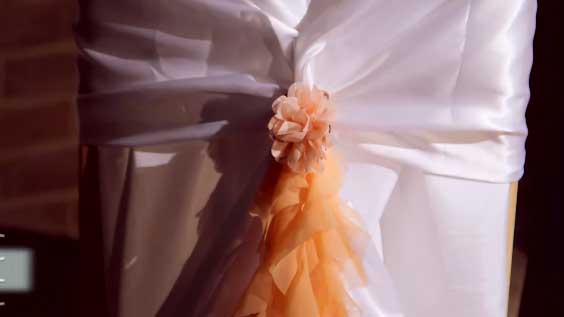
Step 4: Center satin fabric on the chair. Depending on the height of the chair you’ll need to adjust them toward the front so that the length of the chair cover in the back meets the surface of the floor.
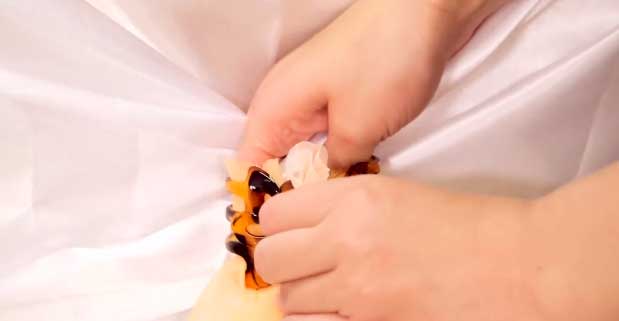
Step 5: Then you’ll notice that you have two wings on each side of the chair cover. Grab them and attach the hair clip to the knot.
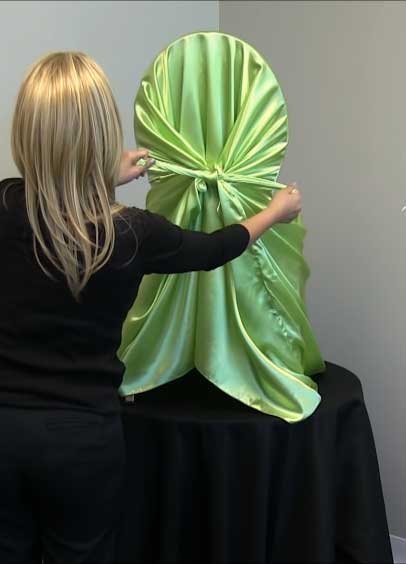
How to tie a Universal Self Tie chair cover:
It can be used in most standard high chairs with no arms. It resembles just a large pillowcase.
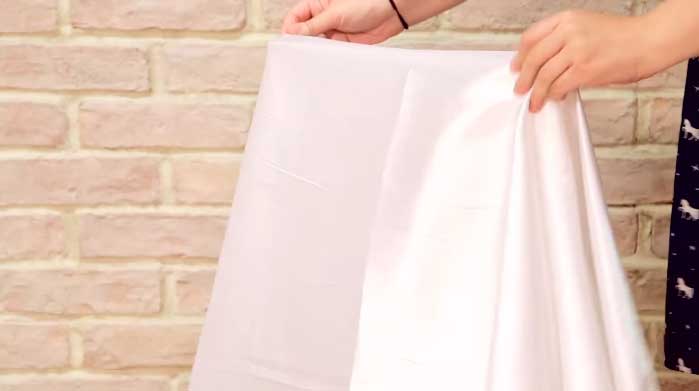
Step 1: Position yourself behind your chair. Hold the top two corners and drape the cover over the full chair.
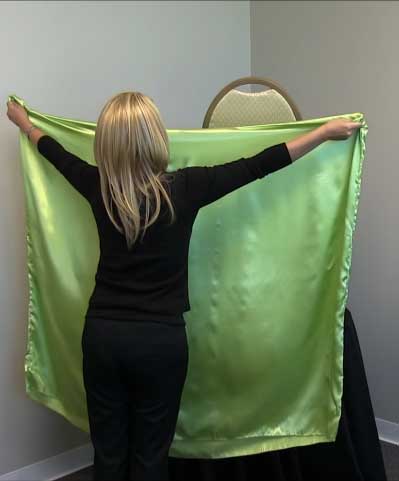
Step 2: Keep the cover center and make sure all sides of your chair are covered to the floor.
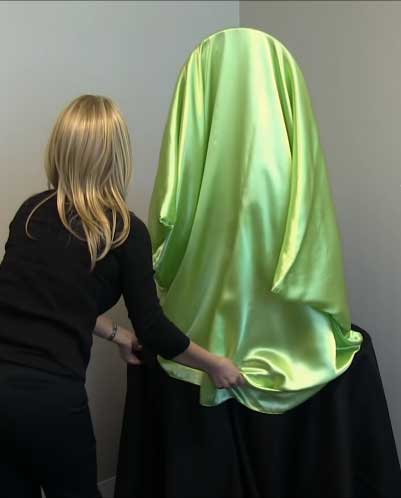
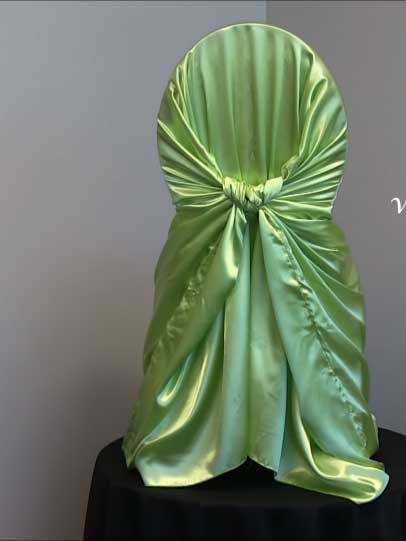
Step 3: Hold the top two corners pullback towards the lower part of the back arrest, tie a double knot, first up and down, and then left to right for the perfect fit.
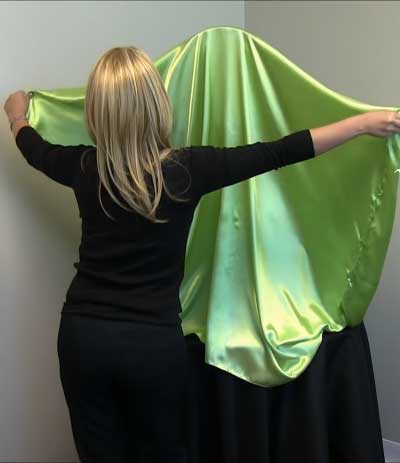
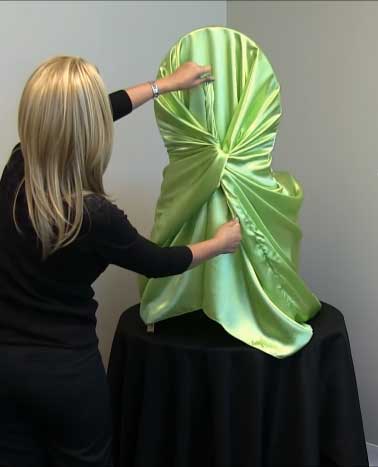
Step 4: Keep your knot as low as possible since the fabric will pull itself up as you are tying the knot and tuck the end. Check all sides of your chair to make any adjustments necessary.
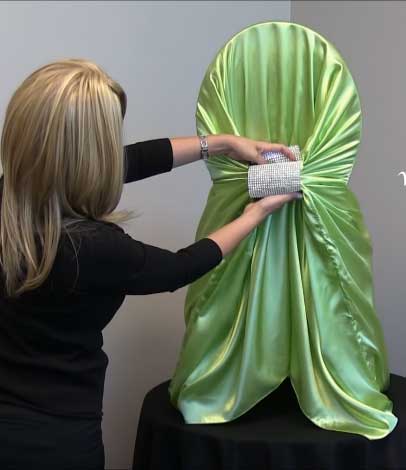
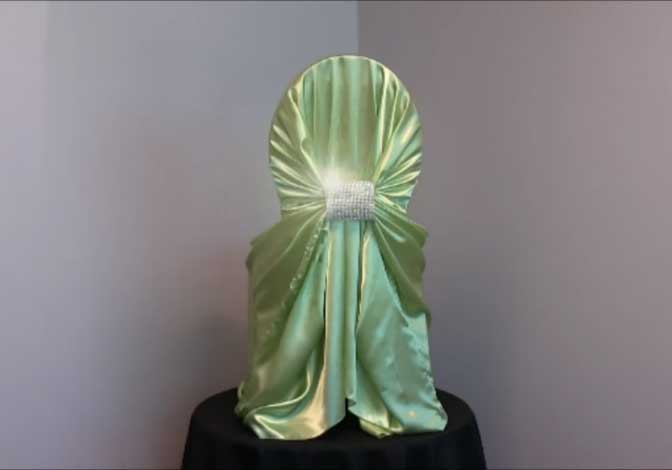
Step 5: To add a little extra you may use large rhinestone drape clips.
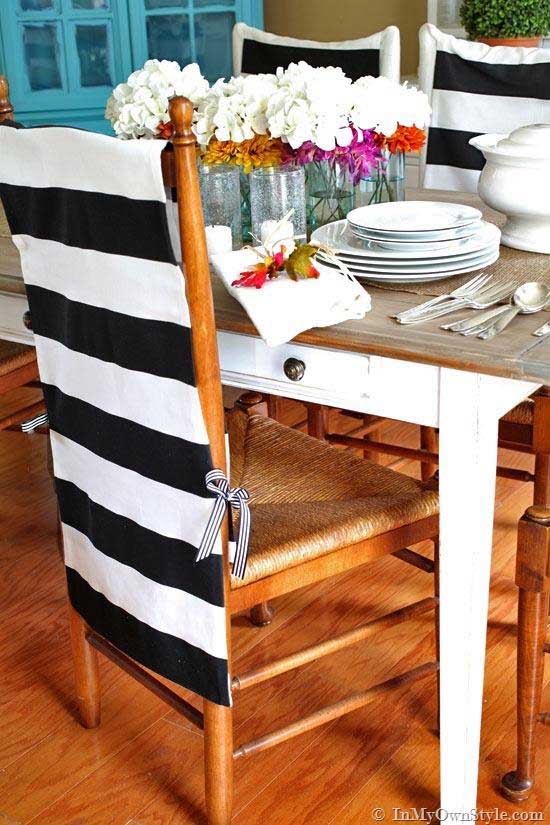
NO SEW CHAIR BACK COVER
Materials needed:
- Fabric
- Ribbon to coordinate with the fabric
- Fabric glue
- Iron
- Measuring tape
- Scissors
- Straight pins
Step 1: Measure the back width of the chair and the back height of the chair with measuring tape. Cut your fabric according to the size of the chair. Keep in mind that washing fabric before cutting so shrinkage will occur before you cut.

Step 2: For the edges, fold over all sides of each cover, half an inch, and press iron. Fold over all sides half an inch again and press iron.
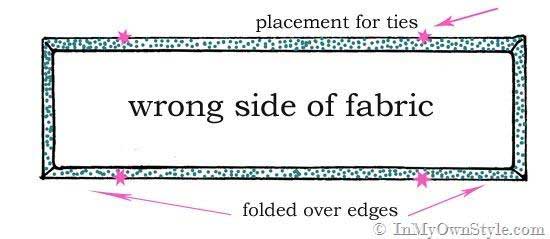
Step 3: You will need four ribbons, two on each side – front and back. Decide where on your chair you want the ribbons to tie. Mark position with a straight pin. Cut each ribbon into twelve inches.
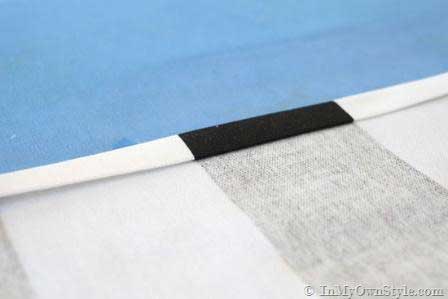
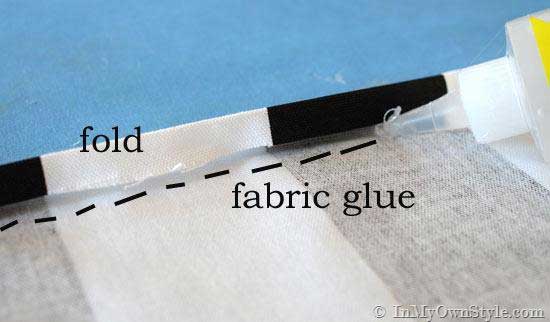
Step 4: First, remove the pin for one ribbon tie placement. Apply fabric glue under and on top of one end of the ribbon. Attach the end of the ribbon under the fold.
Step 5: Now, fold the ribbon over the fabric. Apply glue in the fabric and press with fingers to adhere. Repeat the step for each tie. Let them dry.
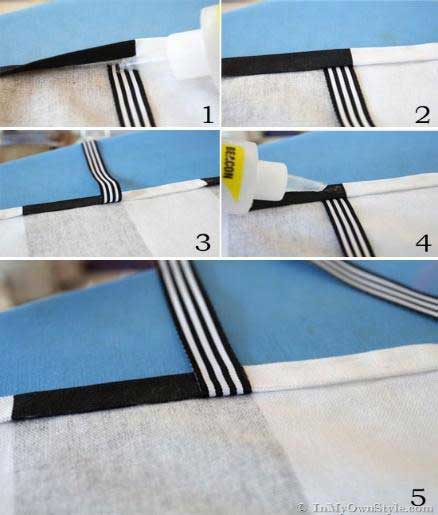
Step 6: When each ribbon is tied in place, run a line of glue under the rest of the fold all around the cover. Press with your fingers to attach the fabric to glue. Repeat on all sides.
After completely dry, put the cover over the chair and tie it on. When the cover is finished and tied on, it will look like the illustration below.
Conclusion:
Without stitching, making a chair cover is not difficult at all. The materials which are needed for this, are so available, sometimes they can be found in our home, and also they are not expensive at all.
These methods are so easy to install that you can provide your old chairs with a new look very easily. These no-sew covers can not only save your chairs from dust and dirt but also give your room a fashionable environment.

